Aerial Art assembly & care
Cypod or TriWing assembly
Decoy Assembly
Blade Assembly
Hard Case example
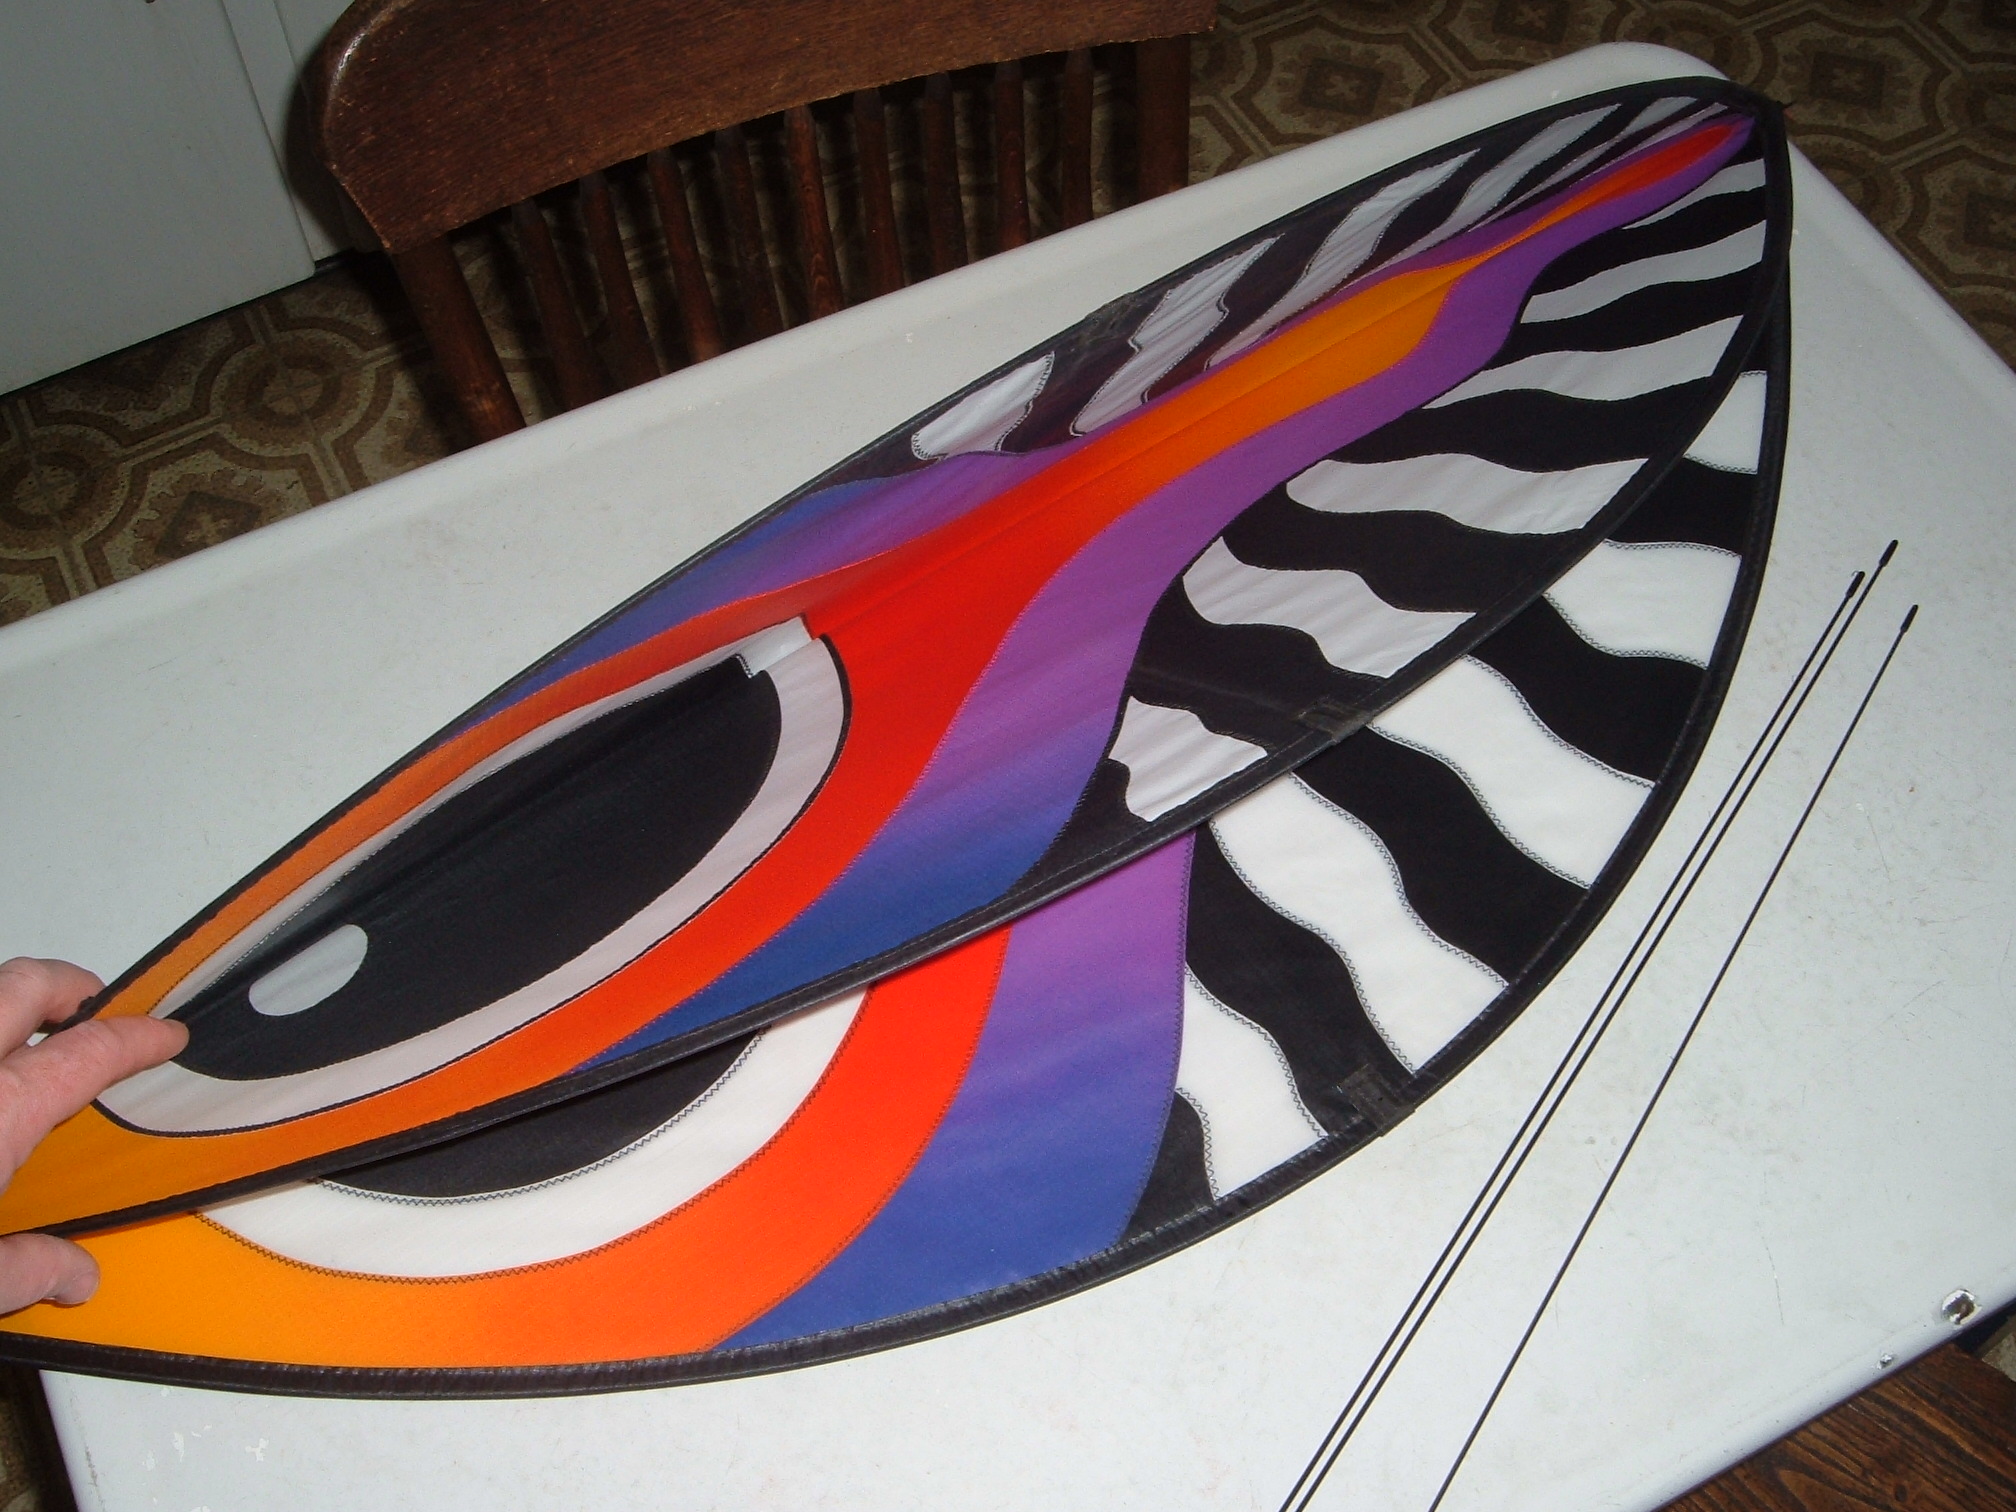
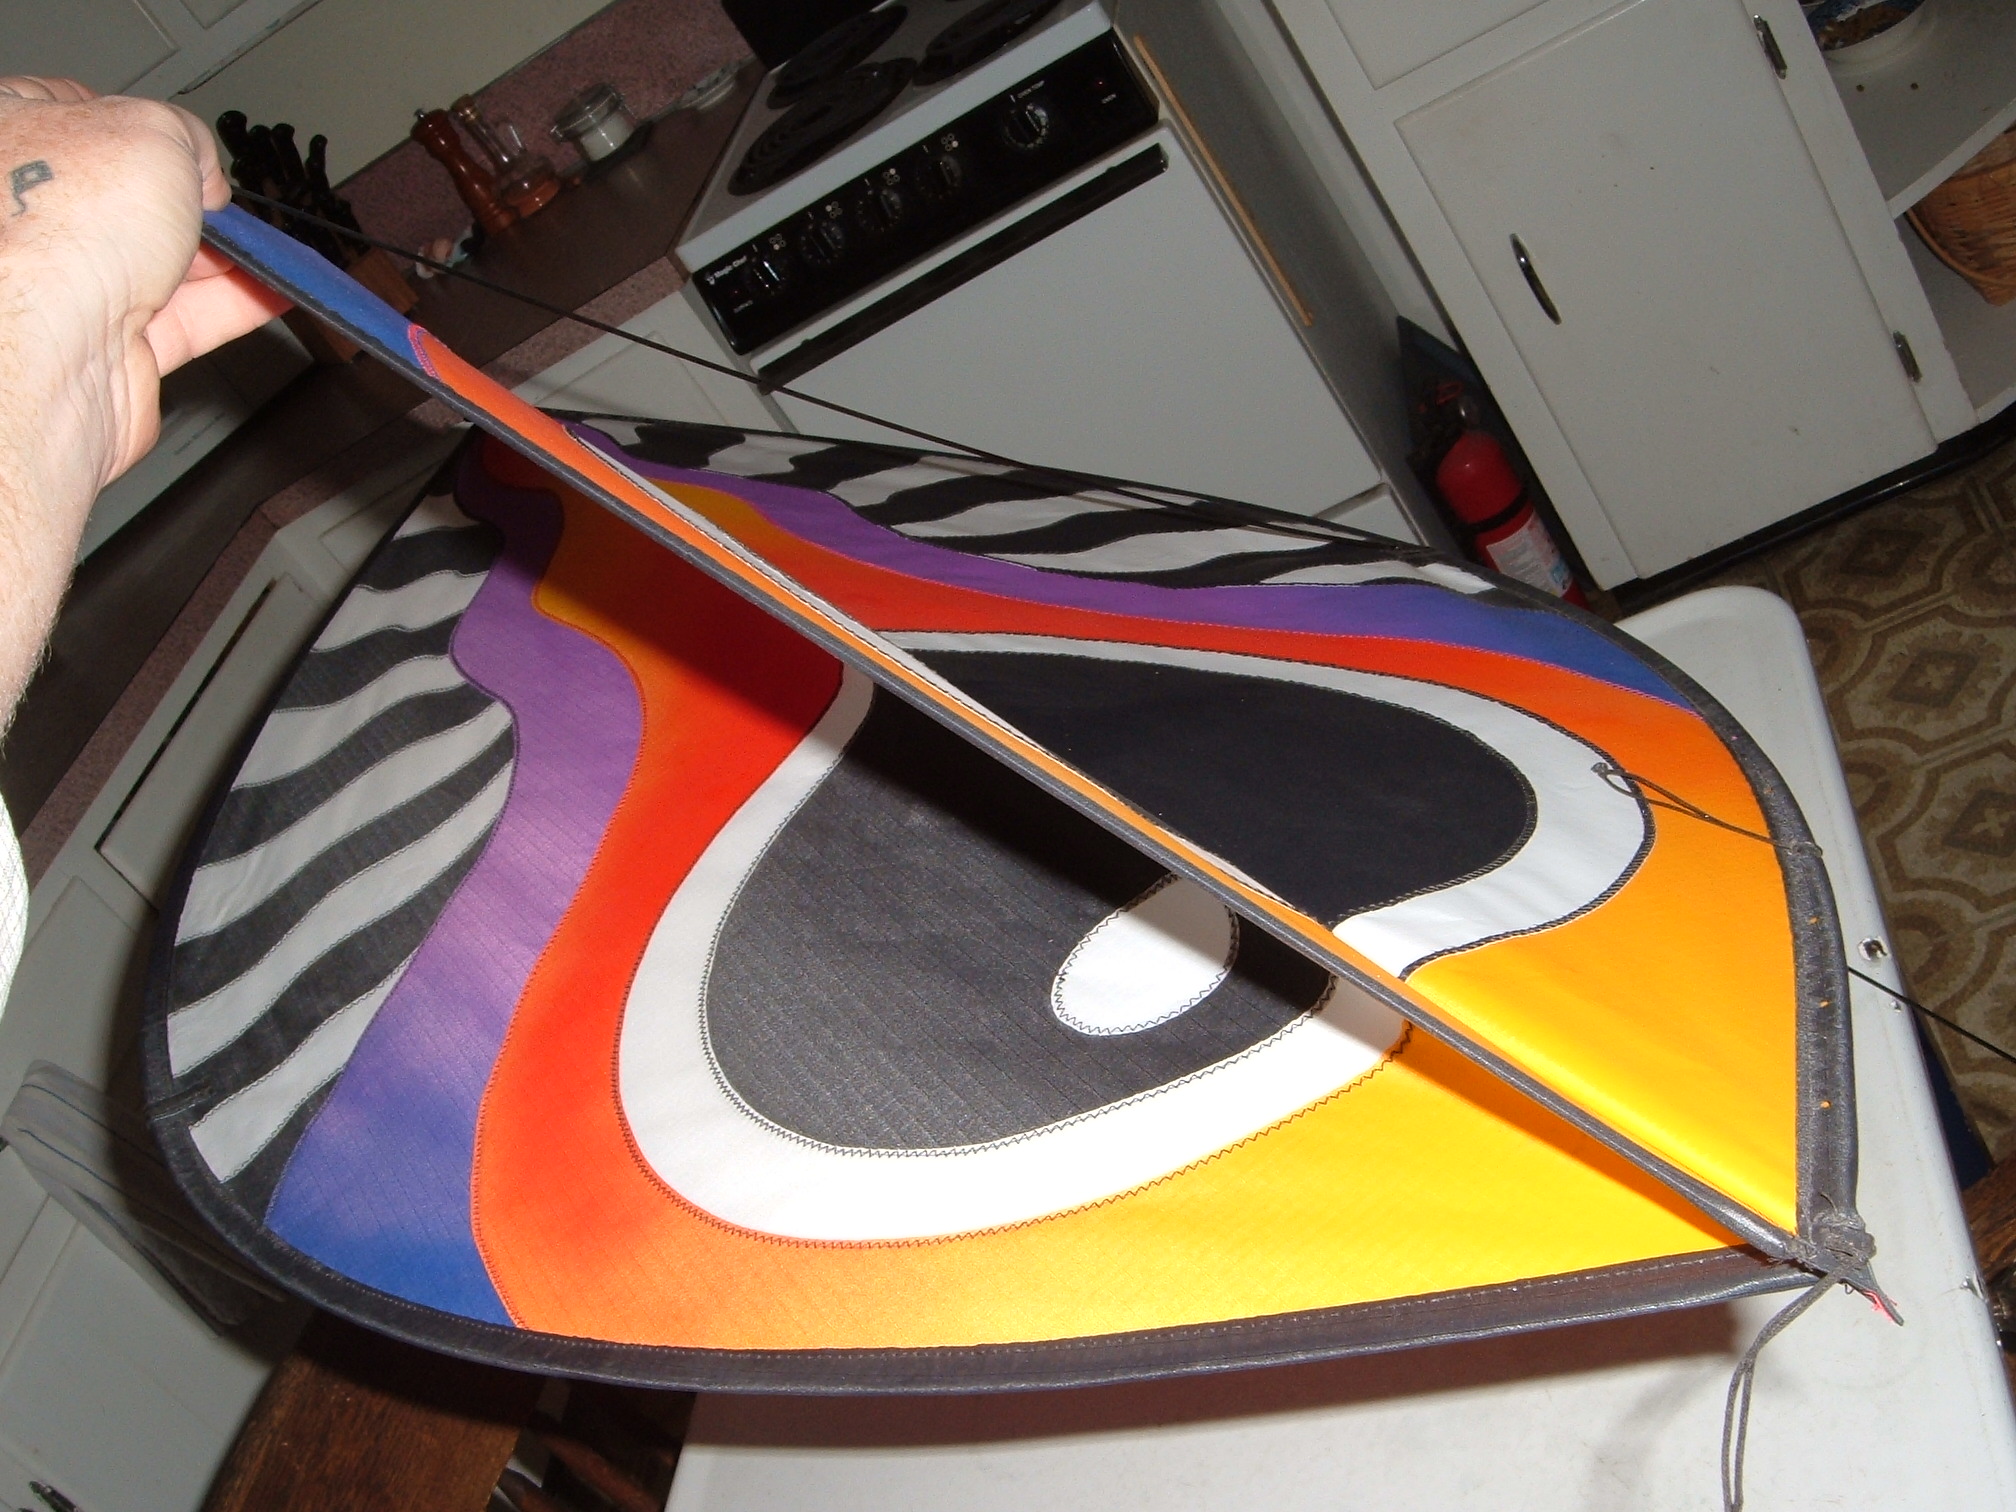
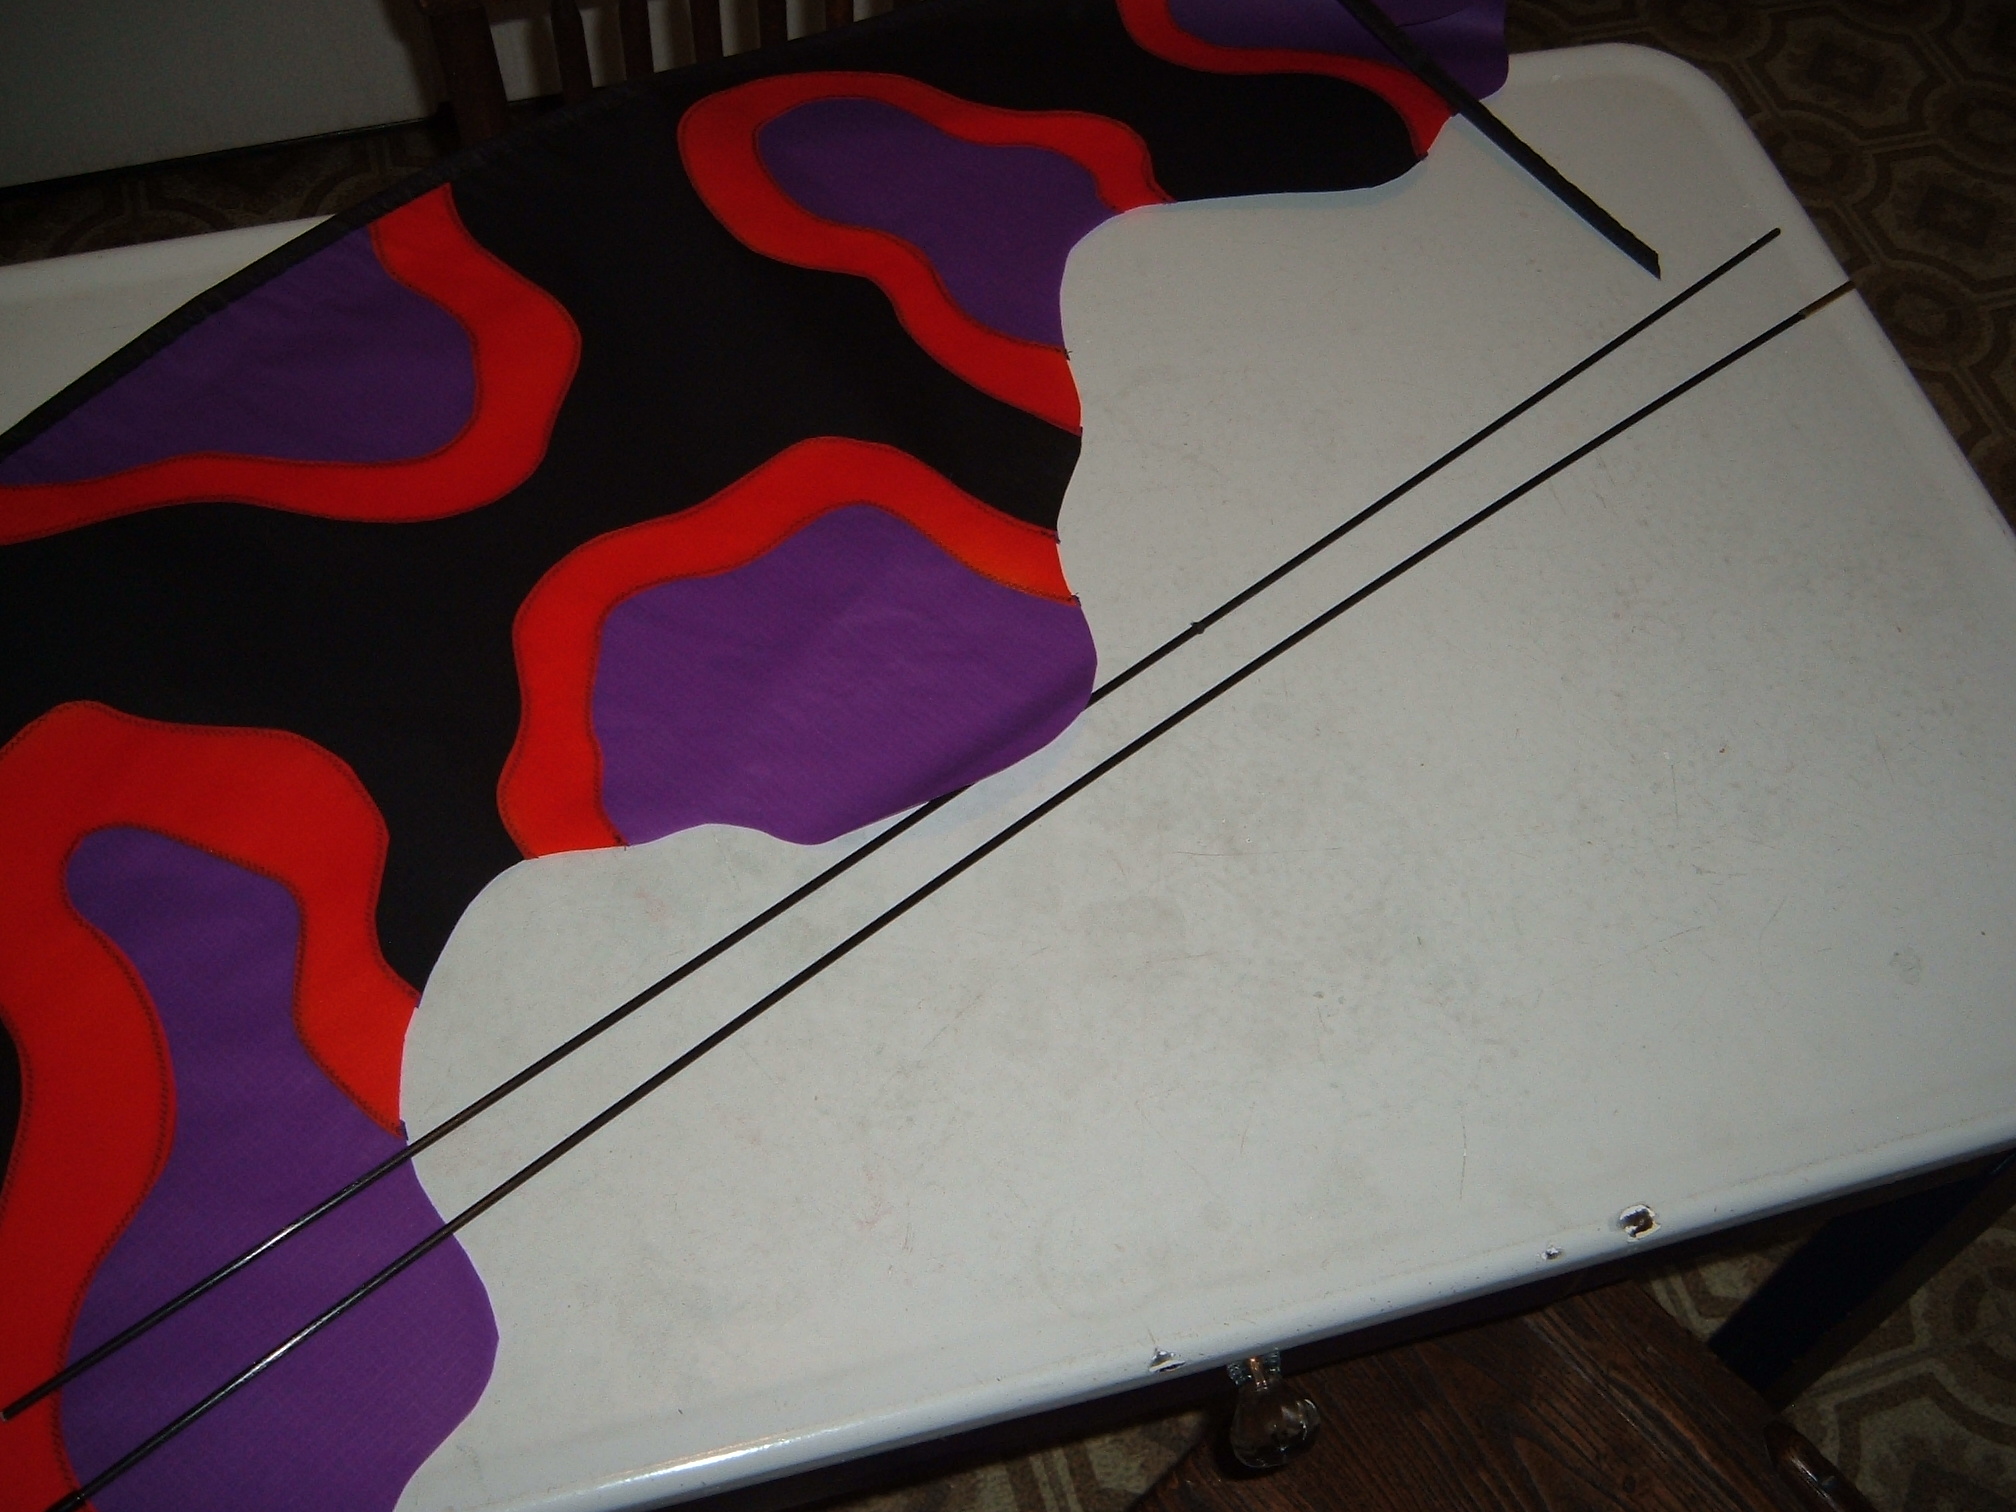
Kite Assembly
Unroll the kite carefully so that you do not drop any rods.
The kite should have 3 short rods and 3 long rods.
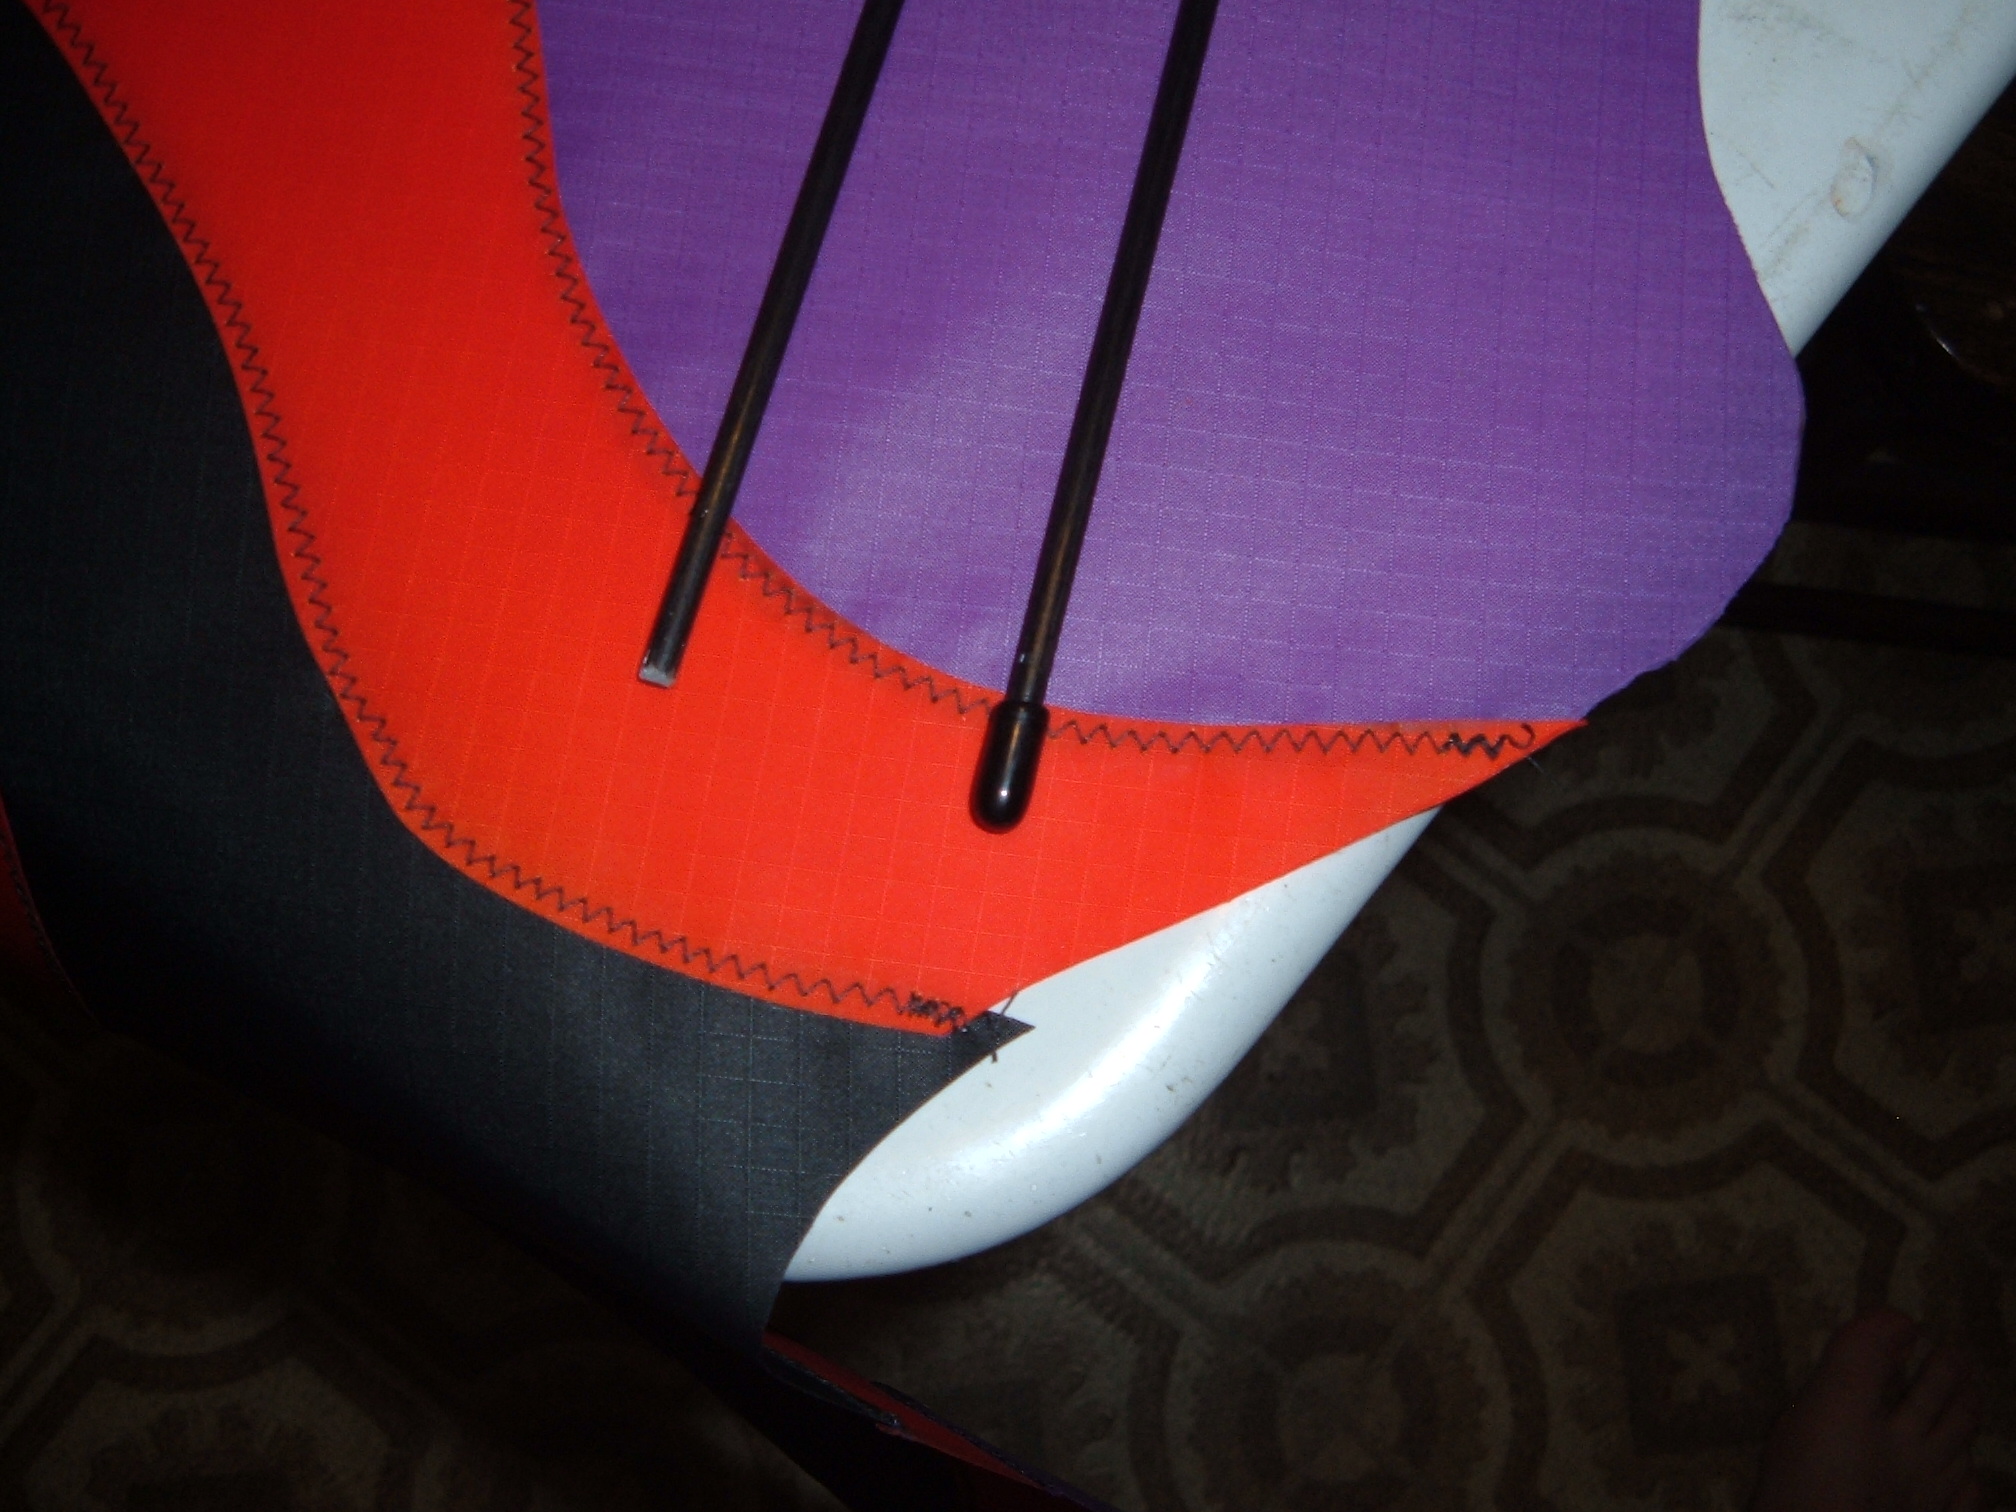
Find the openings into the leading edges of the kite (on some of the
cypods this might be at the nose, some it might be at the tail-in this
example the opening is at the tail). Carefully feed the long
rods into the sleeves-they will need a little push to get through the
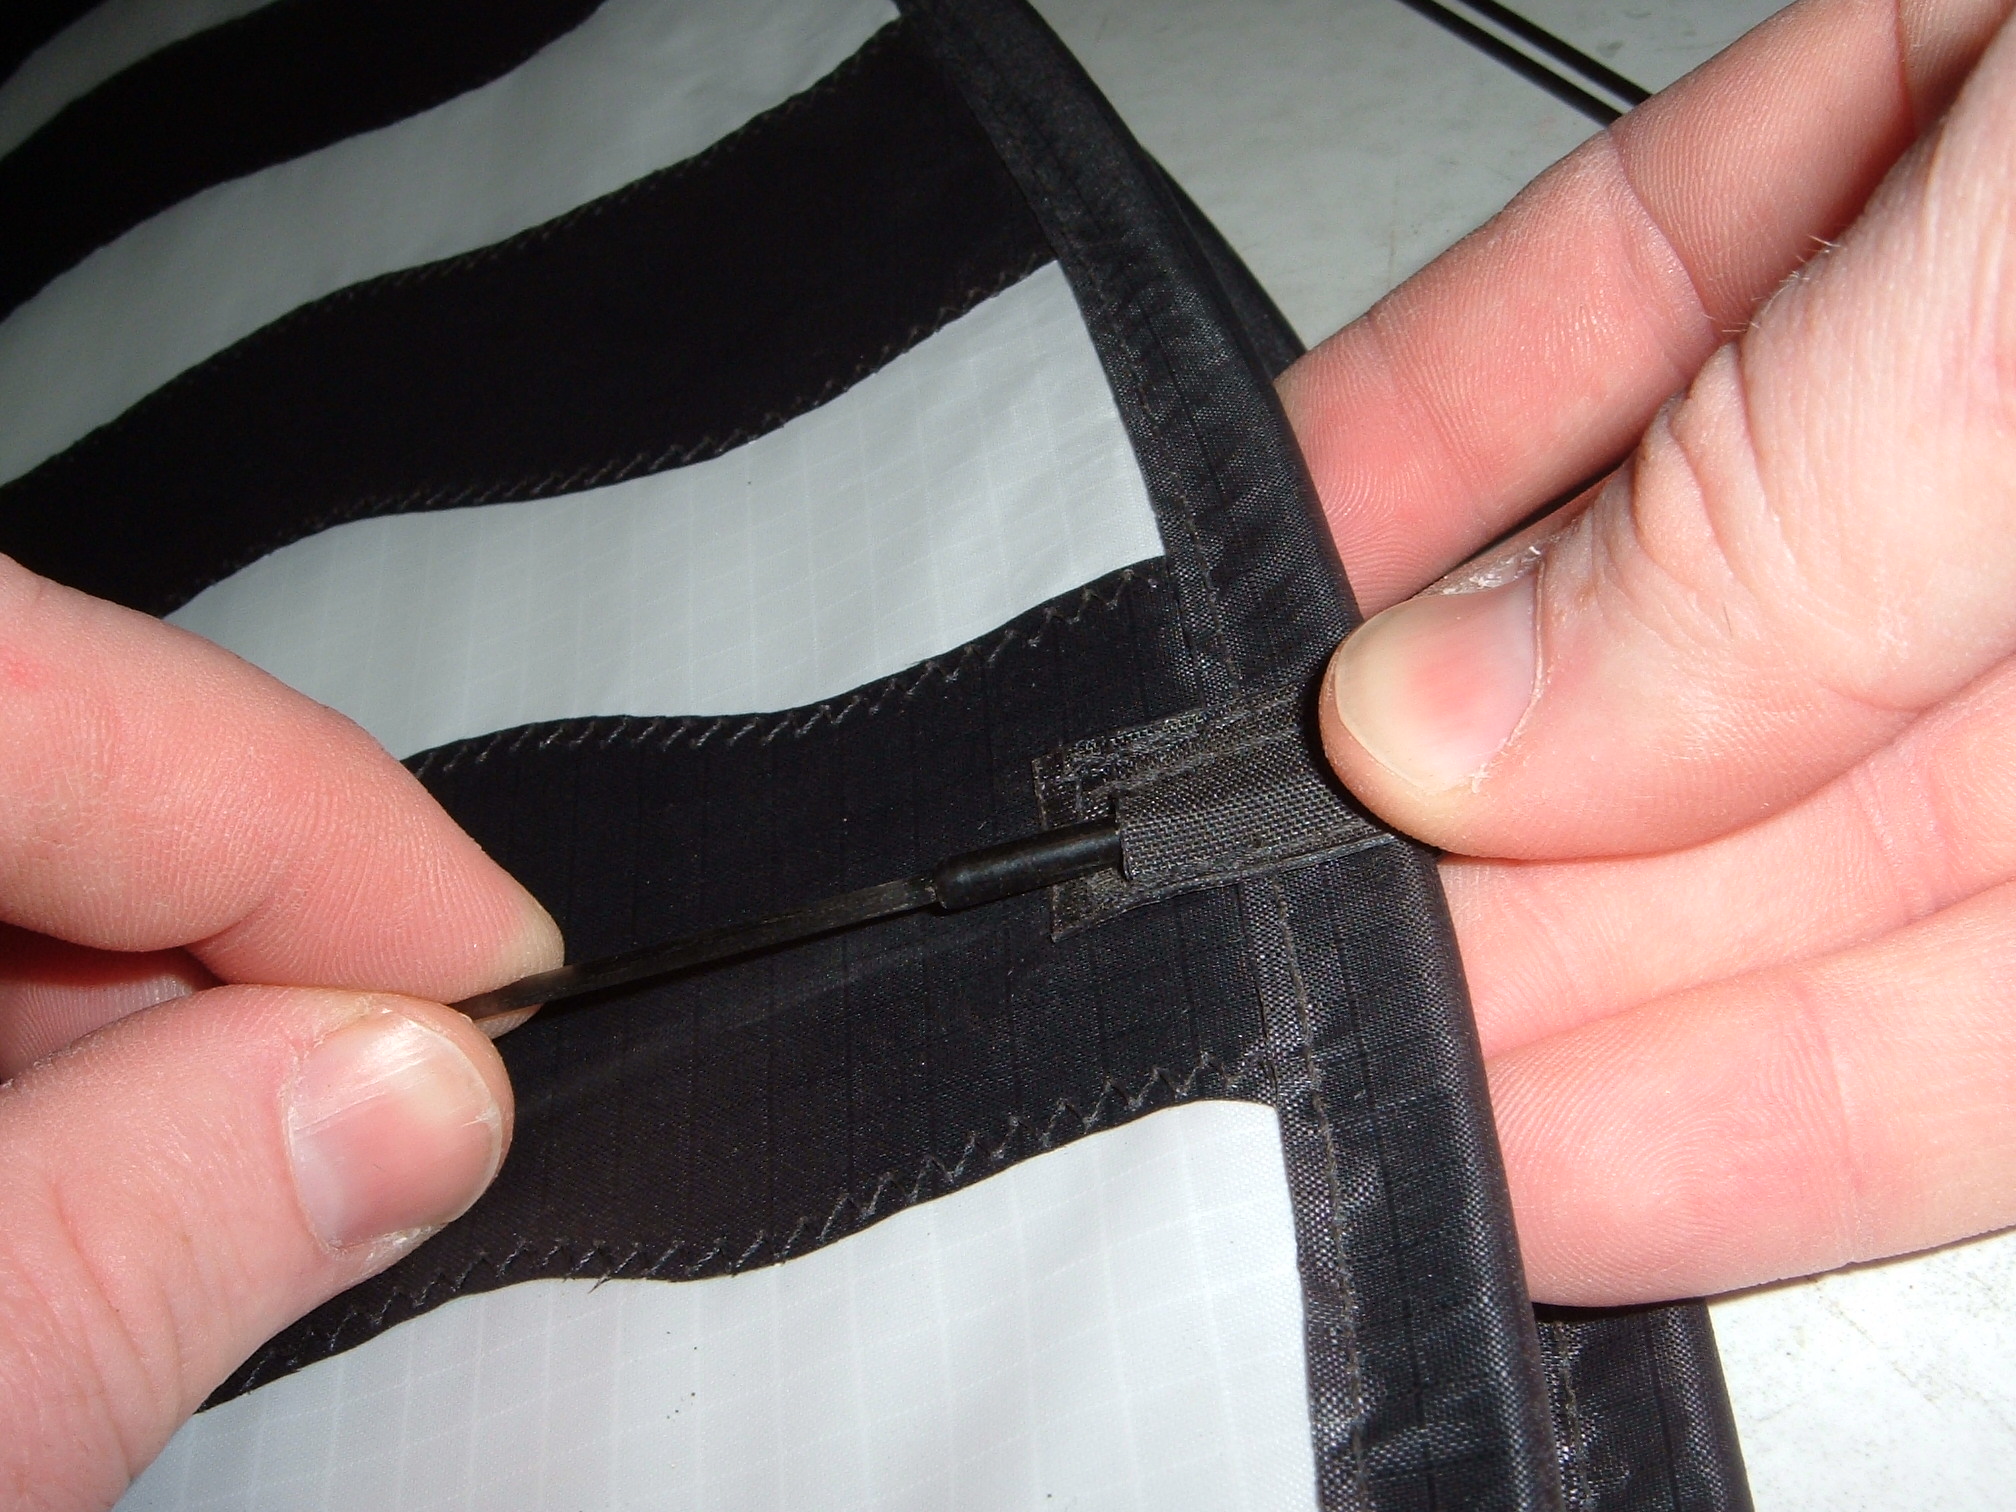
top of the bend. When the rod is all the way into the sleeve
you
can slip the tail end
of the rod into the opening to hold it in place. The rods should have
small rubber end caps when you get it. They might slip off
inside the sleeve. I advise making certain
that they are glued (Zap-a-Gap or such) on permanently-they are in
place to protect the ends of the sleeves from being punctured
by
the rod.
You should now have three wings.
At the mid point of the bend there are small pockets.
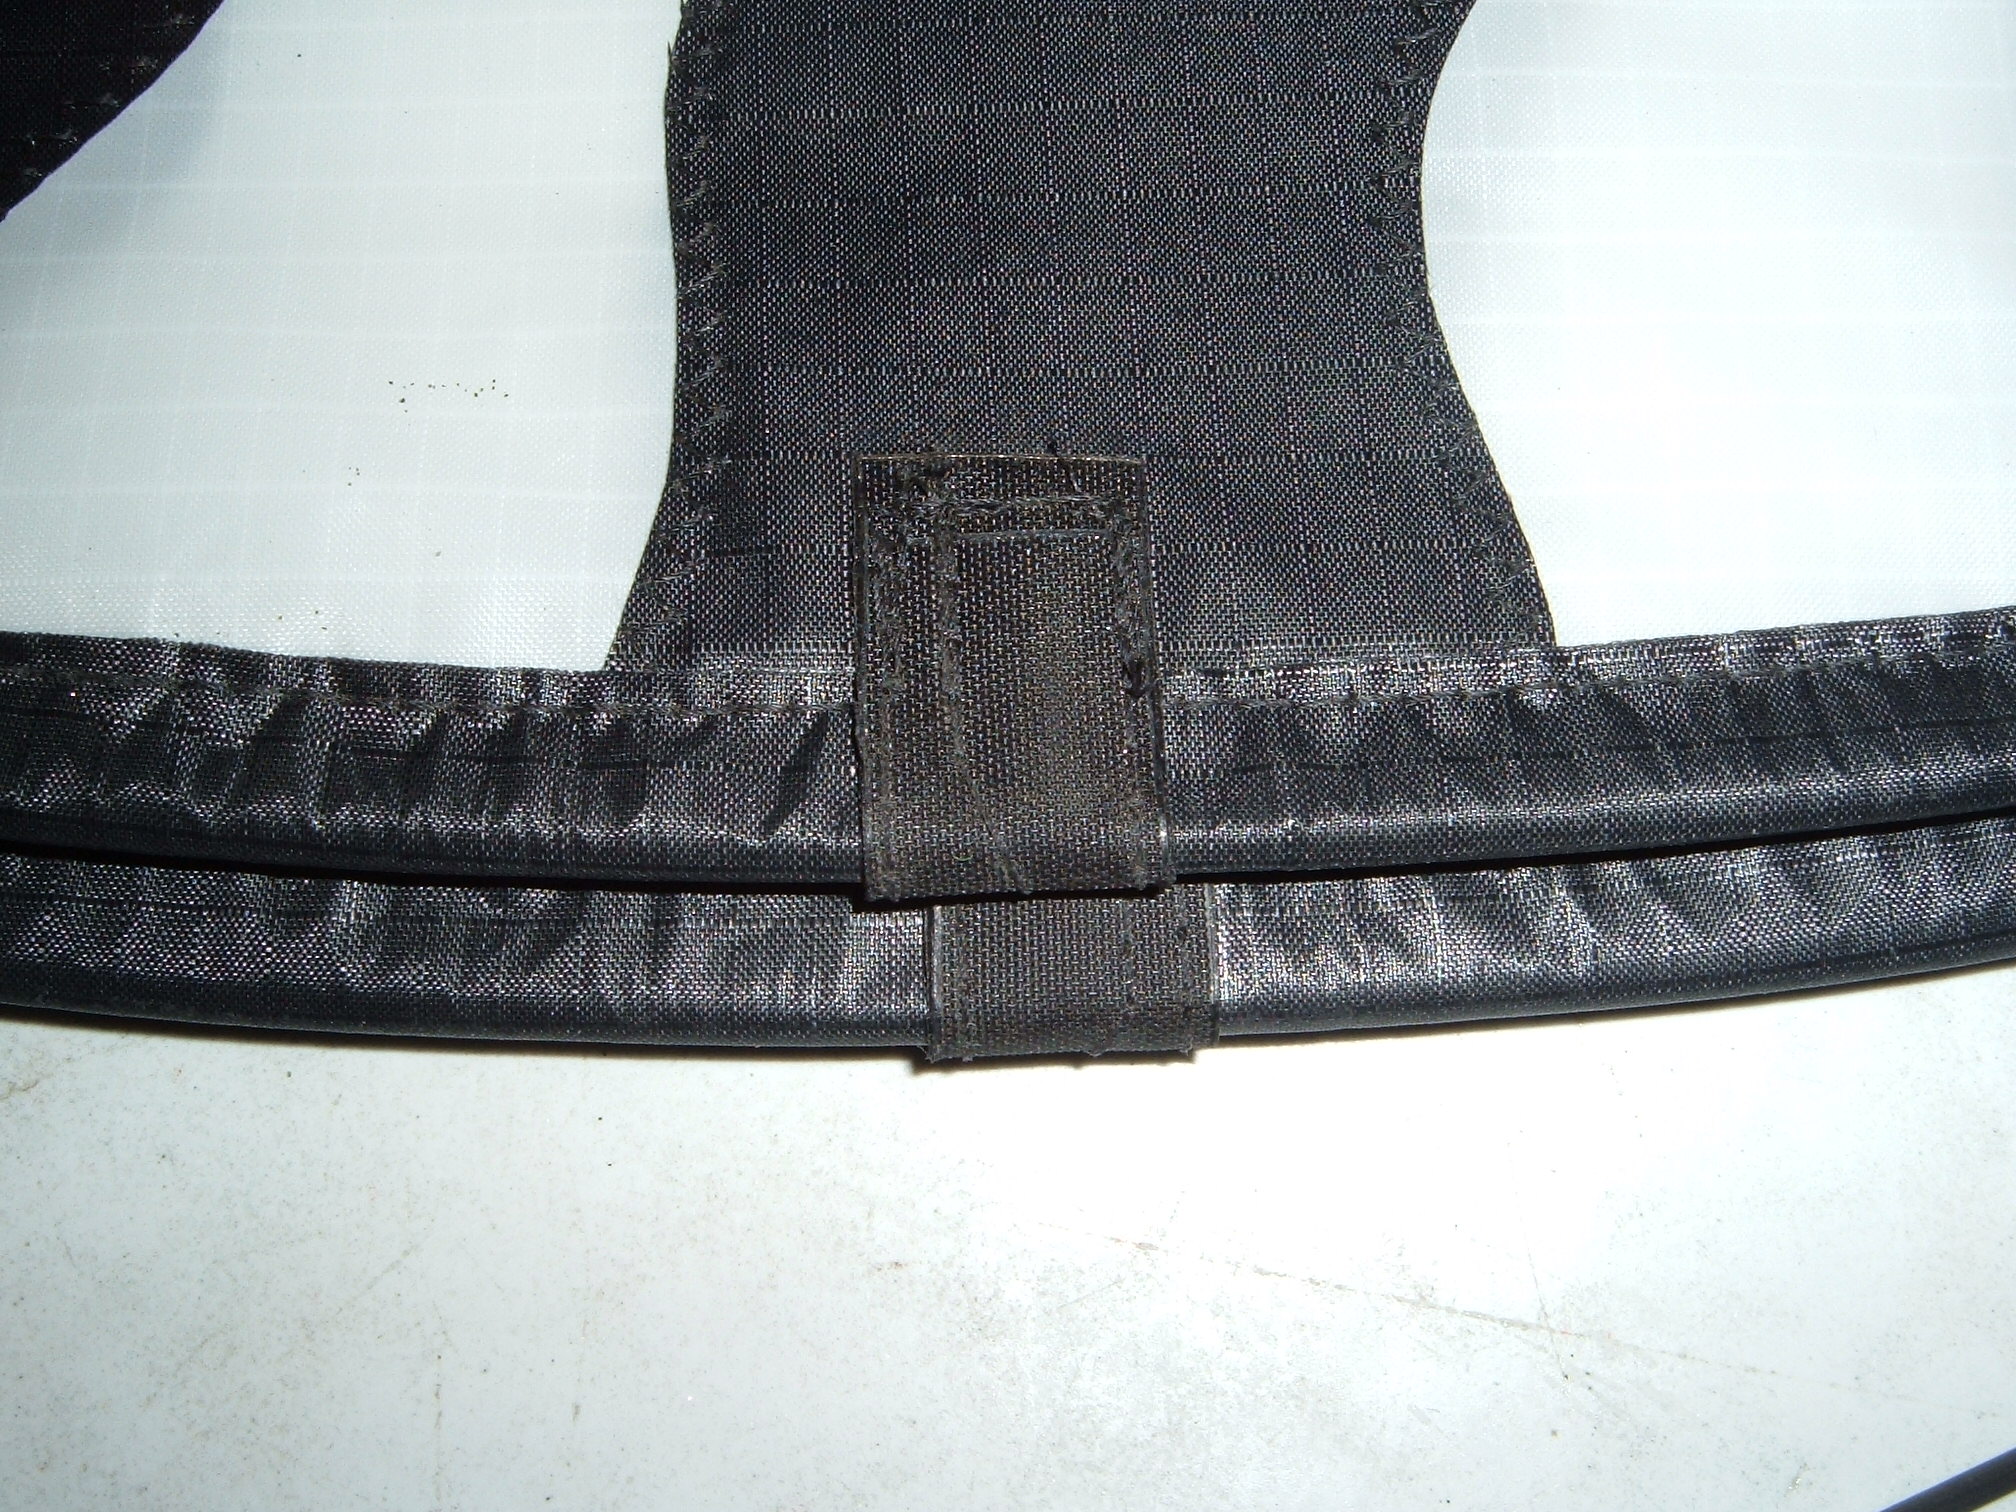
Take the end of the shorter rod and slip it into one of the pockets.
Then take the far end of that same rod and slide it into the
pocket on the next wing. You will need to bend
the rod into the correct shape.
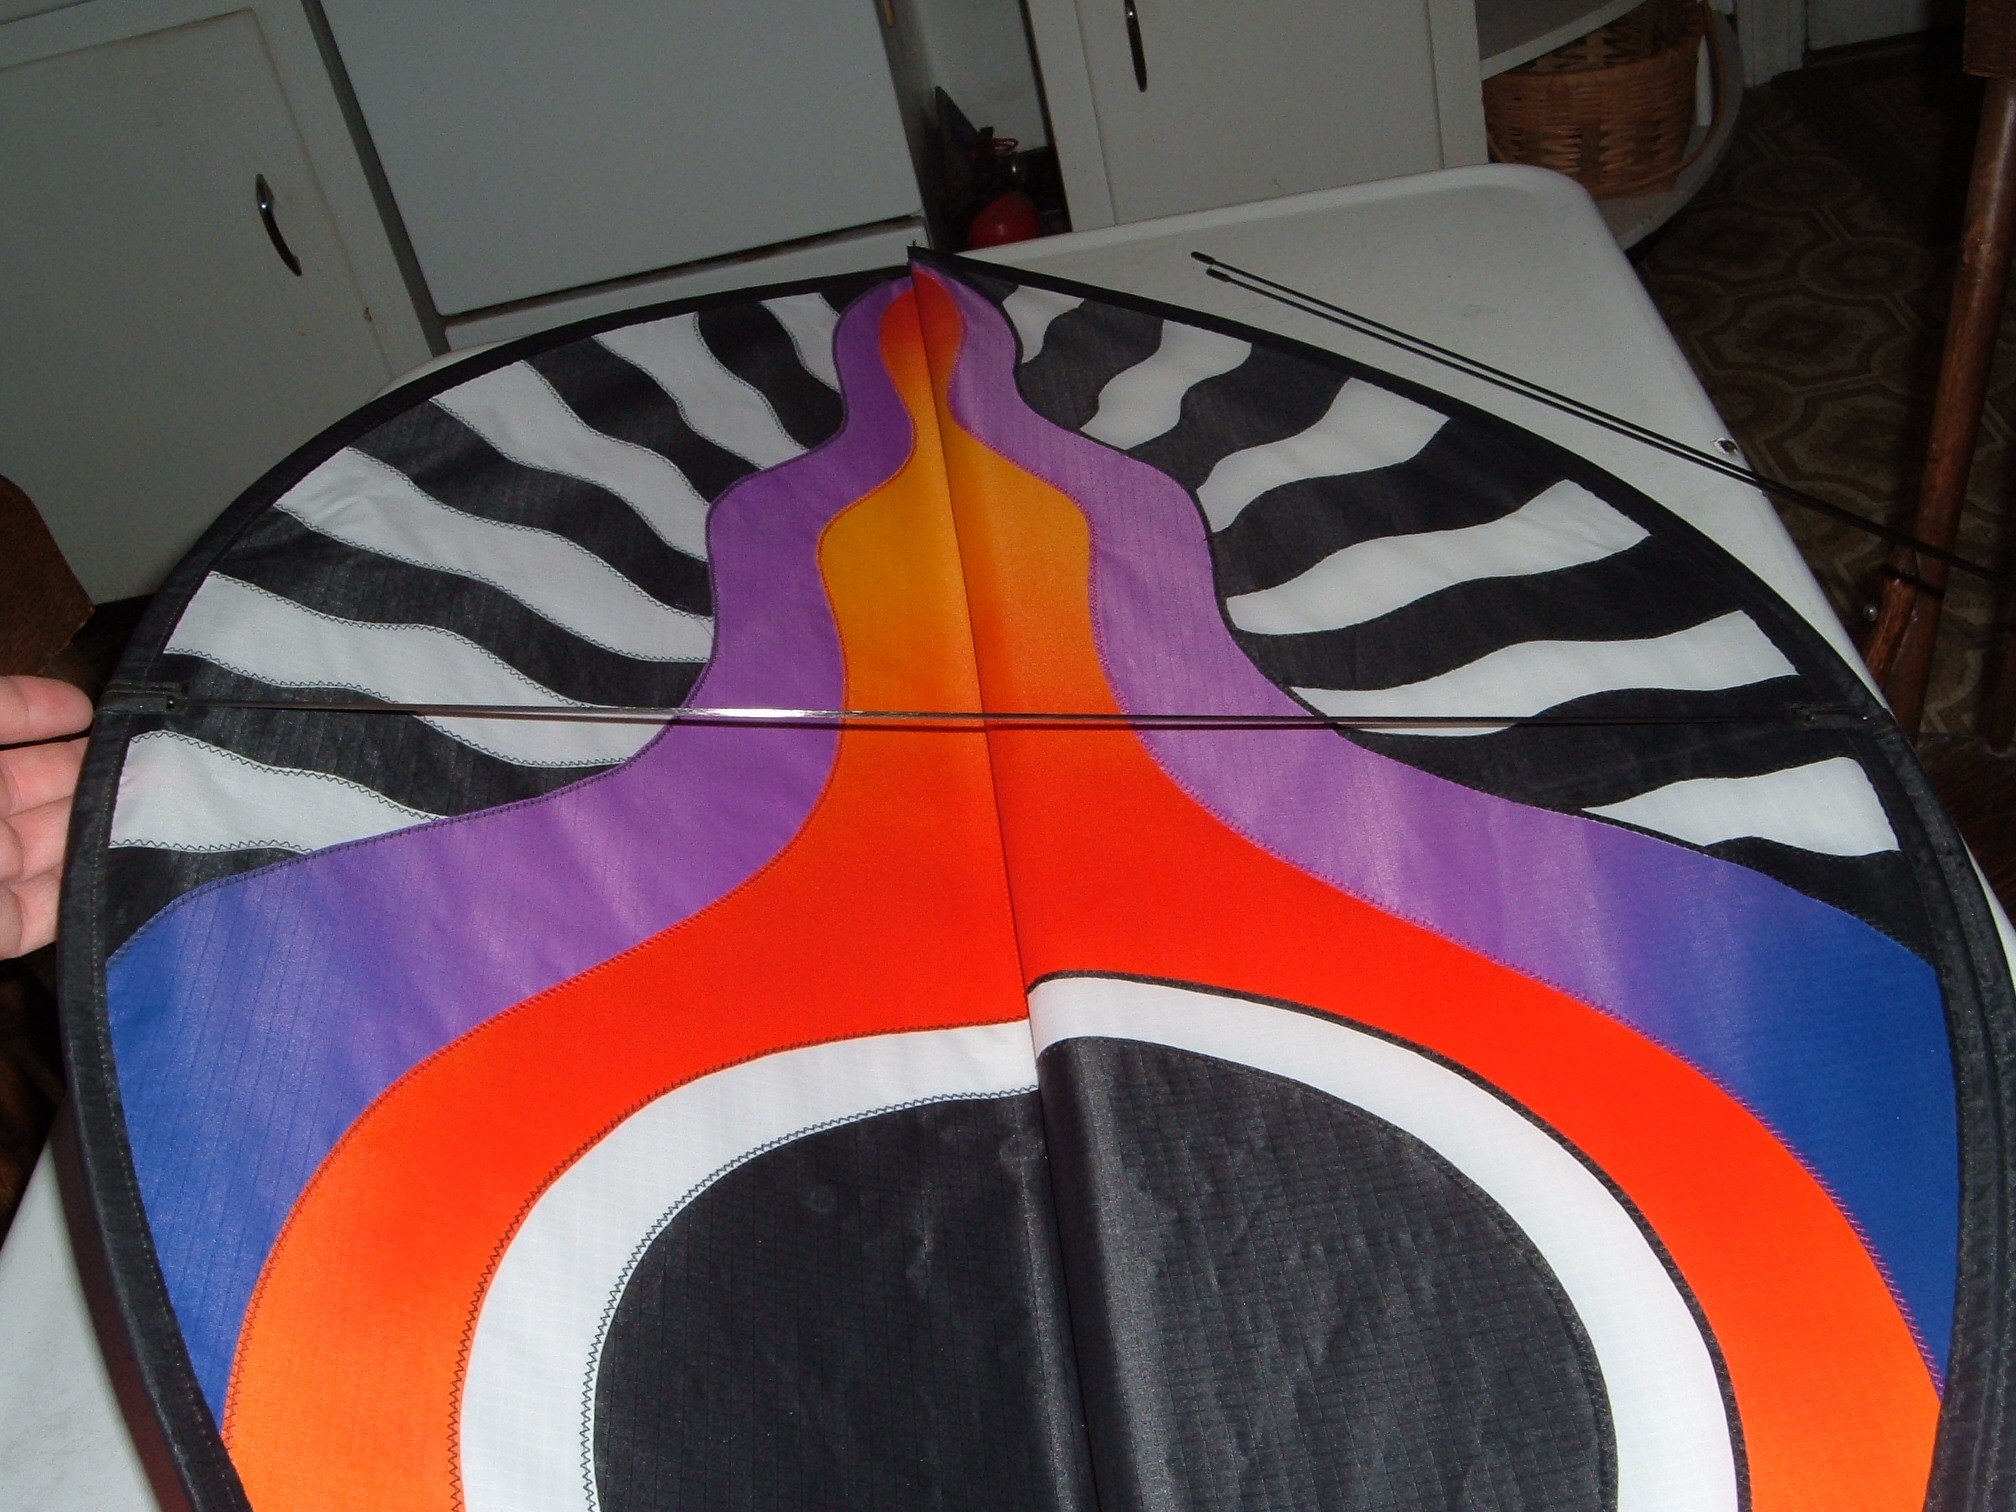
Continue this assembly all the way around.
Your kite should now look like it is in the shape of a Y from the end.
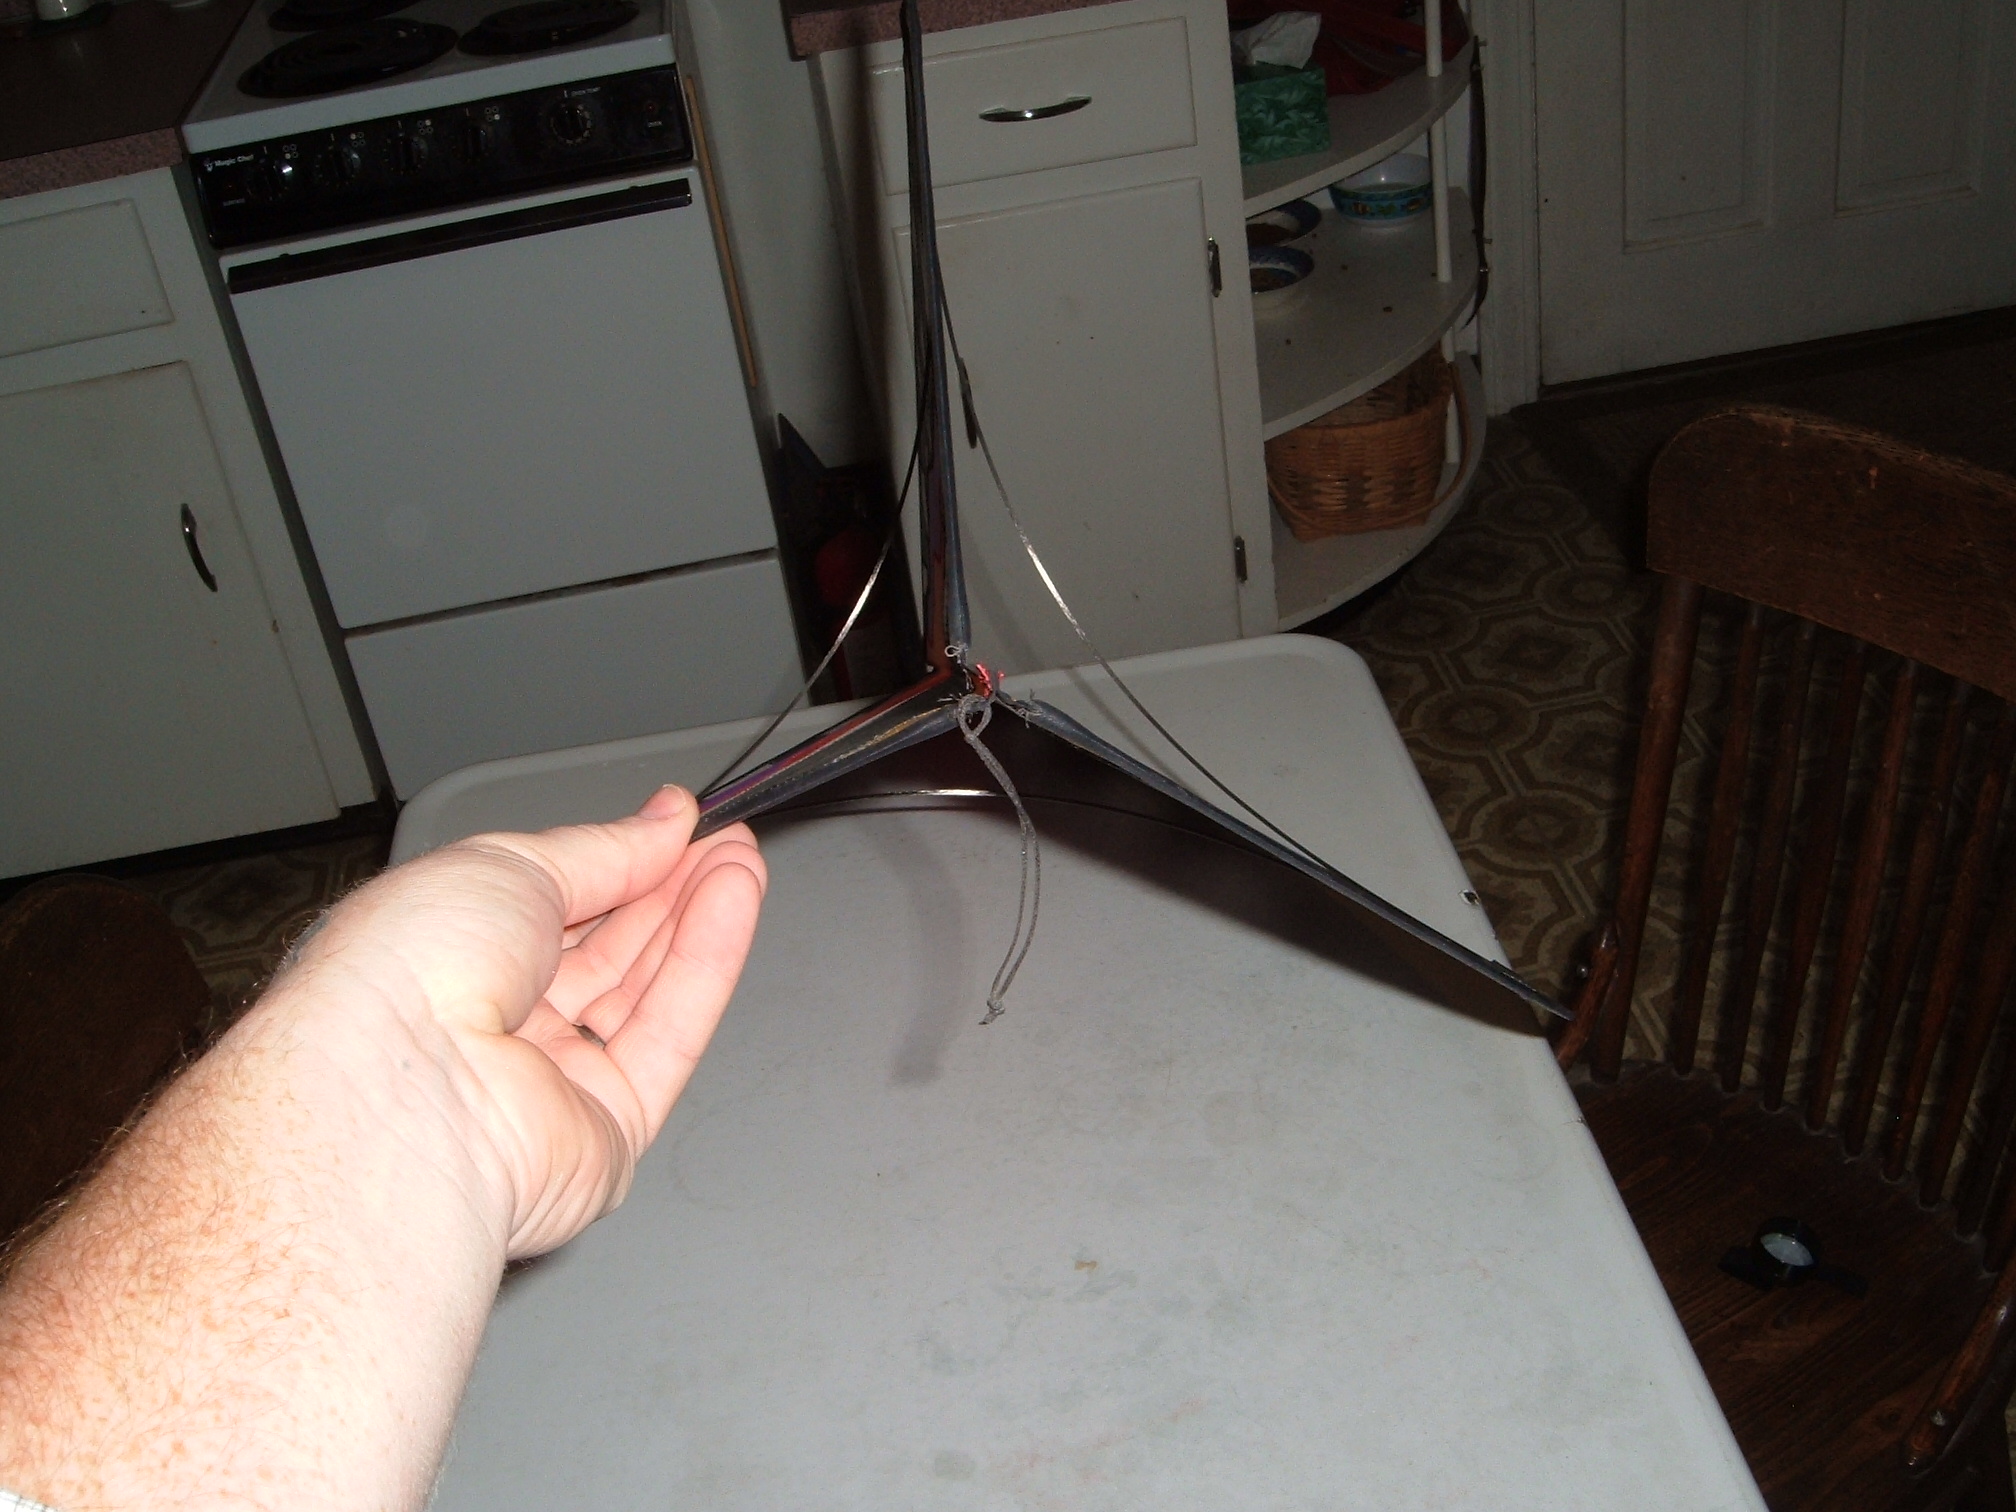
One wing will be pointing down towards the ground when you fly it.
There will be a small loop of line (a pigtail),
and a
series of holes. Those holes are the "bridle
adjustments".
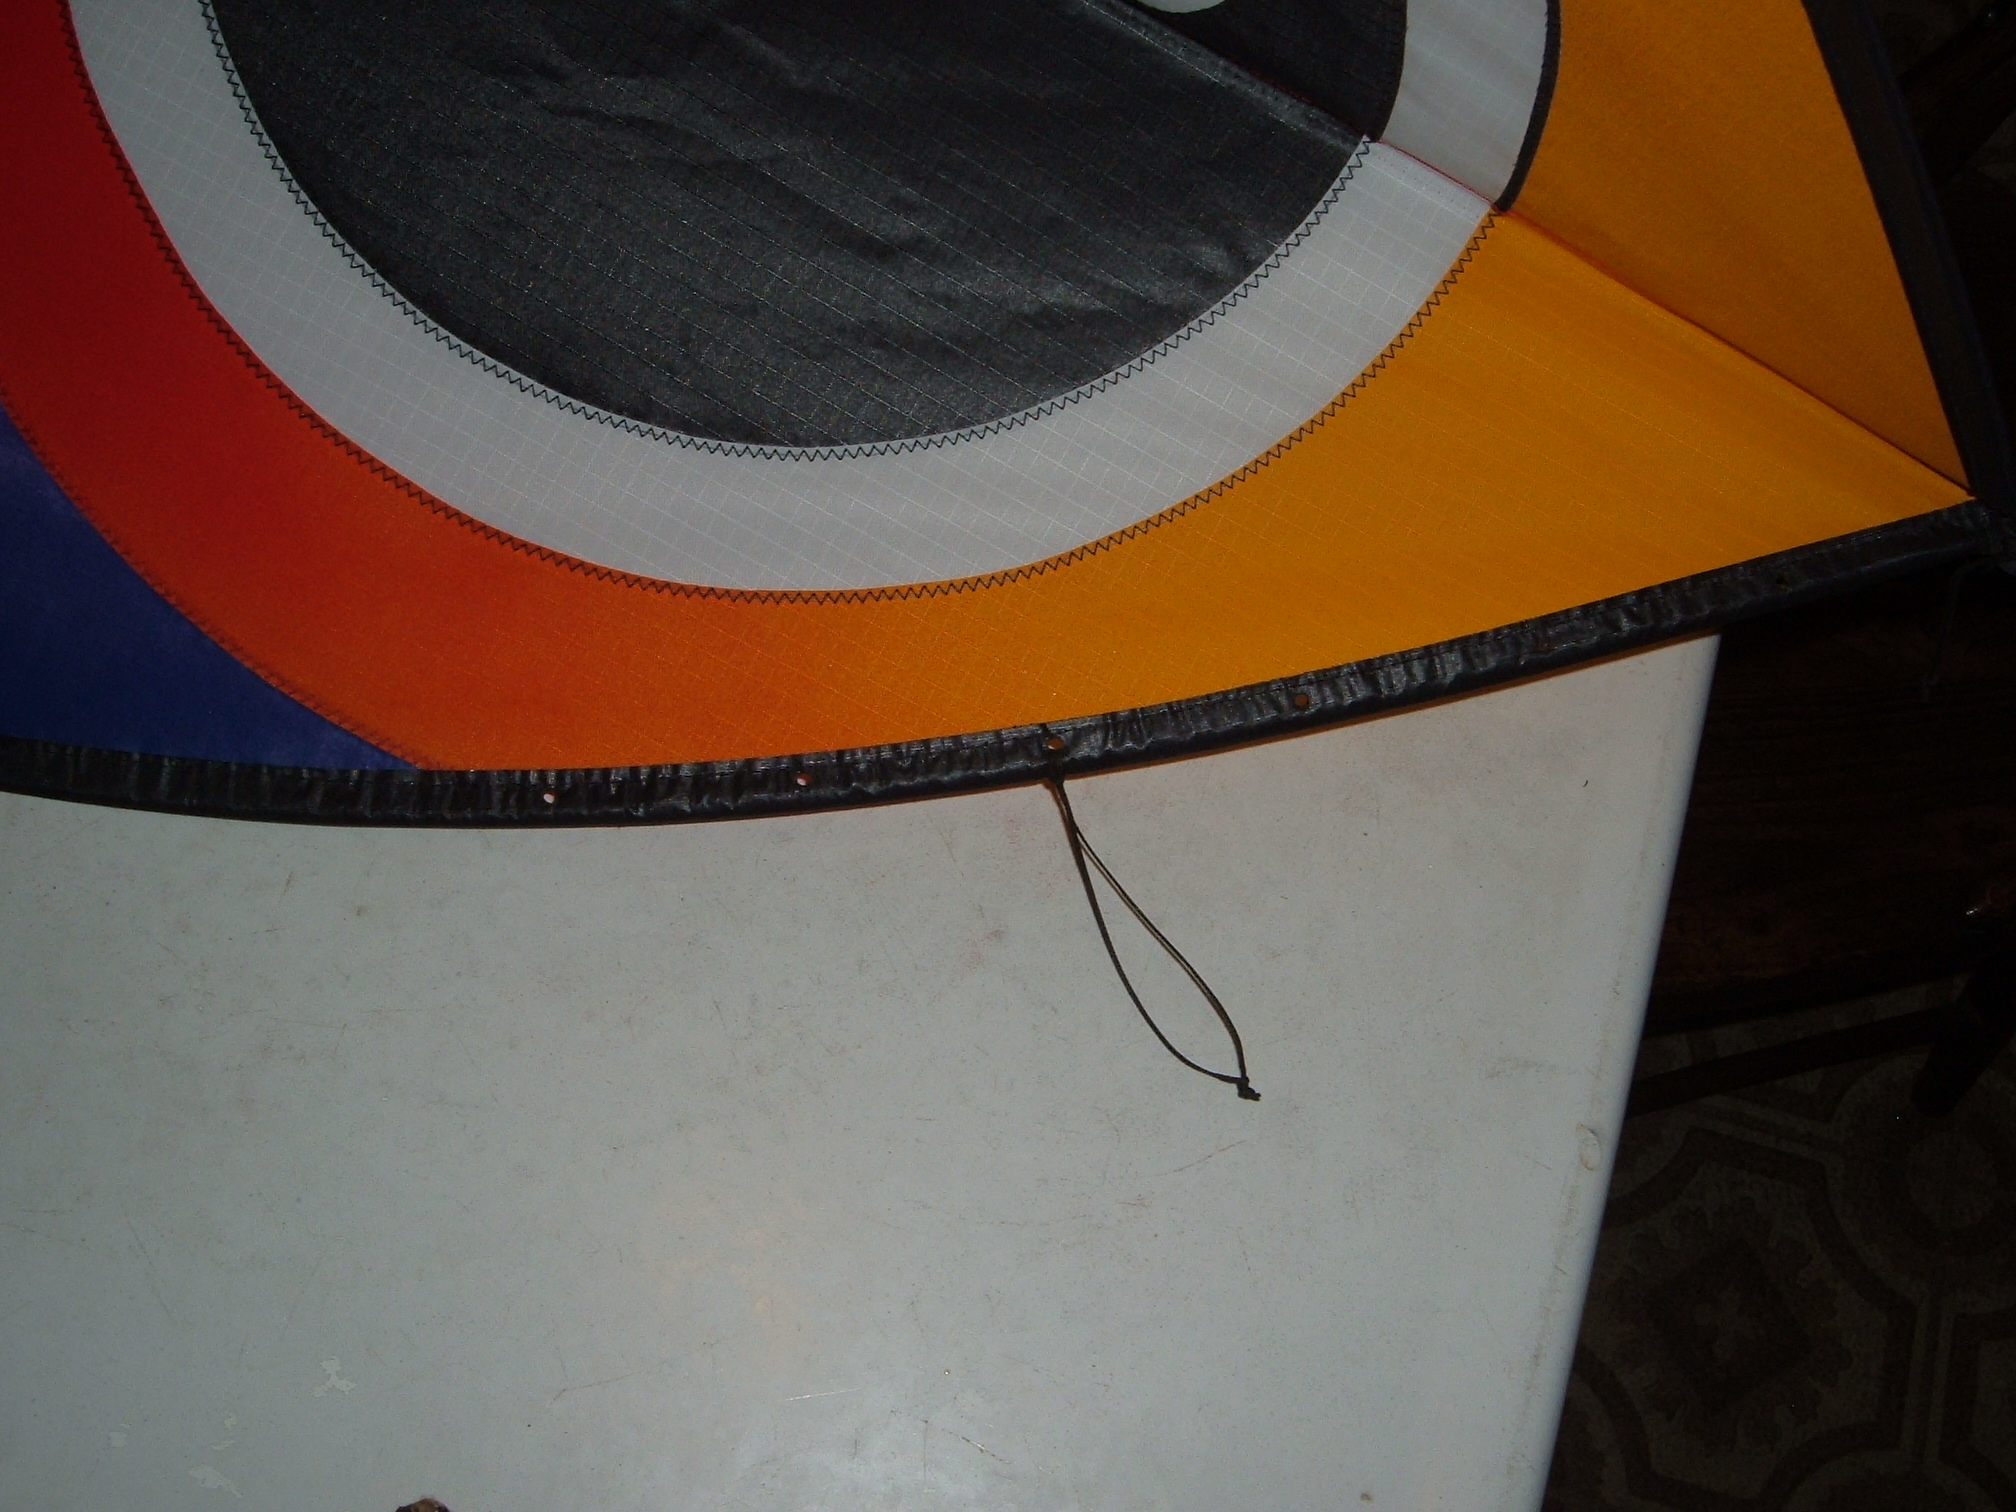
You can make the kite fly differently by looping the pigtail into
different holes before attaching your line.
Play around with the adjustments-you might find the perfect placement
for your wind conditions (personally i never have changed mine).
GO FLY!
To disassemble your kite reverse the above directions.
Decoy assembly
Decoys have two loose rods with them.
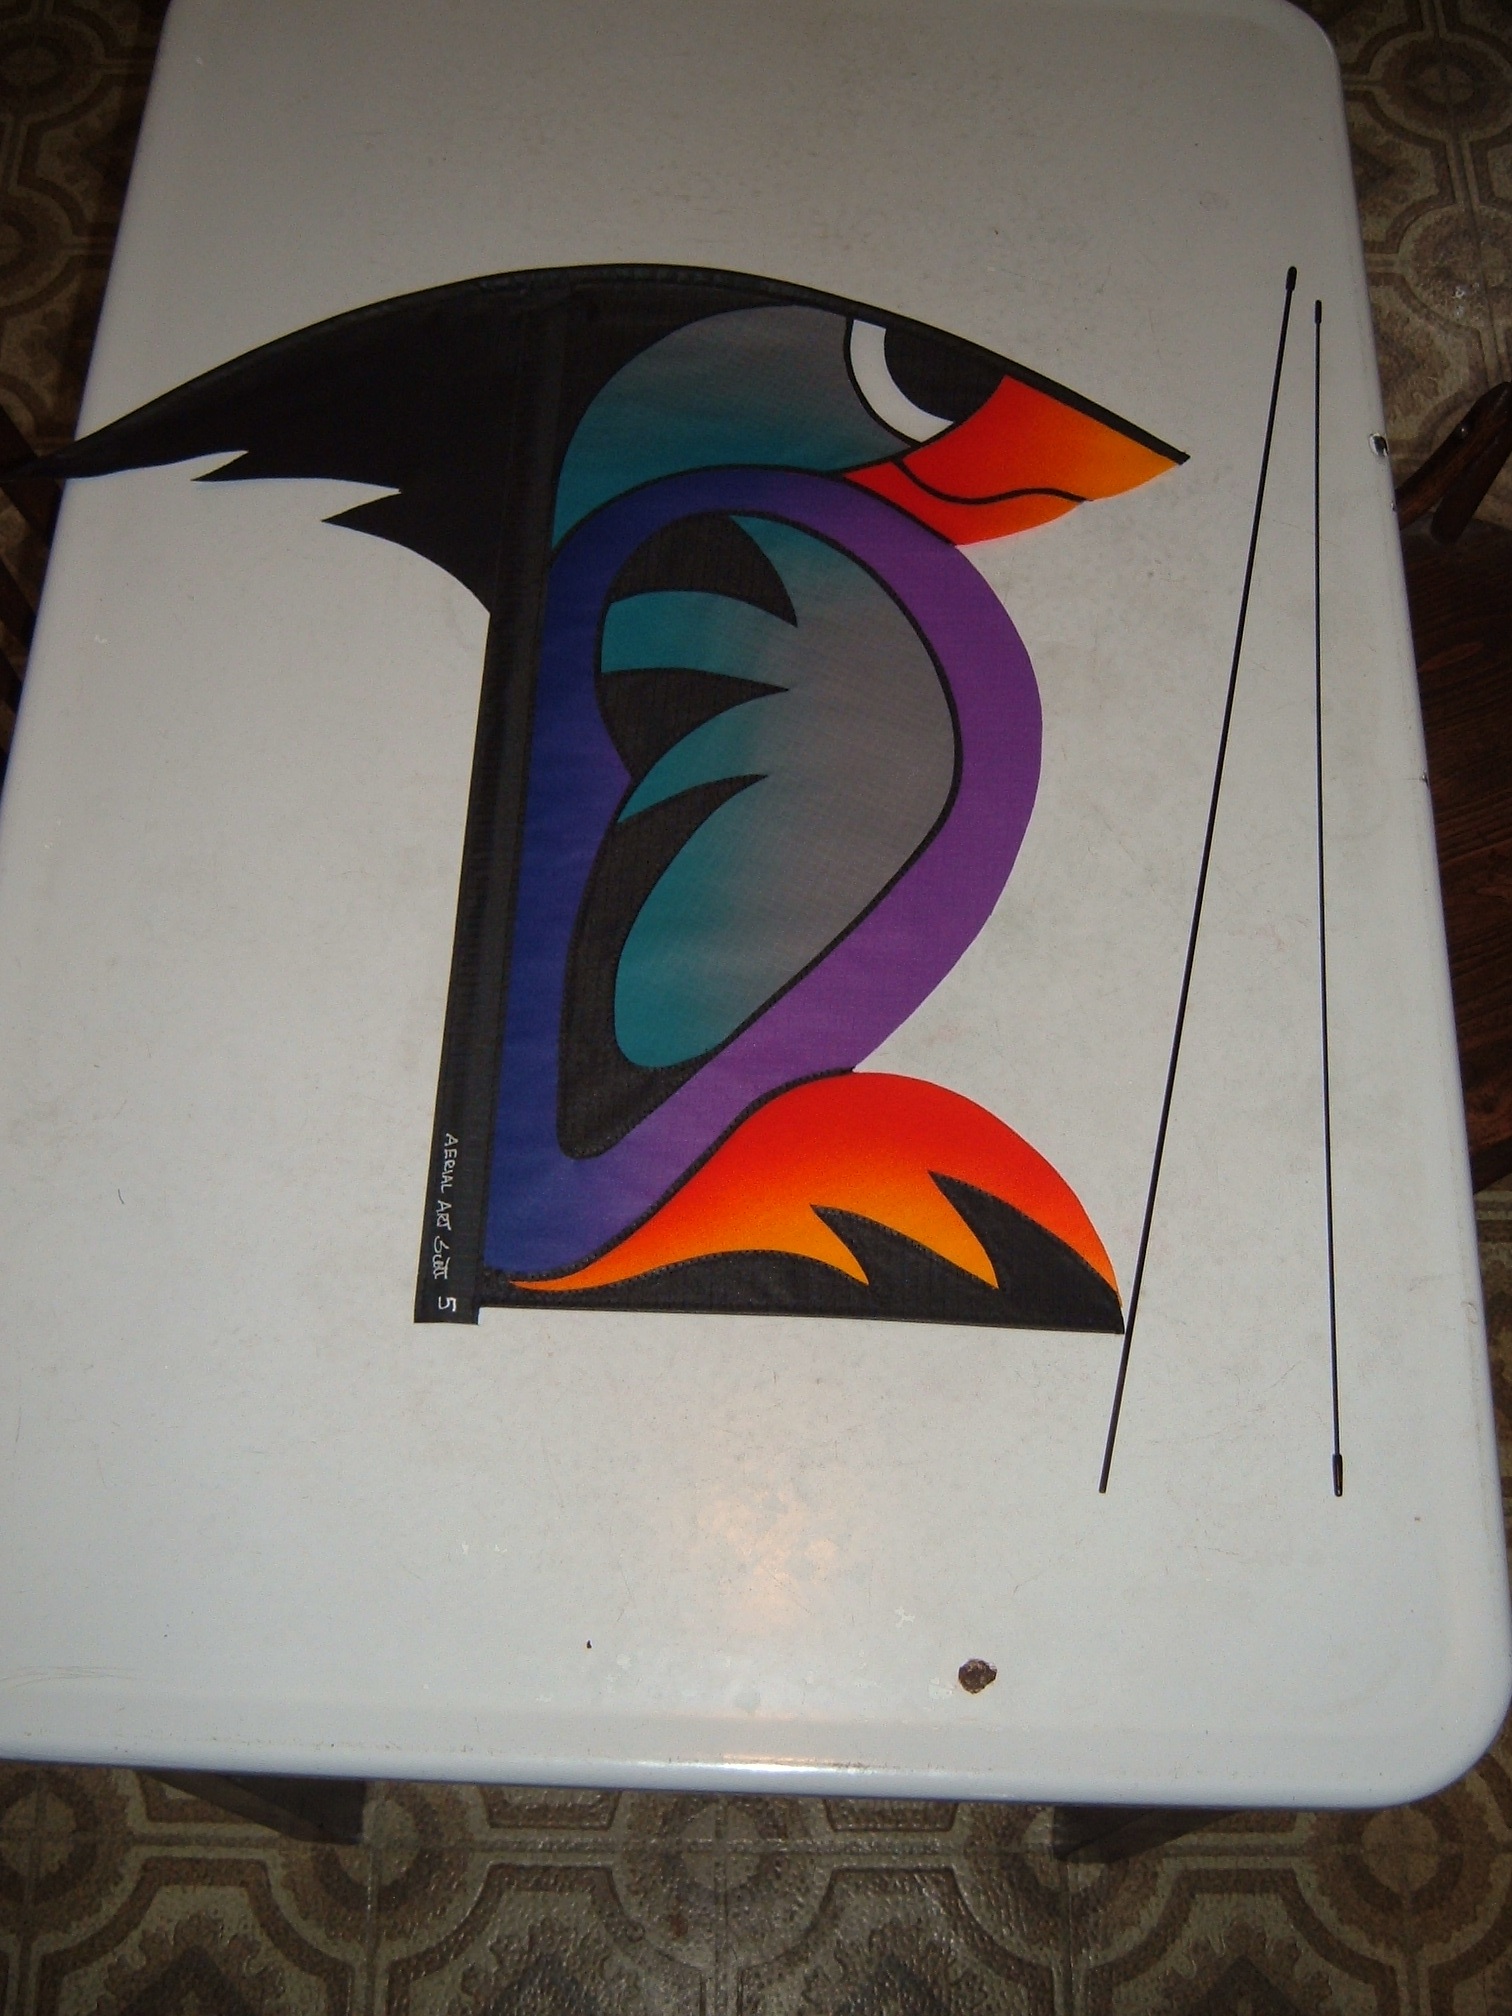
The shorter rod is the head rod. It is inserted into a hidden
pocket on the head. It will hold the head up and
proud!
The long rod is the spine.
The long rod goes up into a pocket at the back of the feet; this rod
allows the Decoy to swing with the breezes.
The Decoys have a third smaller rod in the bottom of the feet.
This keeps the feet out straight so they do not curl around.
This rod stays in place when put away.
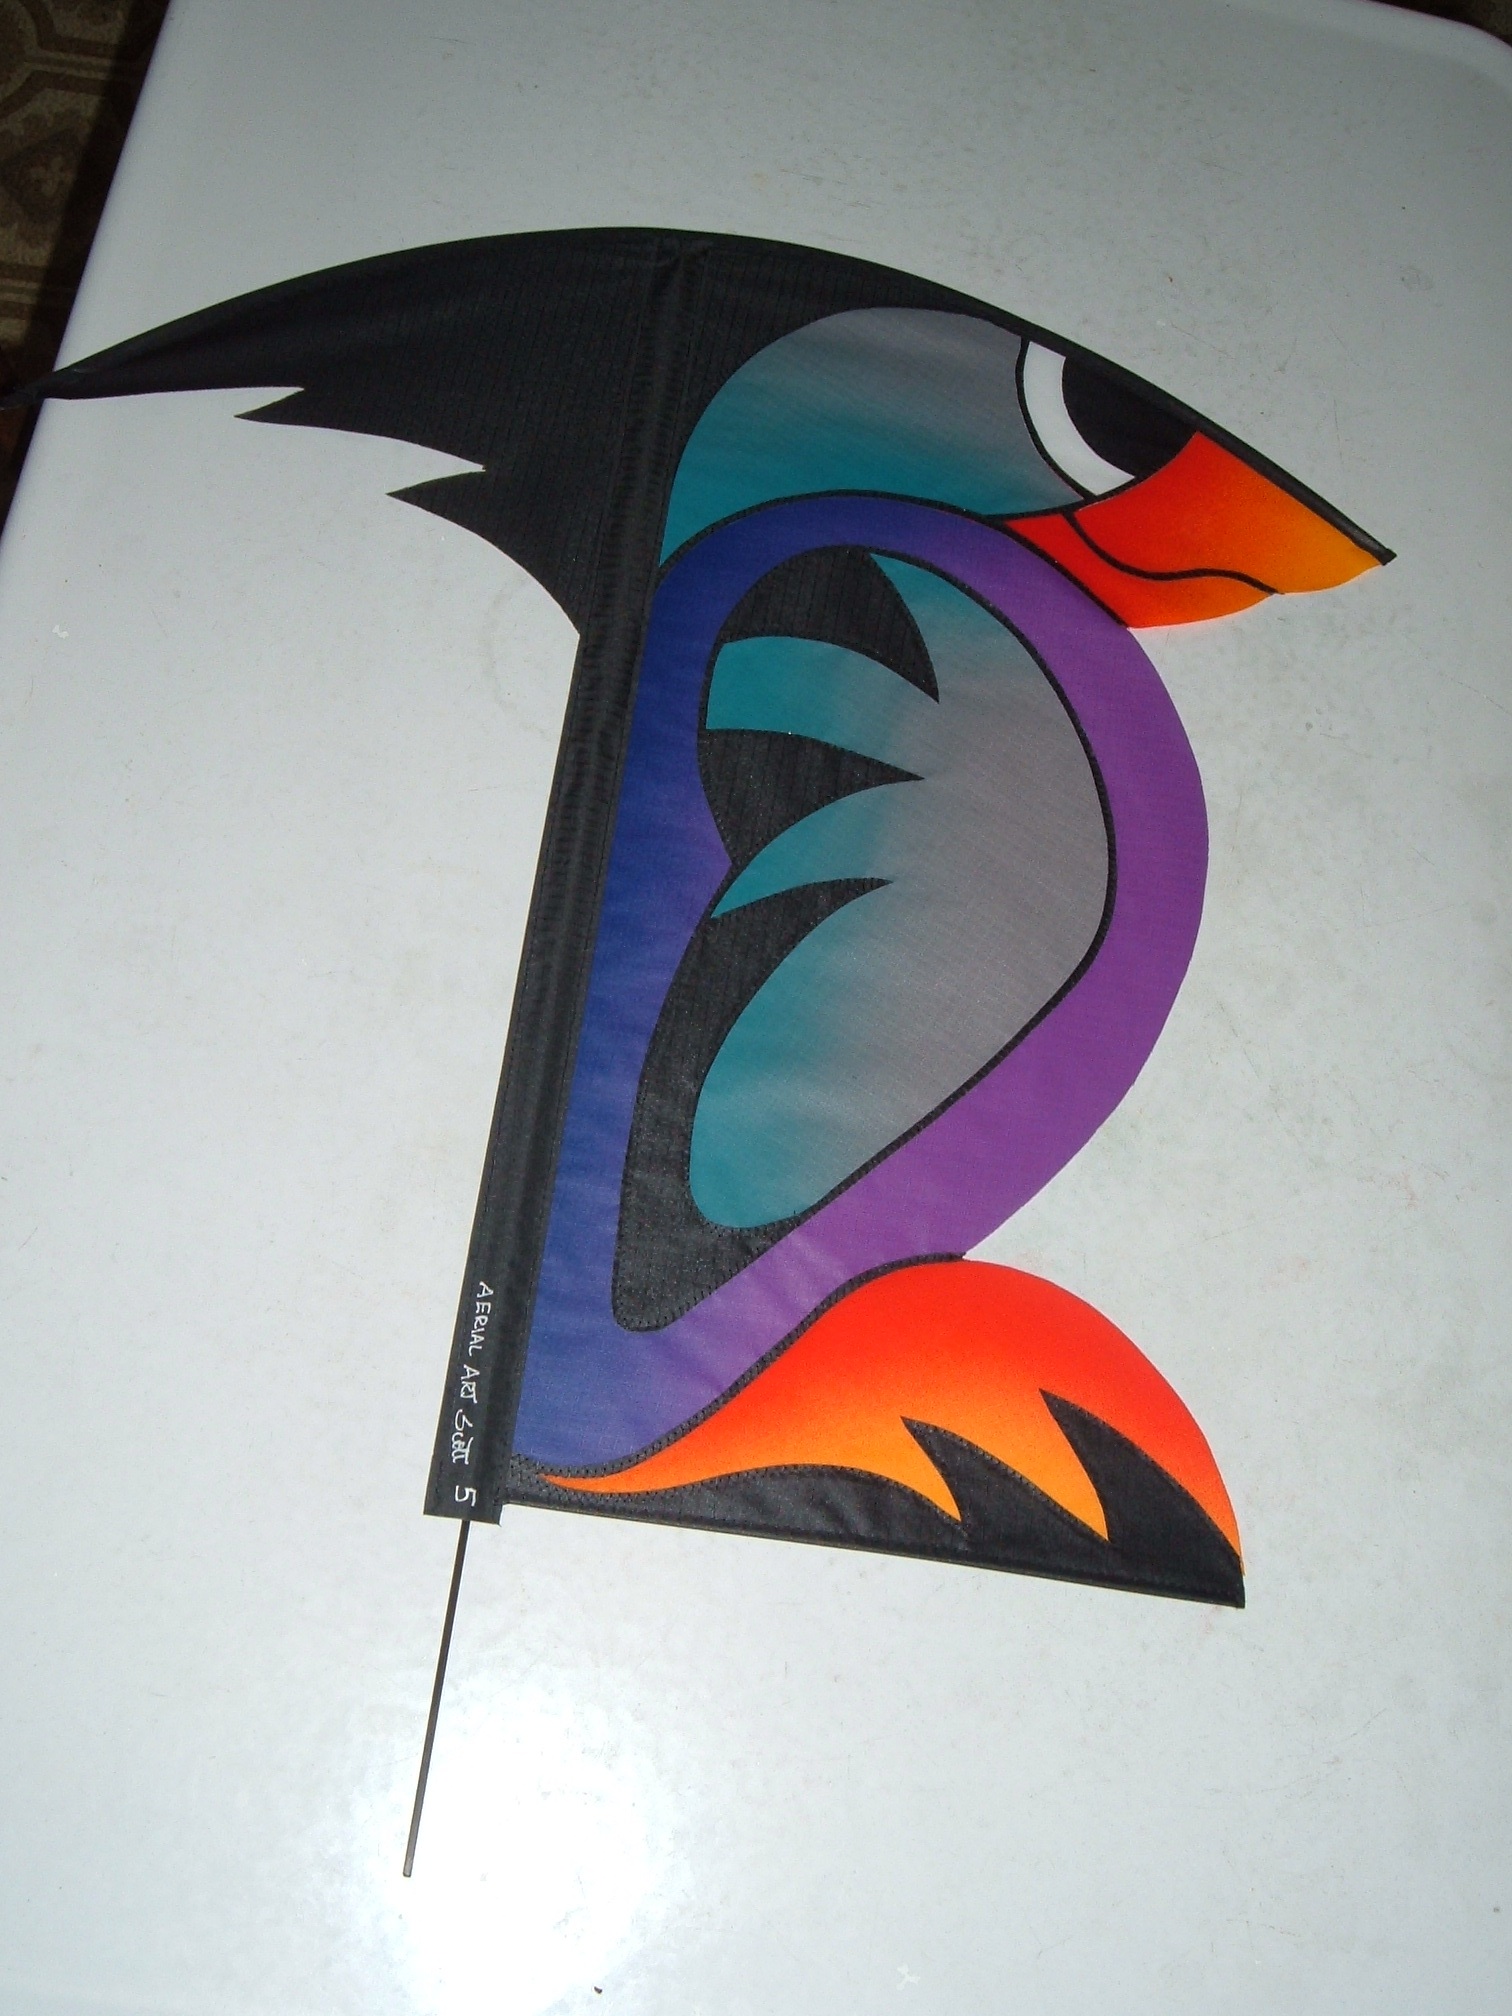
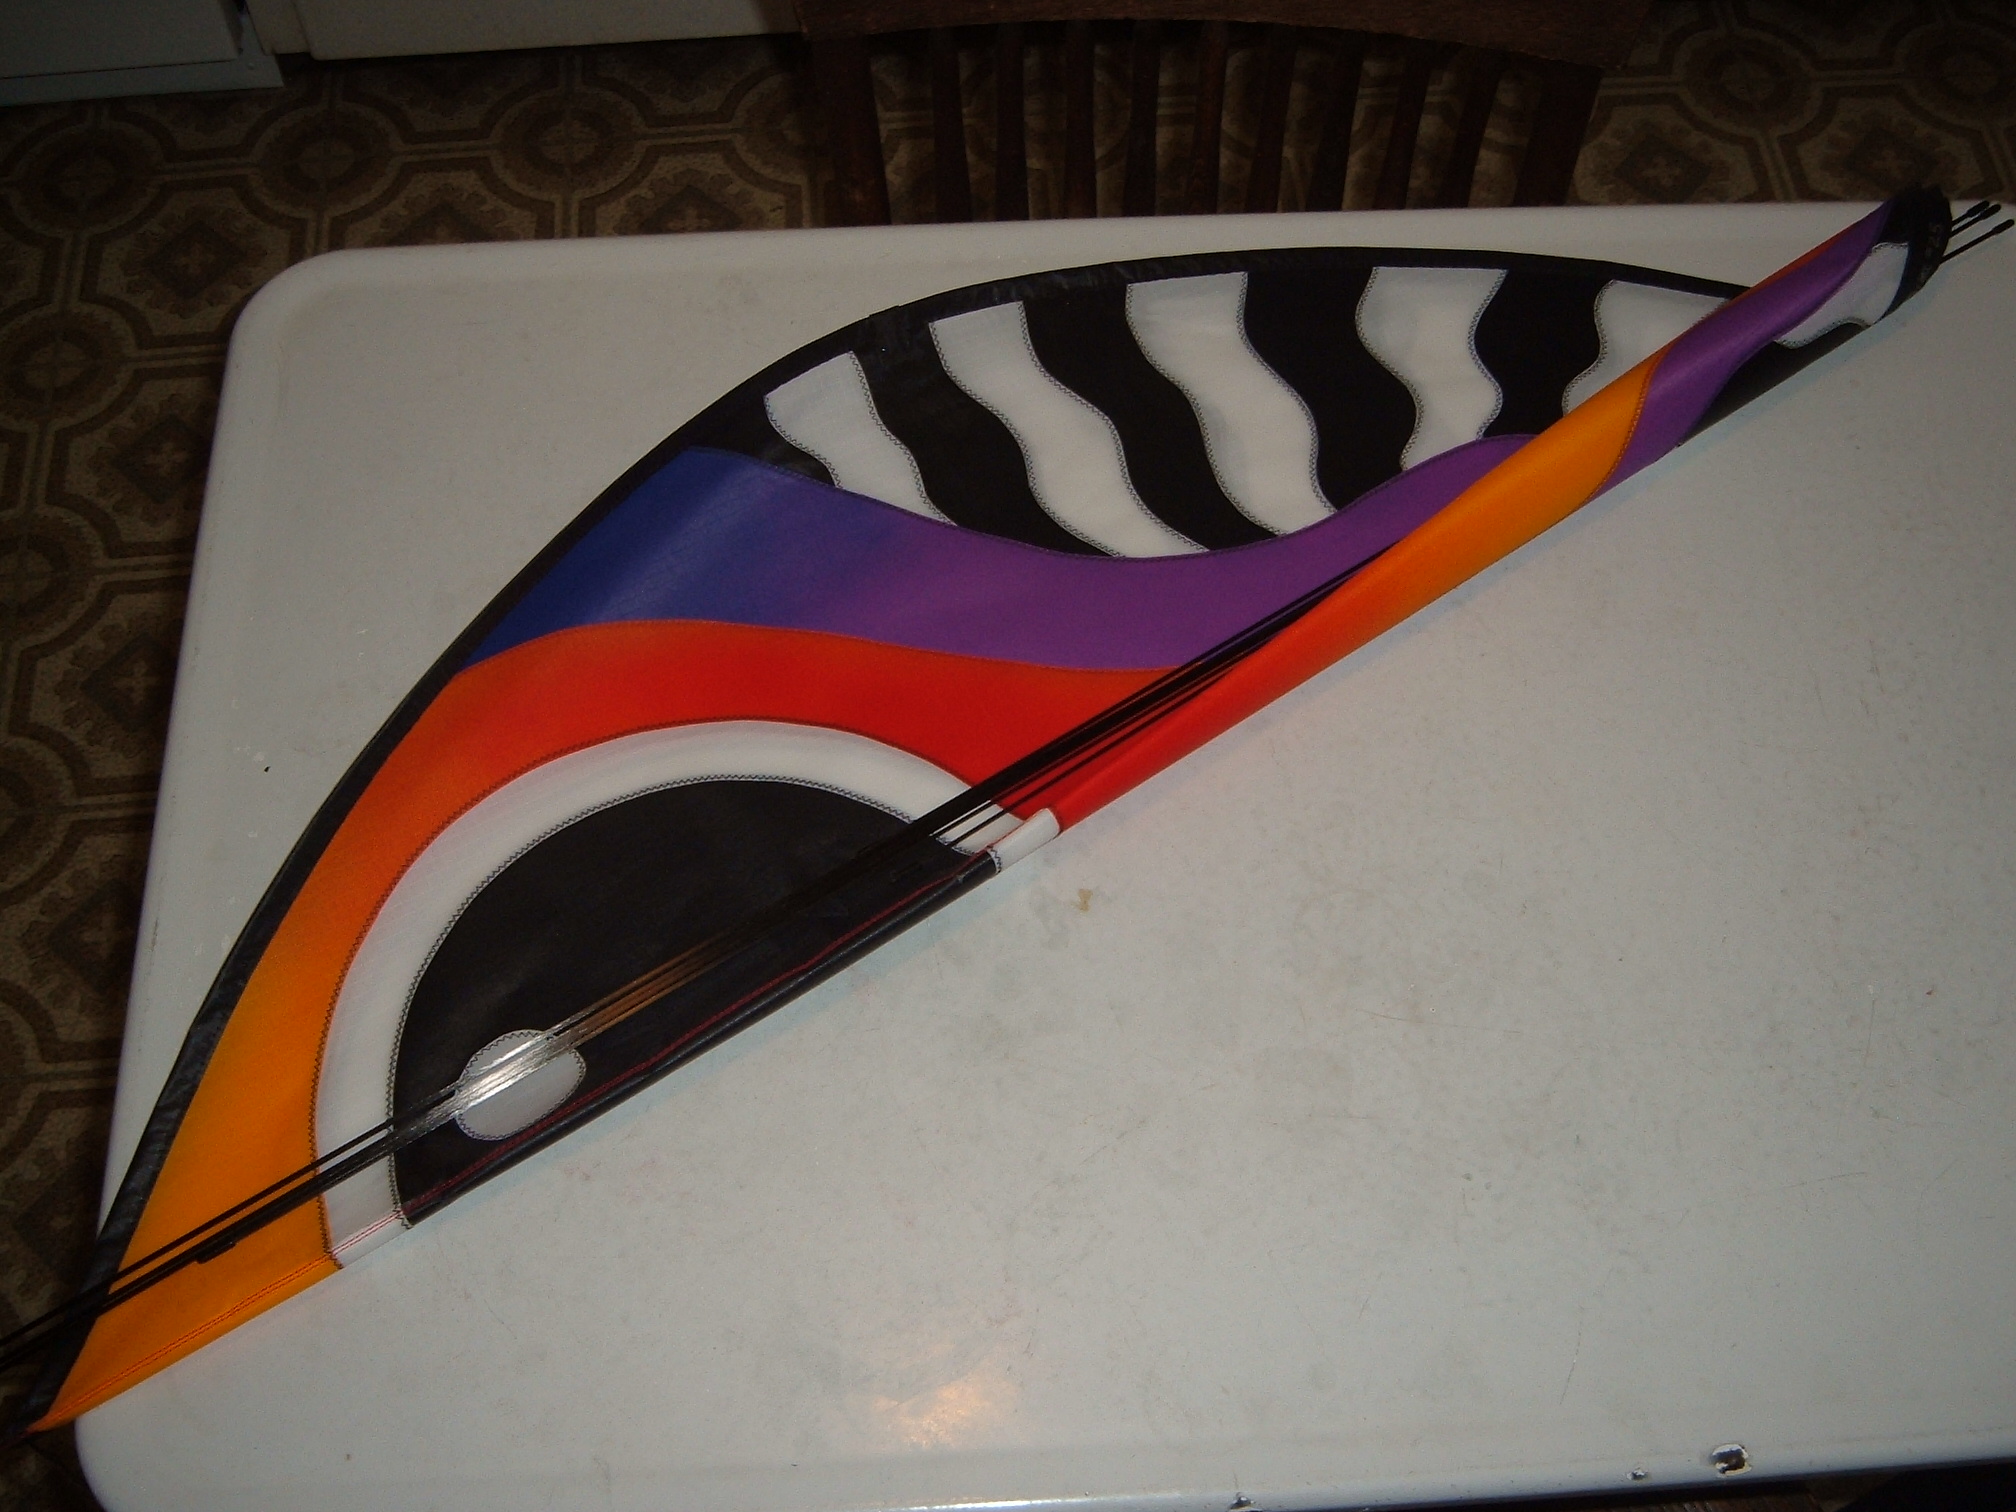
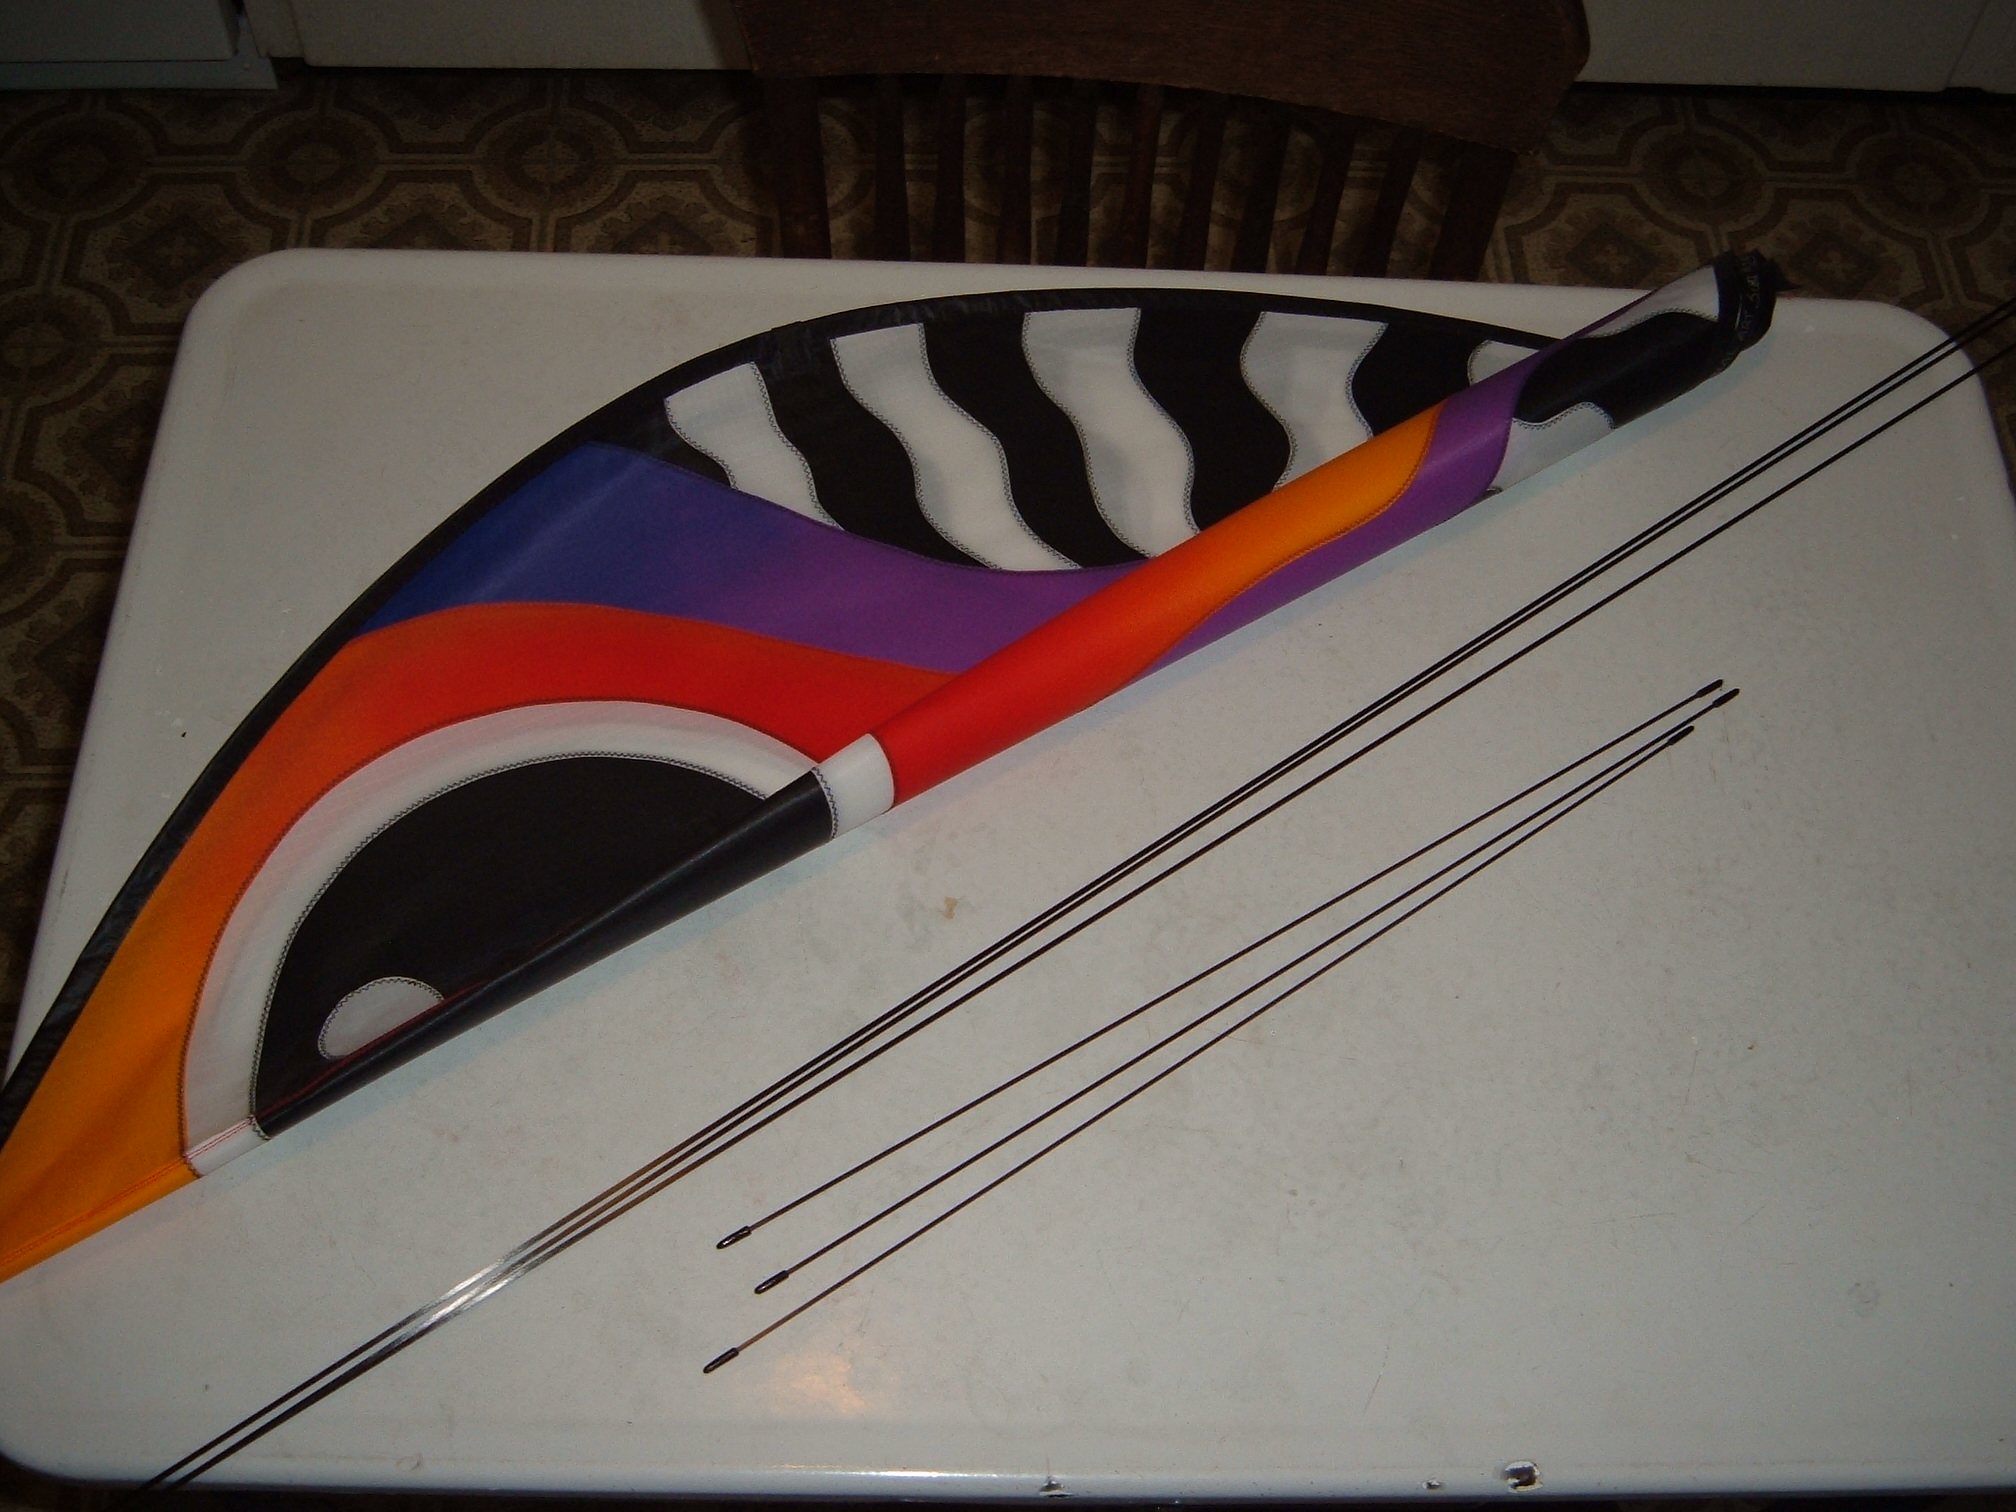
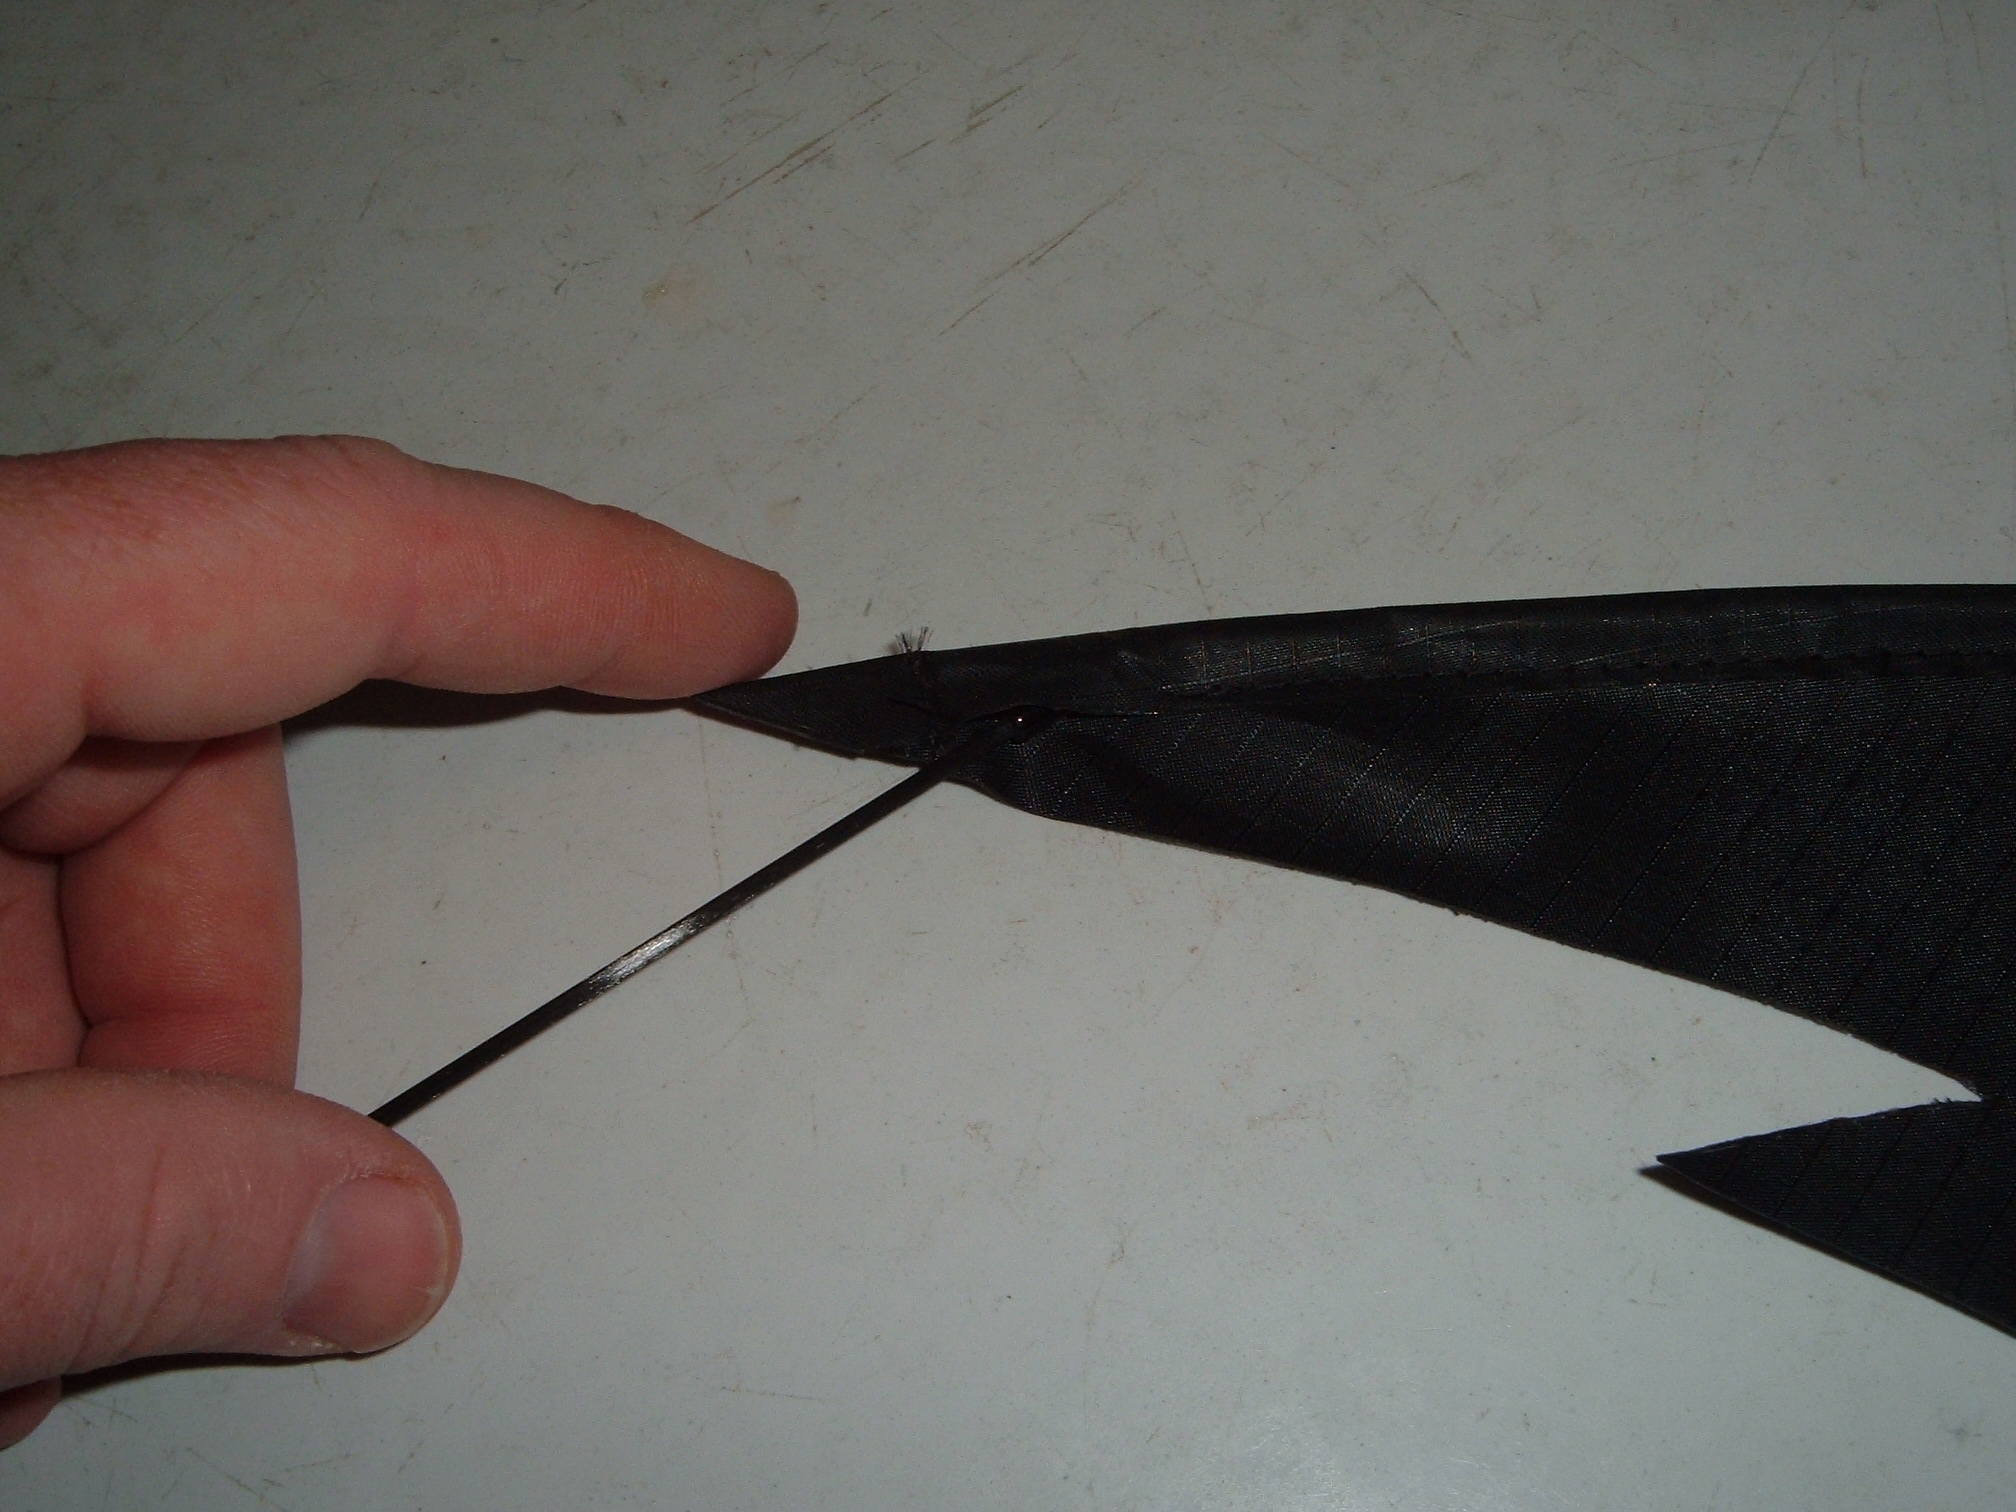
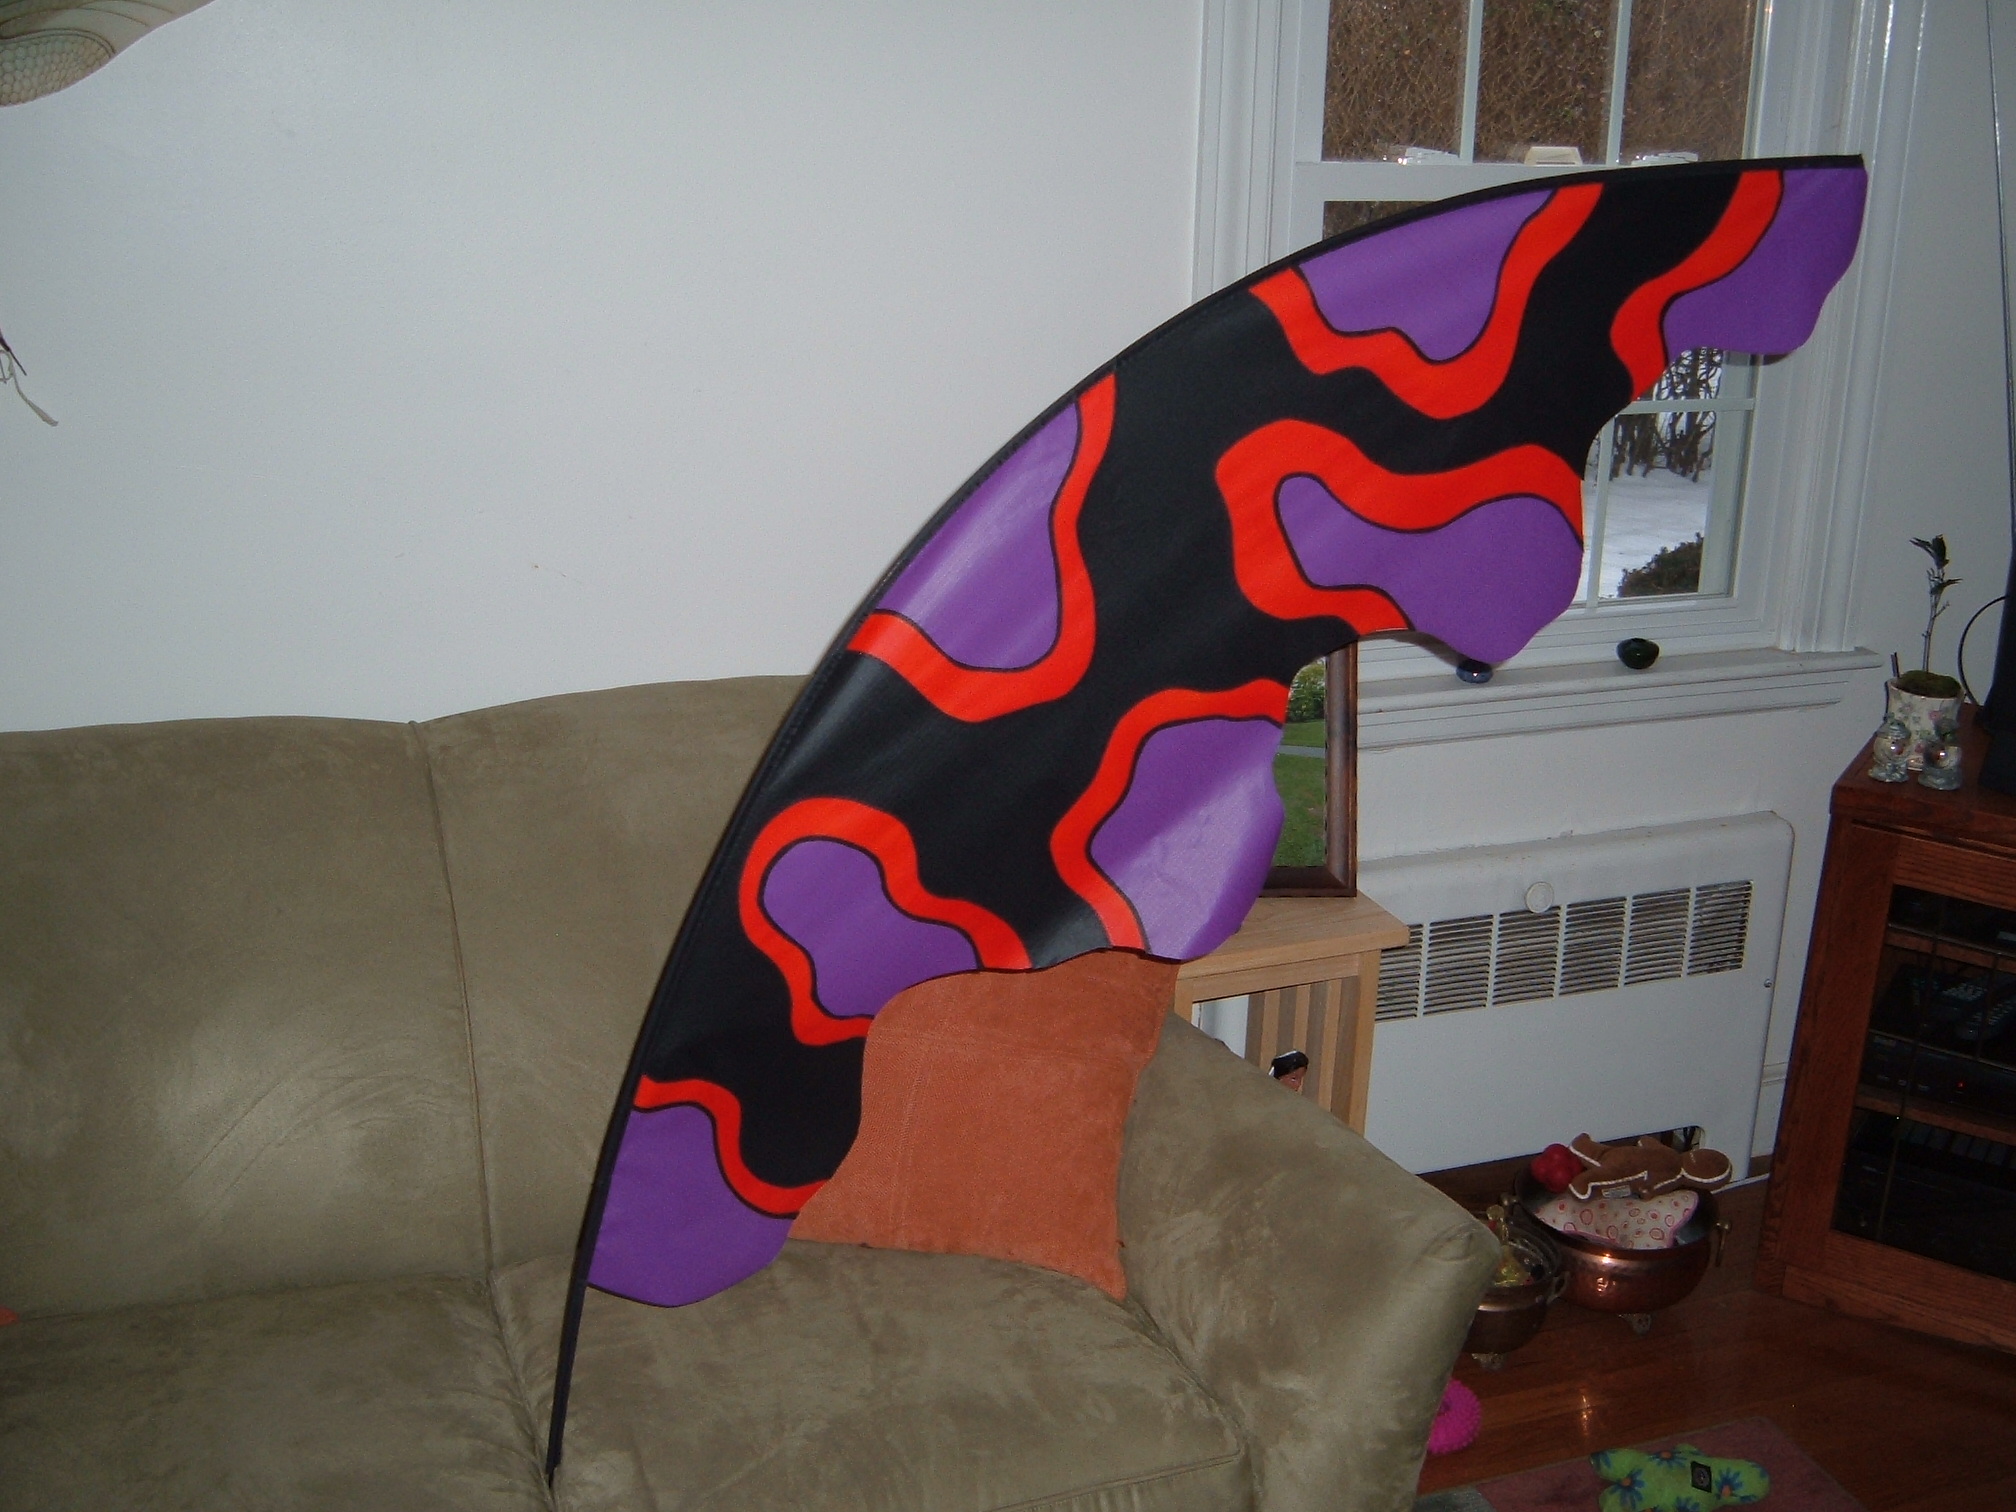
Blade Assembly
Unroll the blade carefully as to not drop the rods.
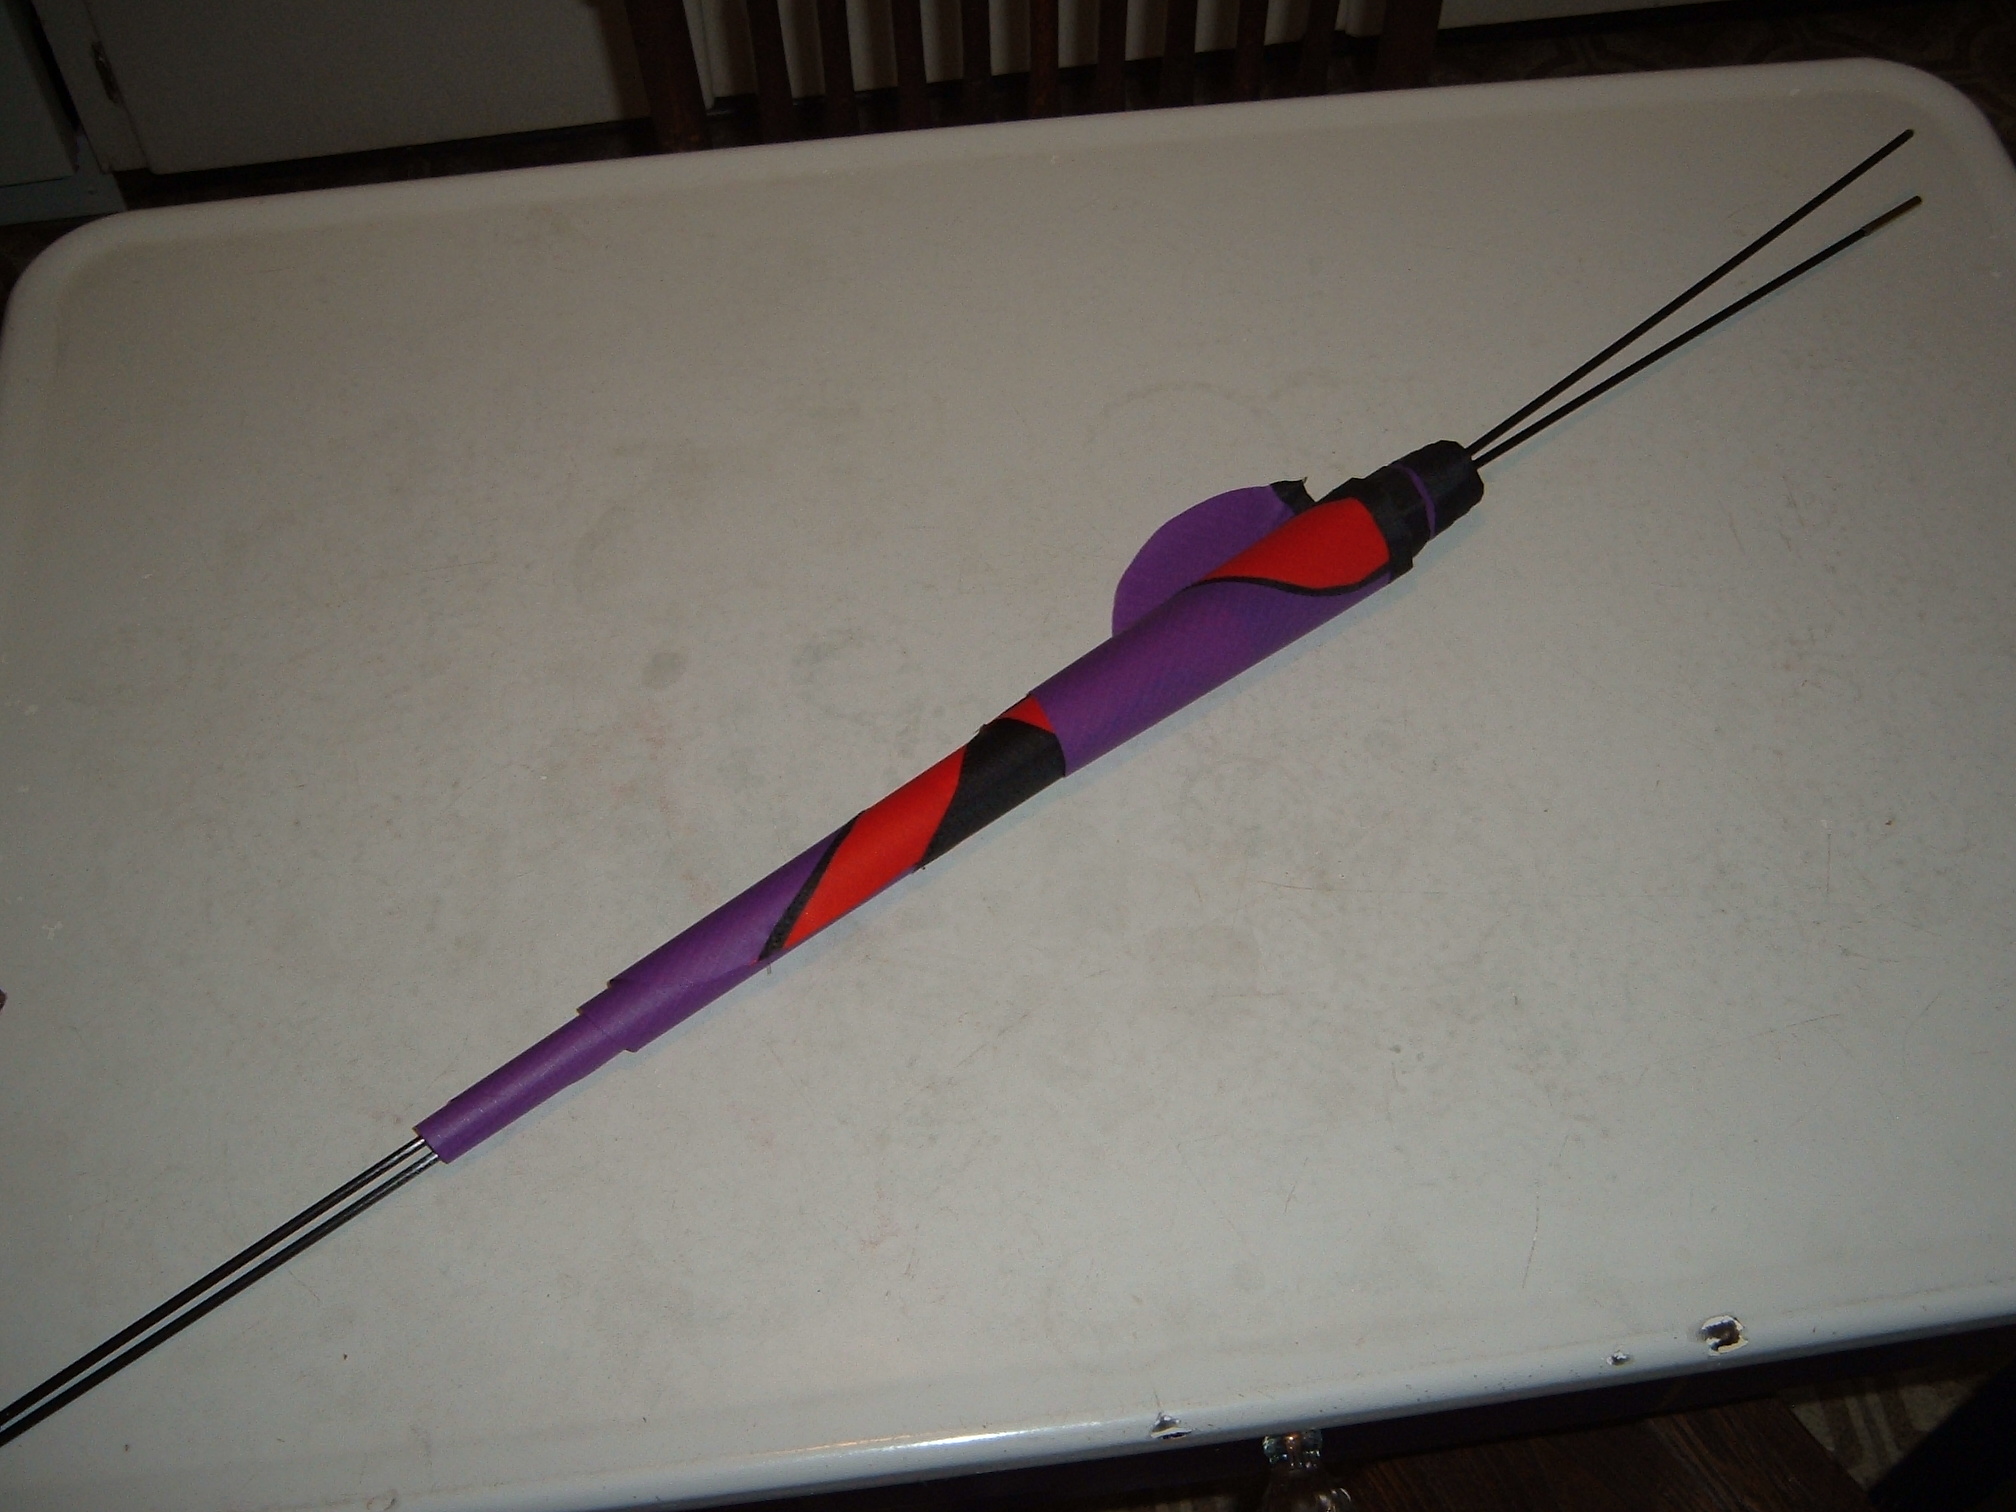
Check out
the rods, find out which one that has the rubber cap
on one
end and a metal tube (ferrule) at the other end-this will be
the top rod and the last piece put into place.
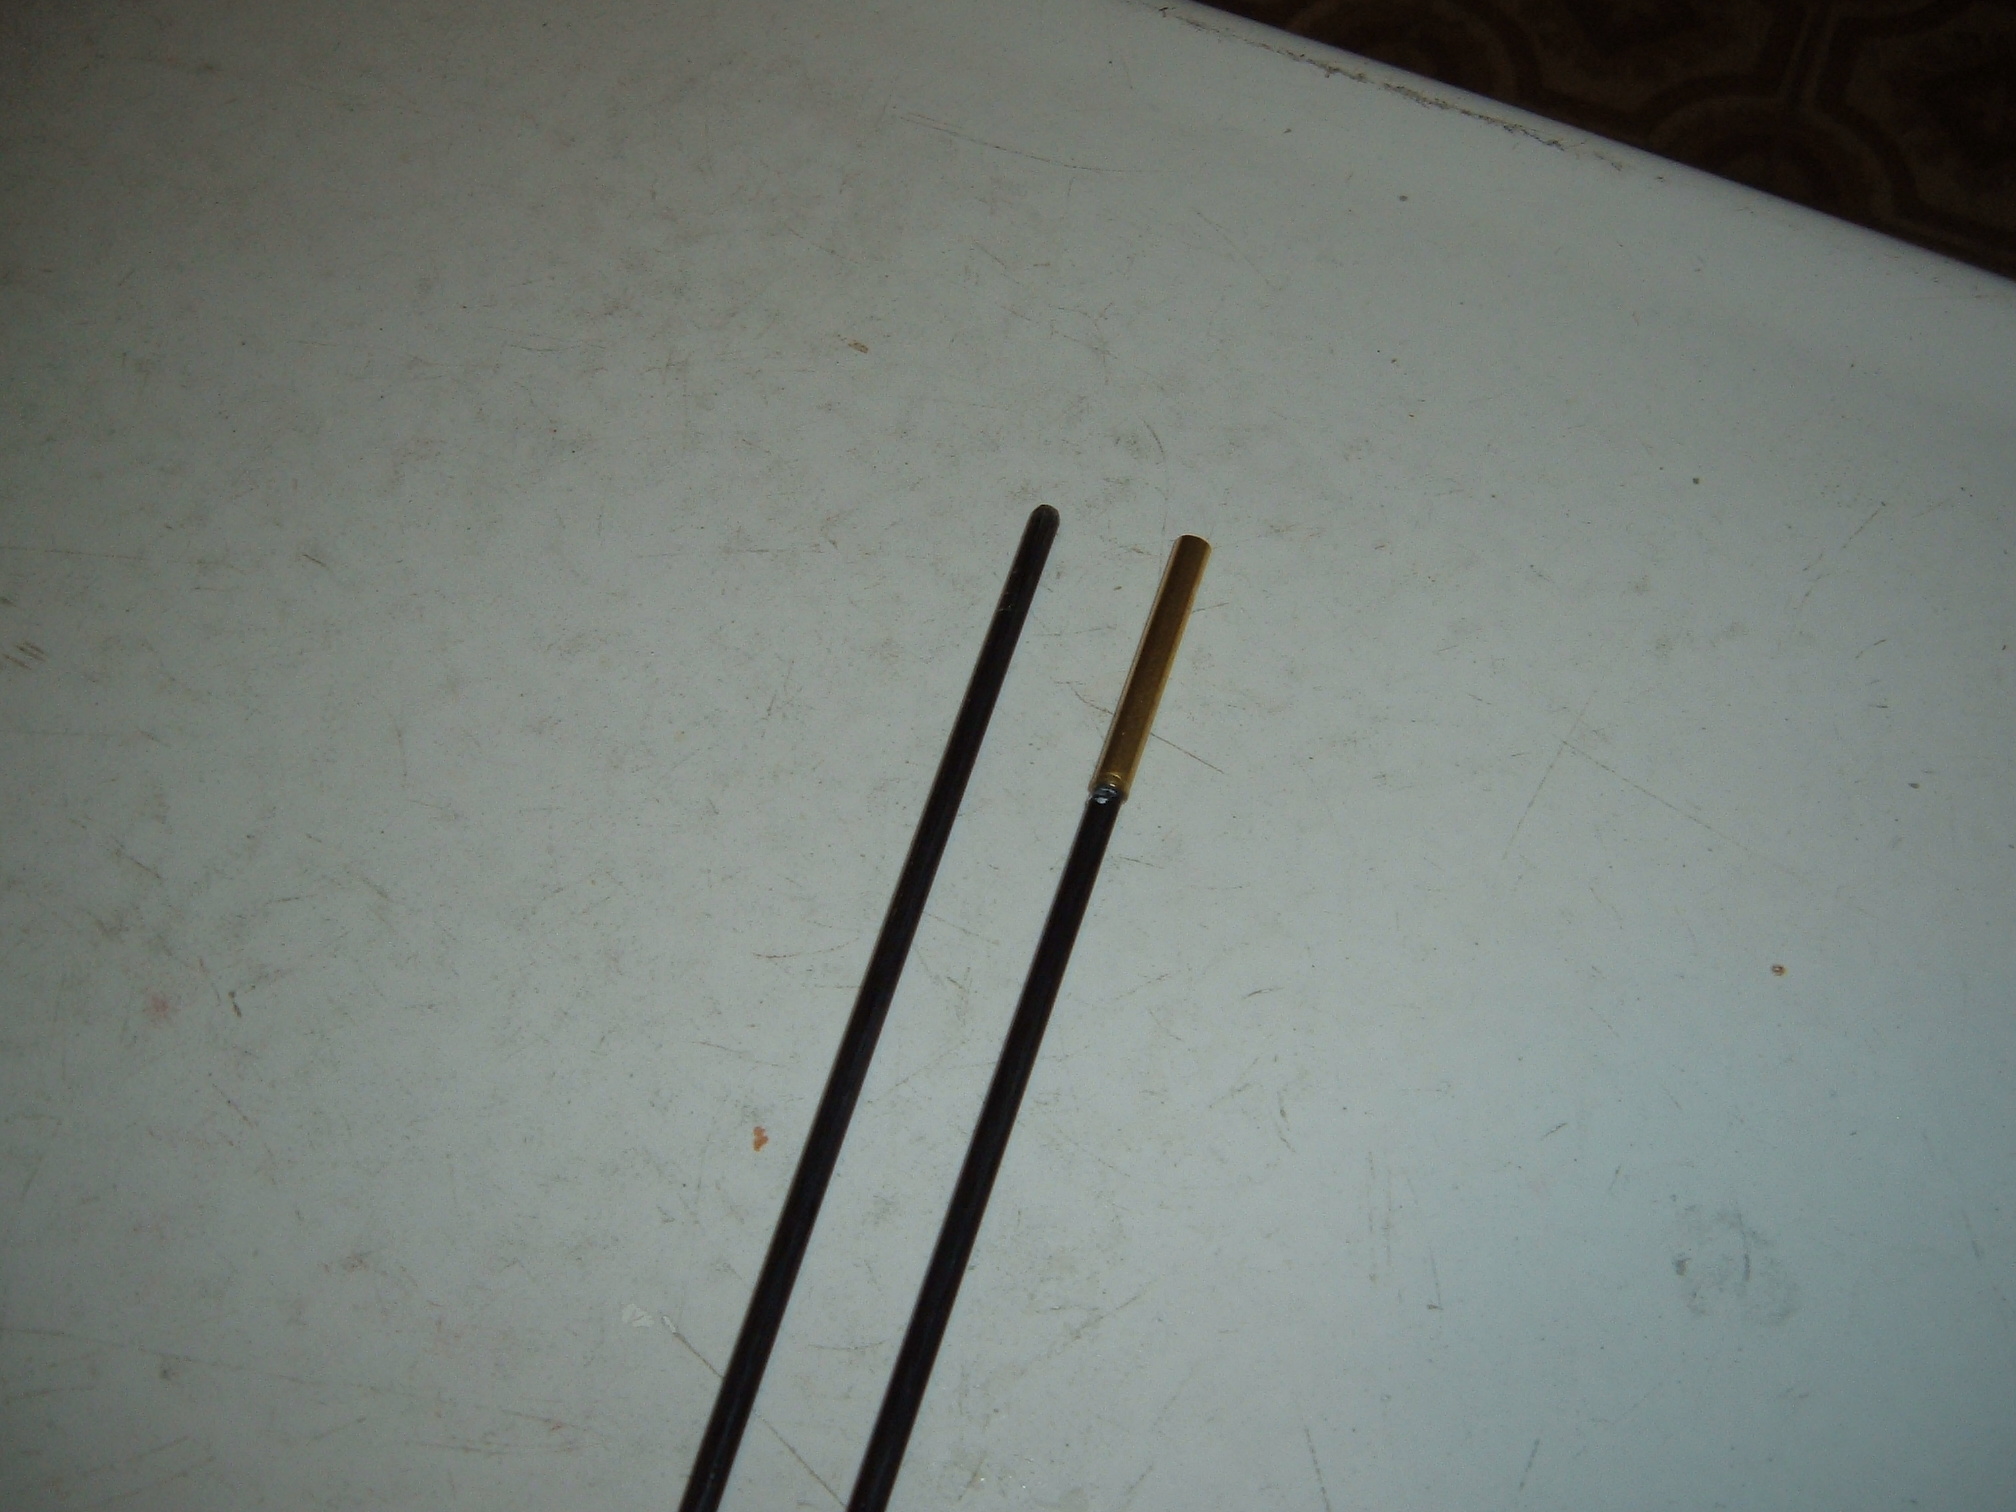
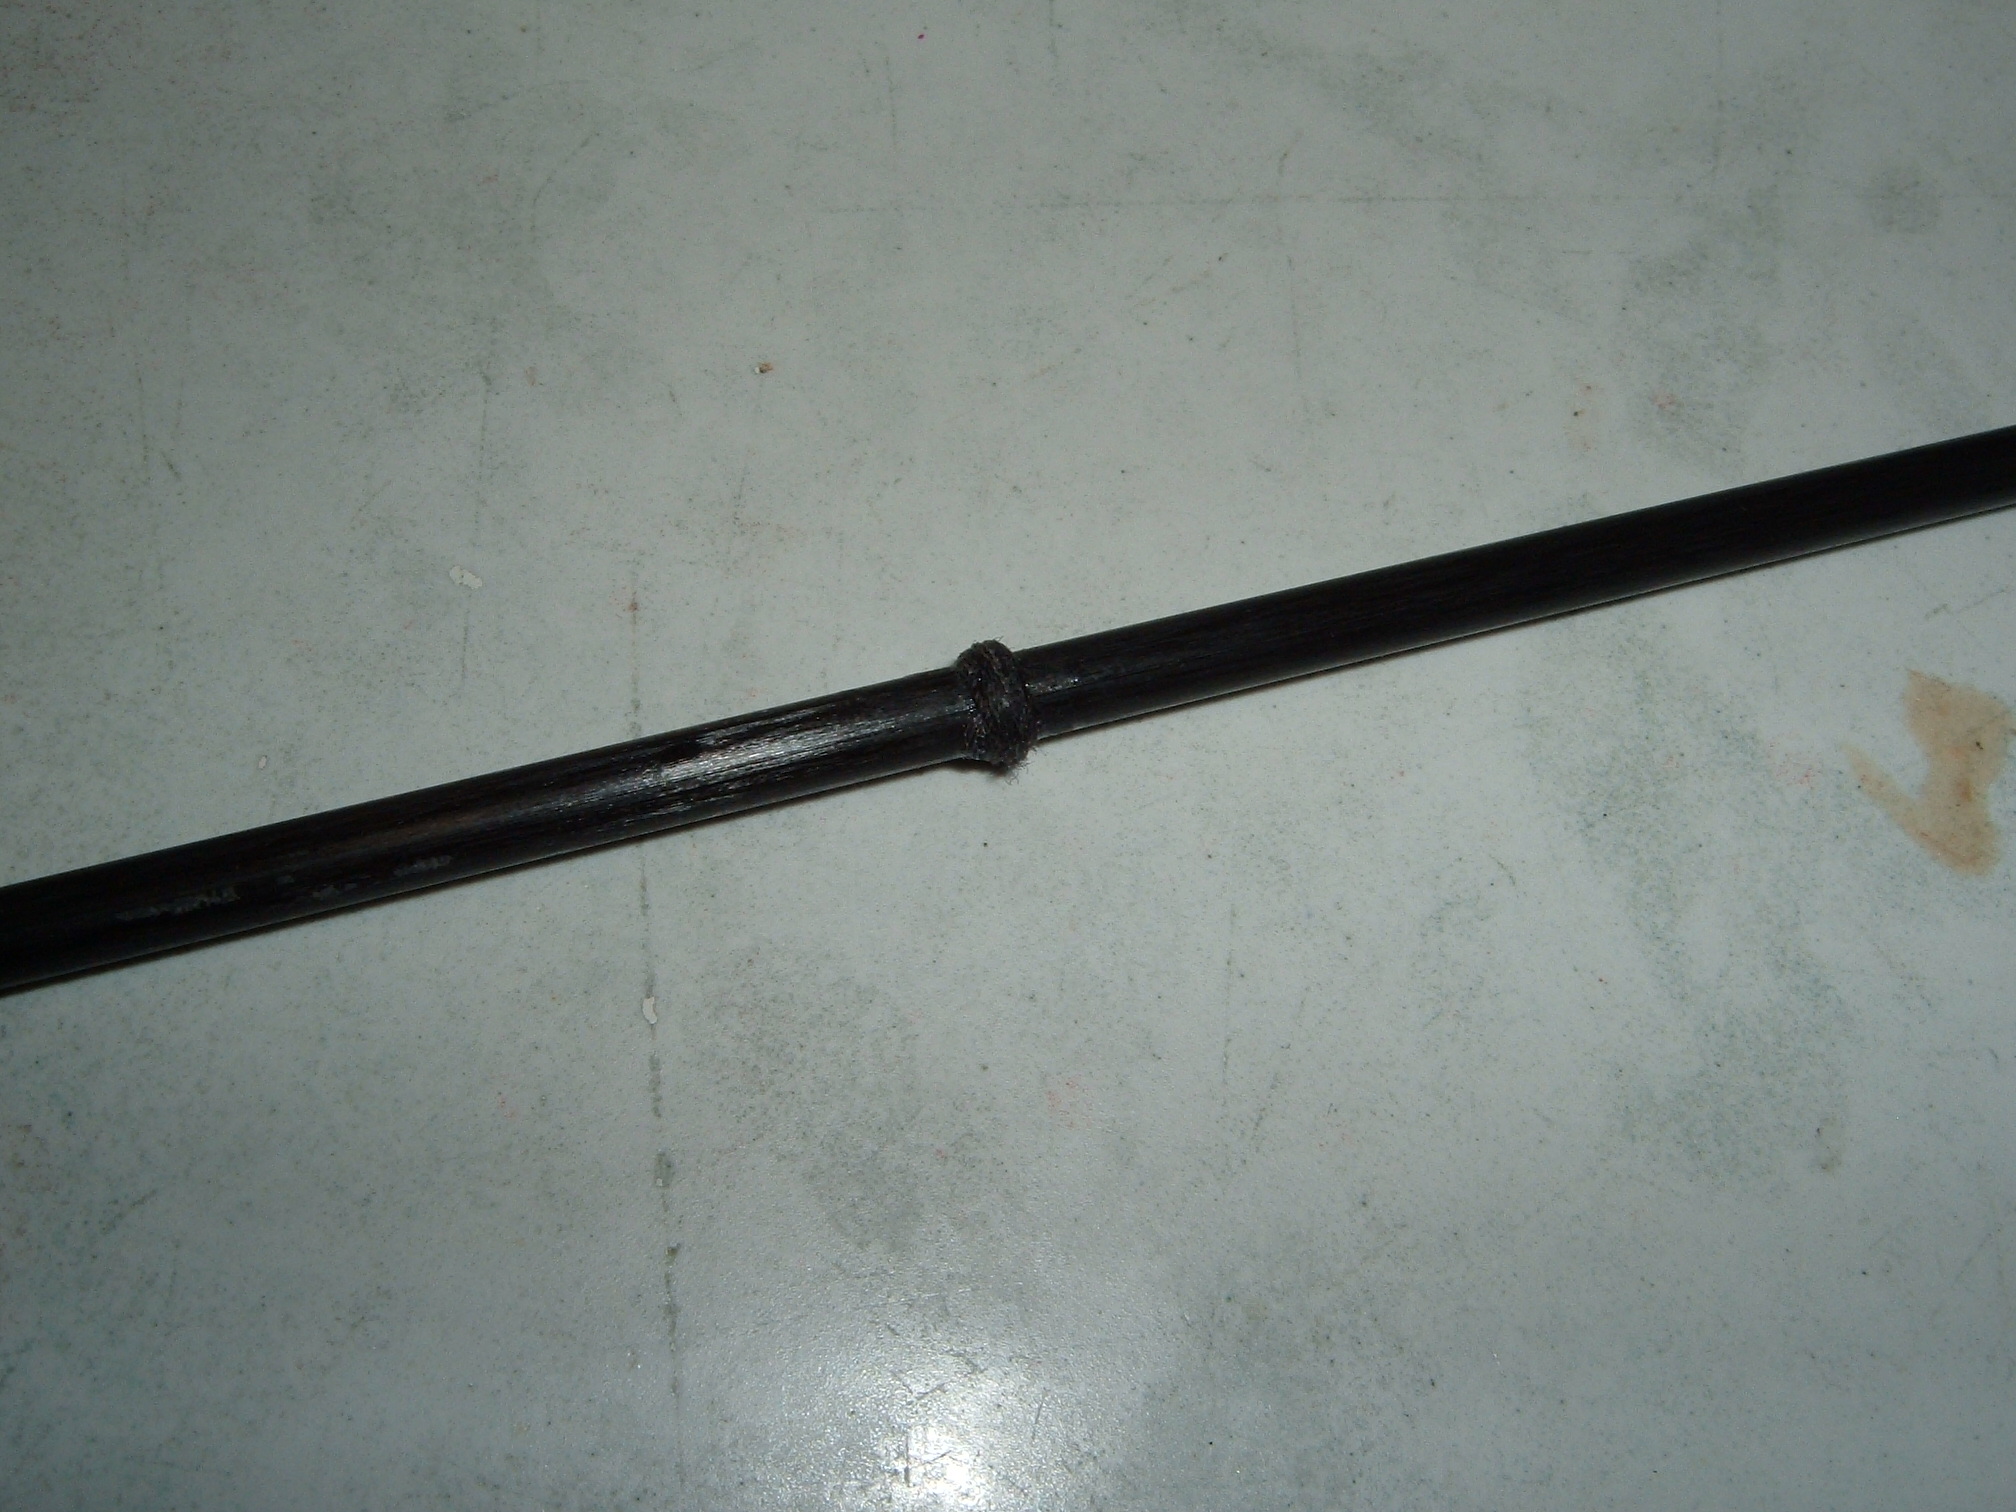
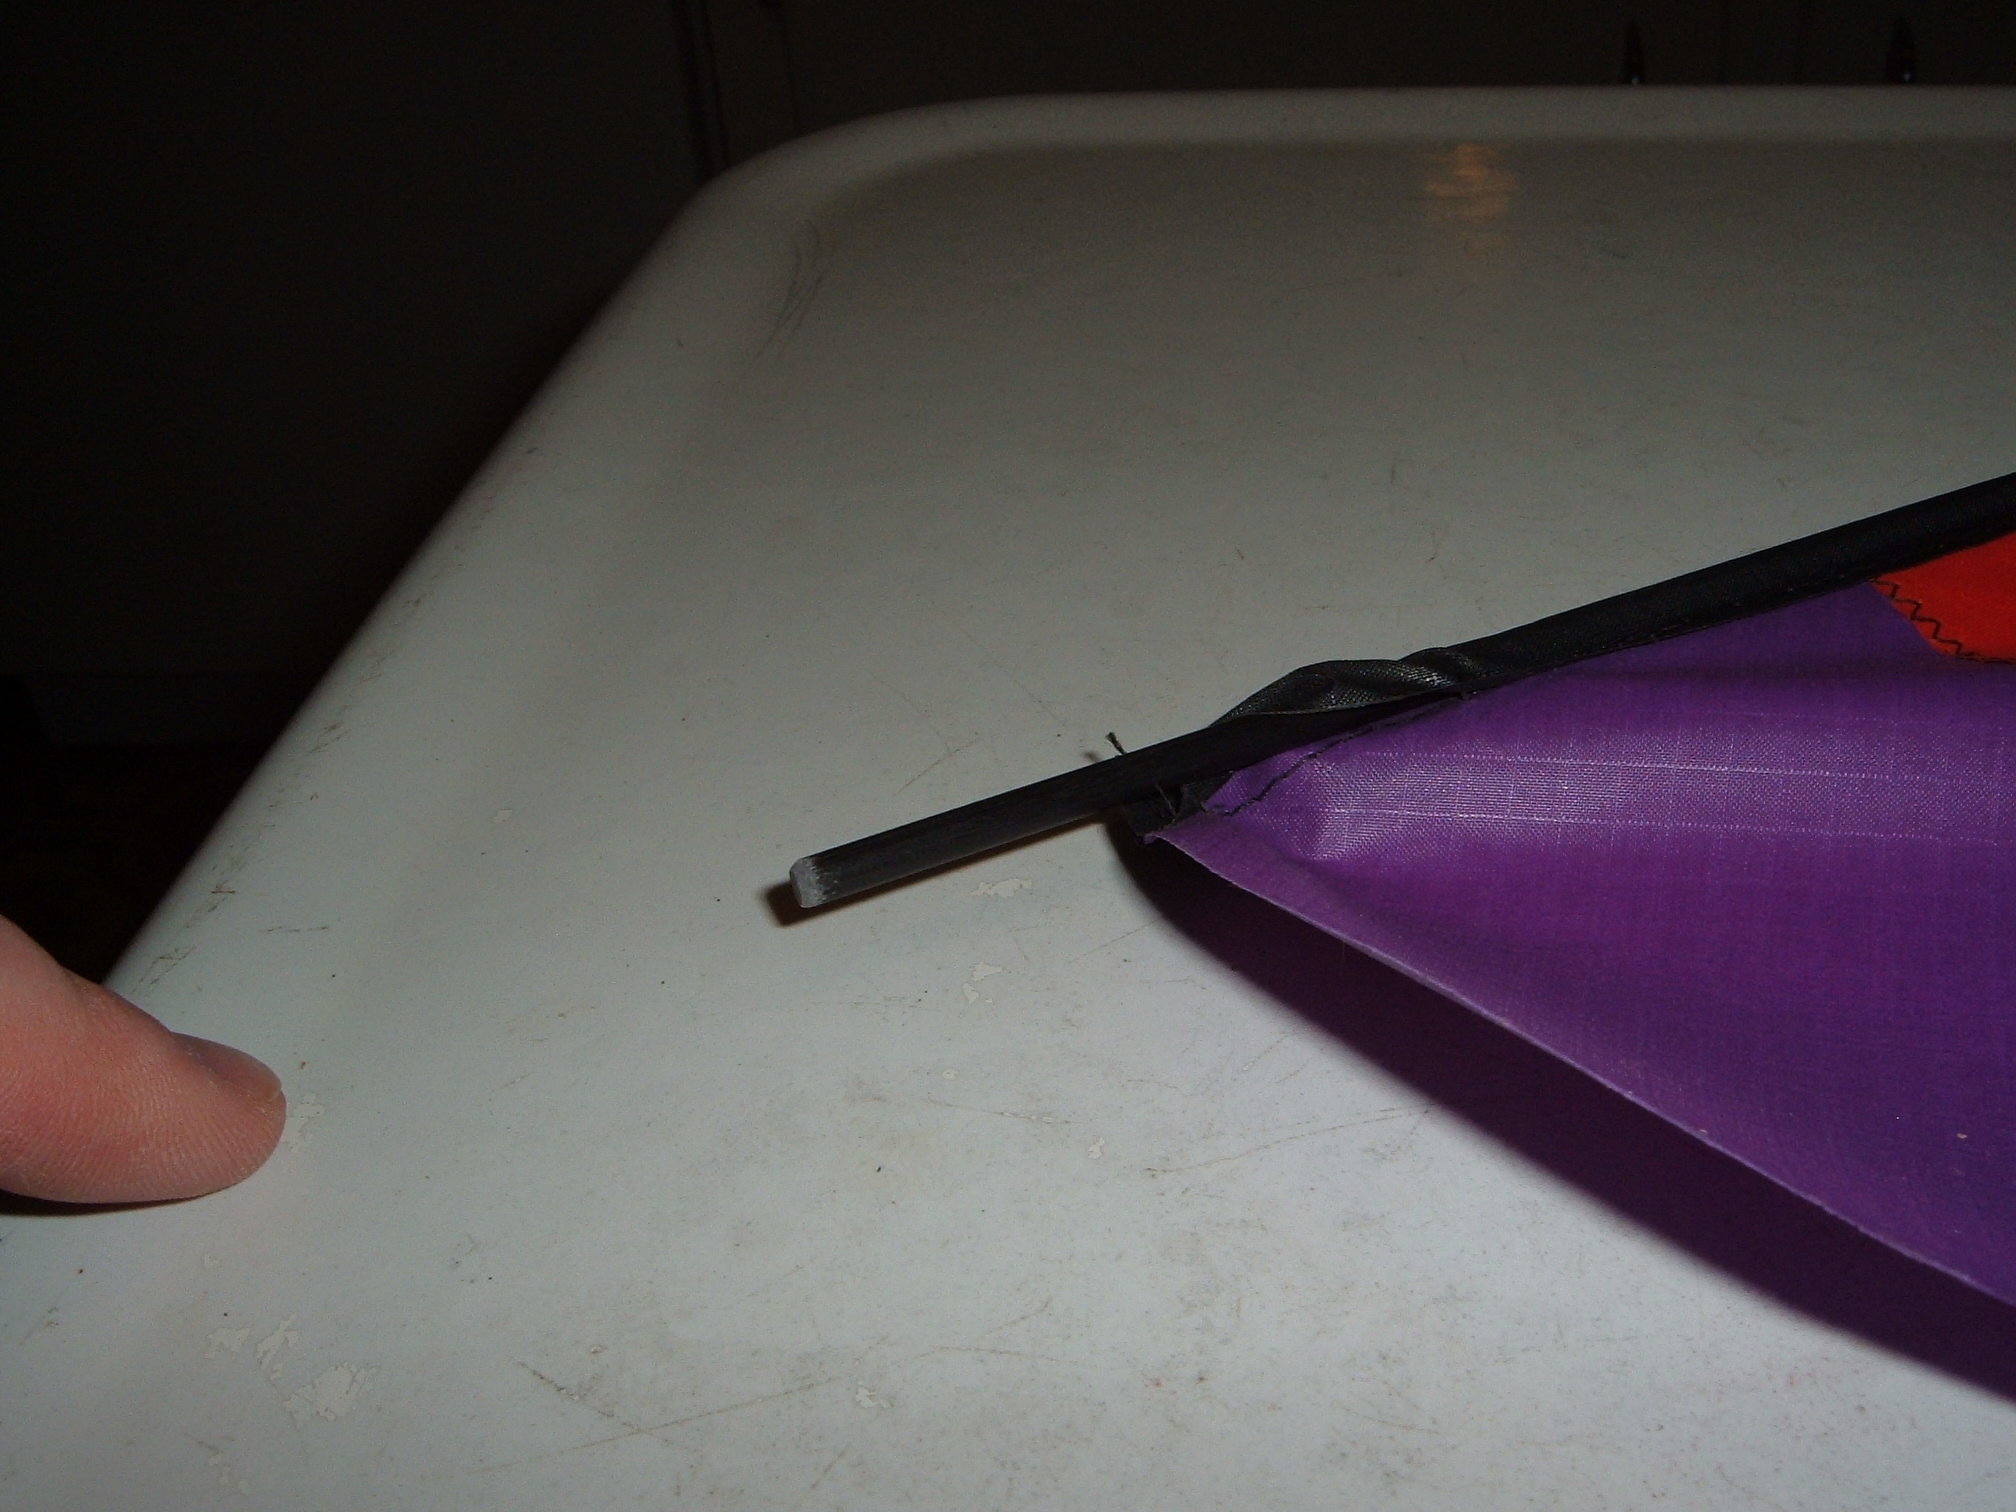
The rod that has a small bump is the lower rod. This is the
rod
that gets inserted first. The thread wrapped bump is NOT at
the
halfway mark-it is about 3/5ths down the length of the rod..
You
want to insert the rod into the sleeve starting with the end of the rod
that the bump is closest
to.
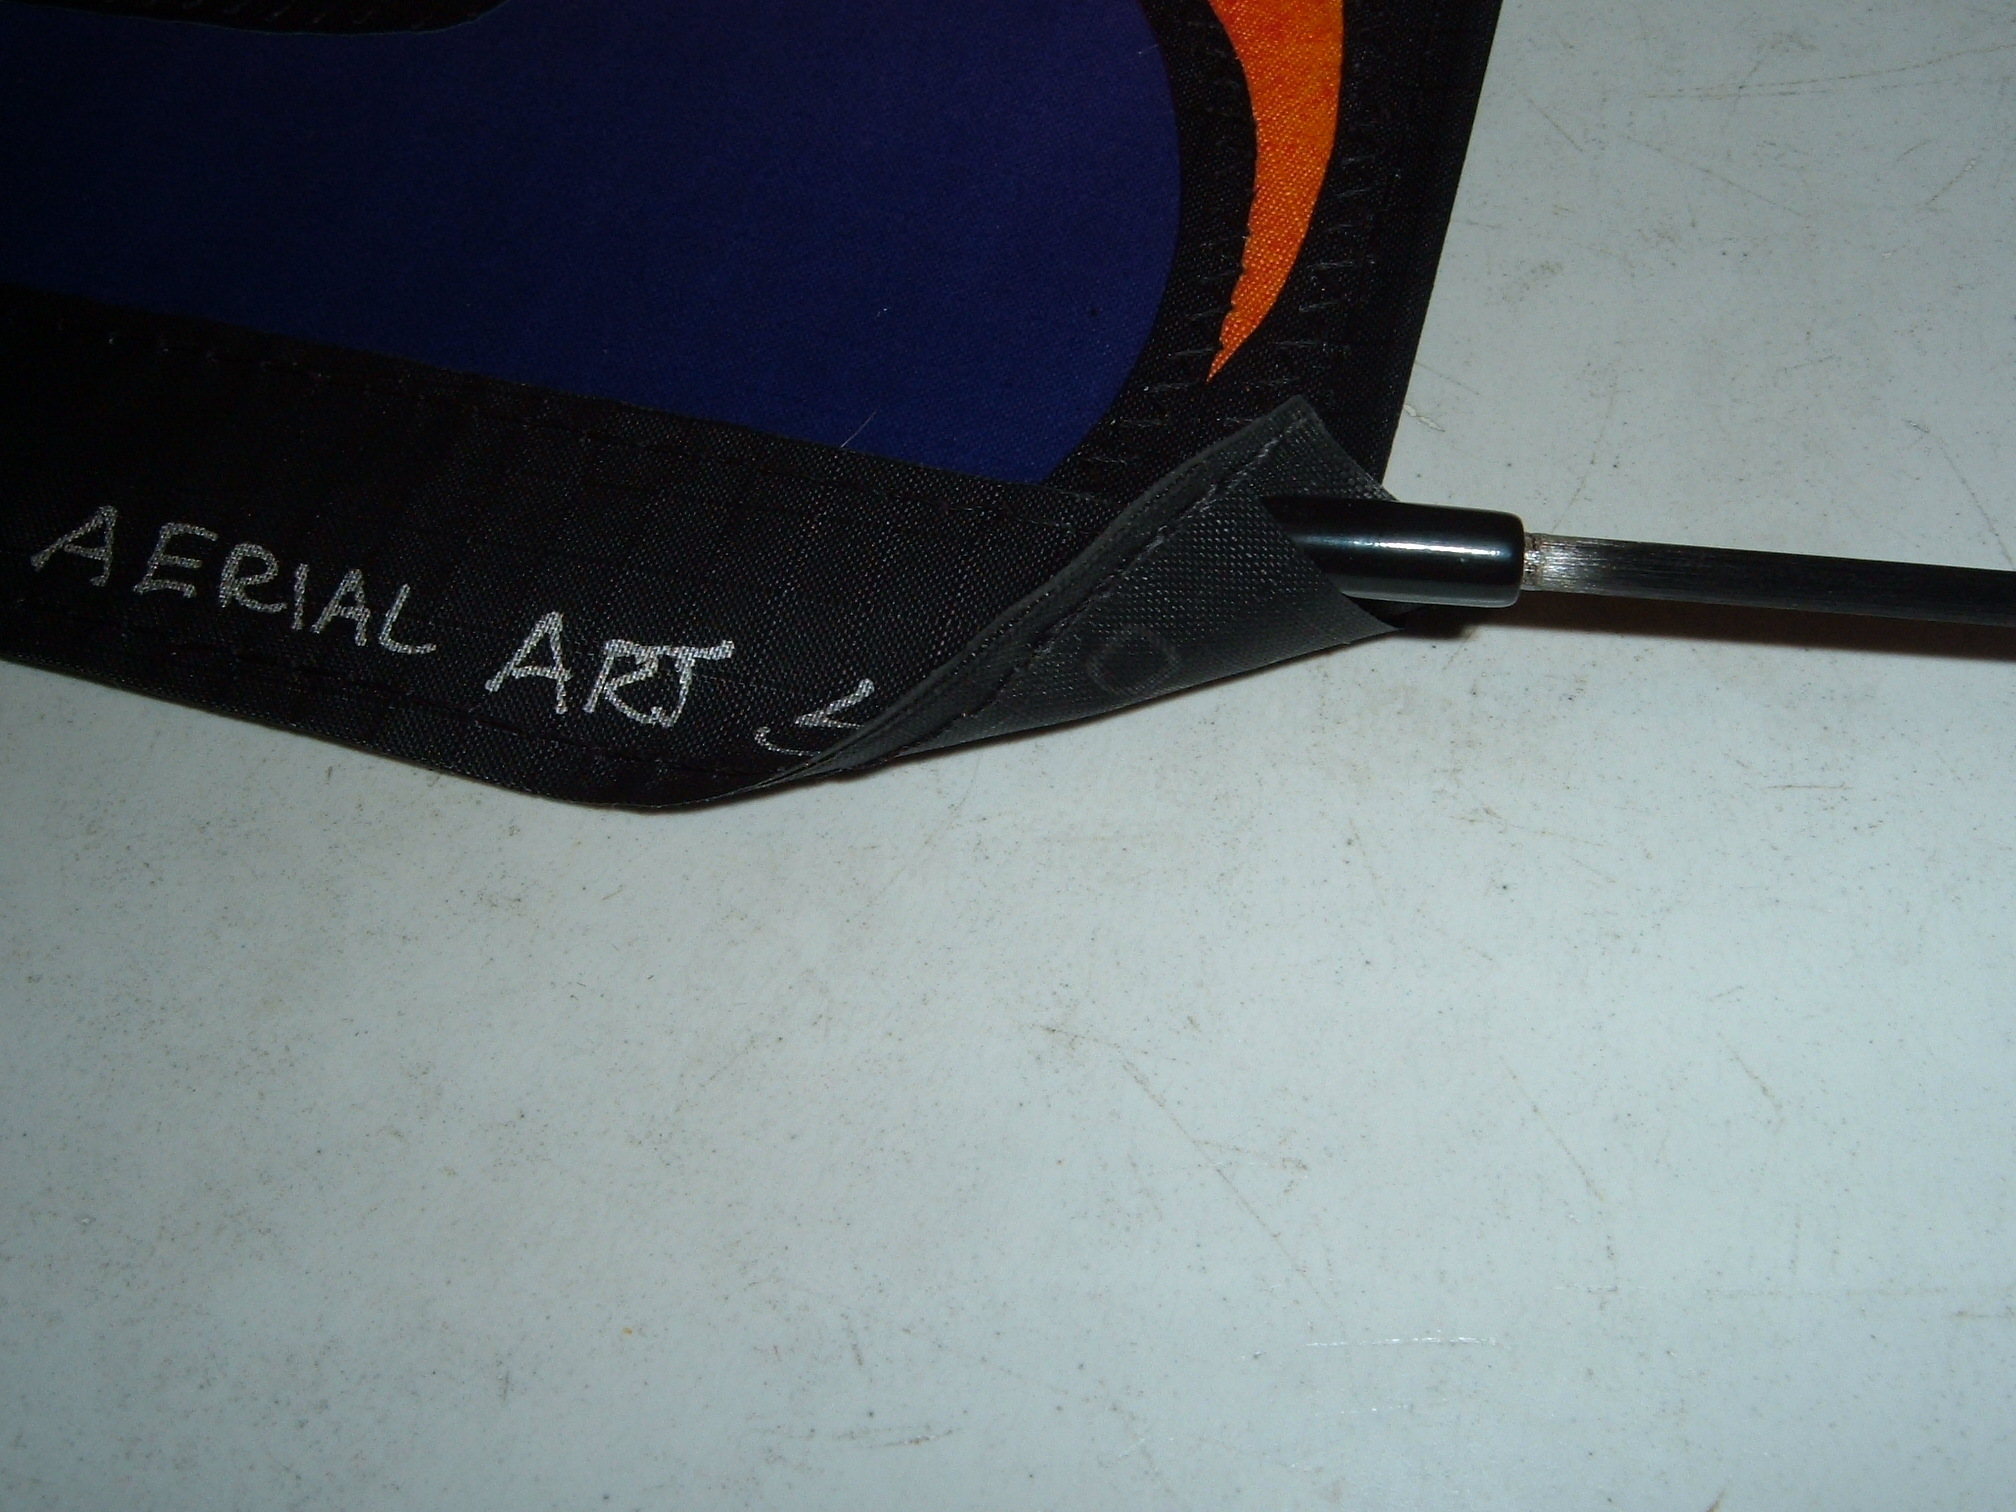
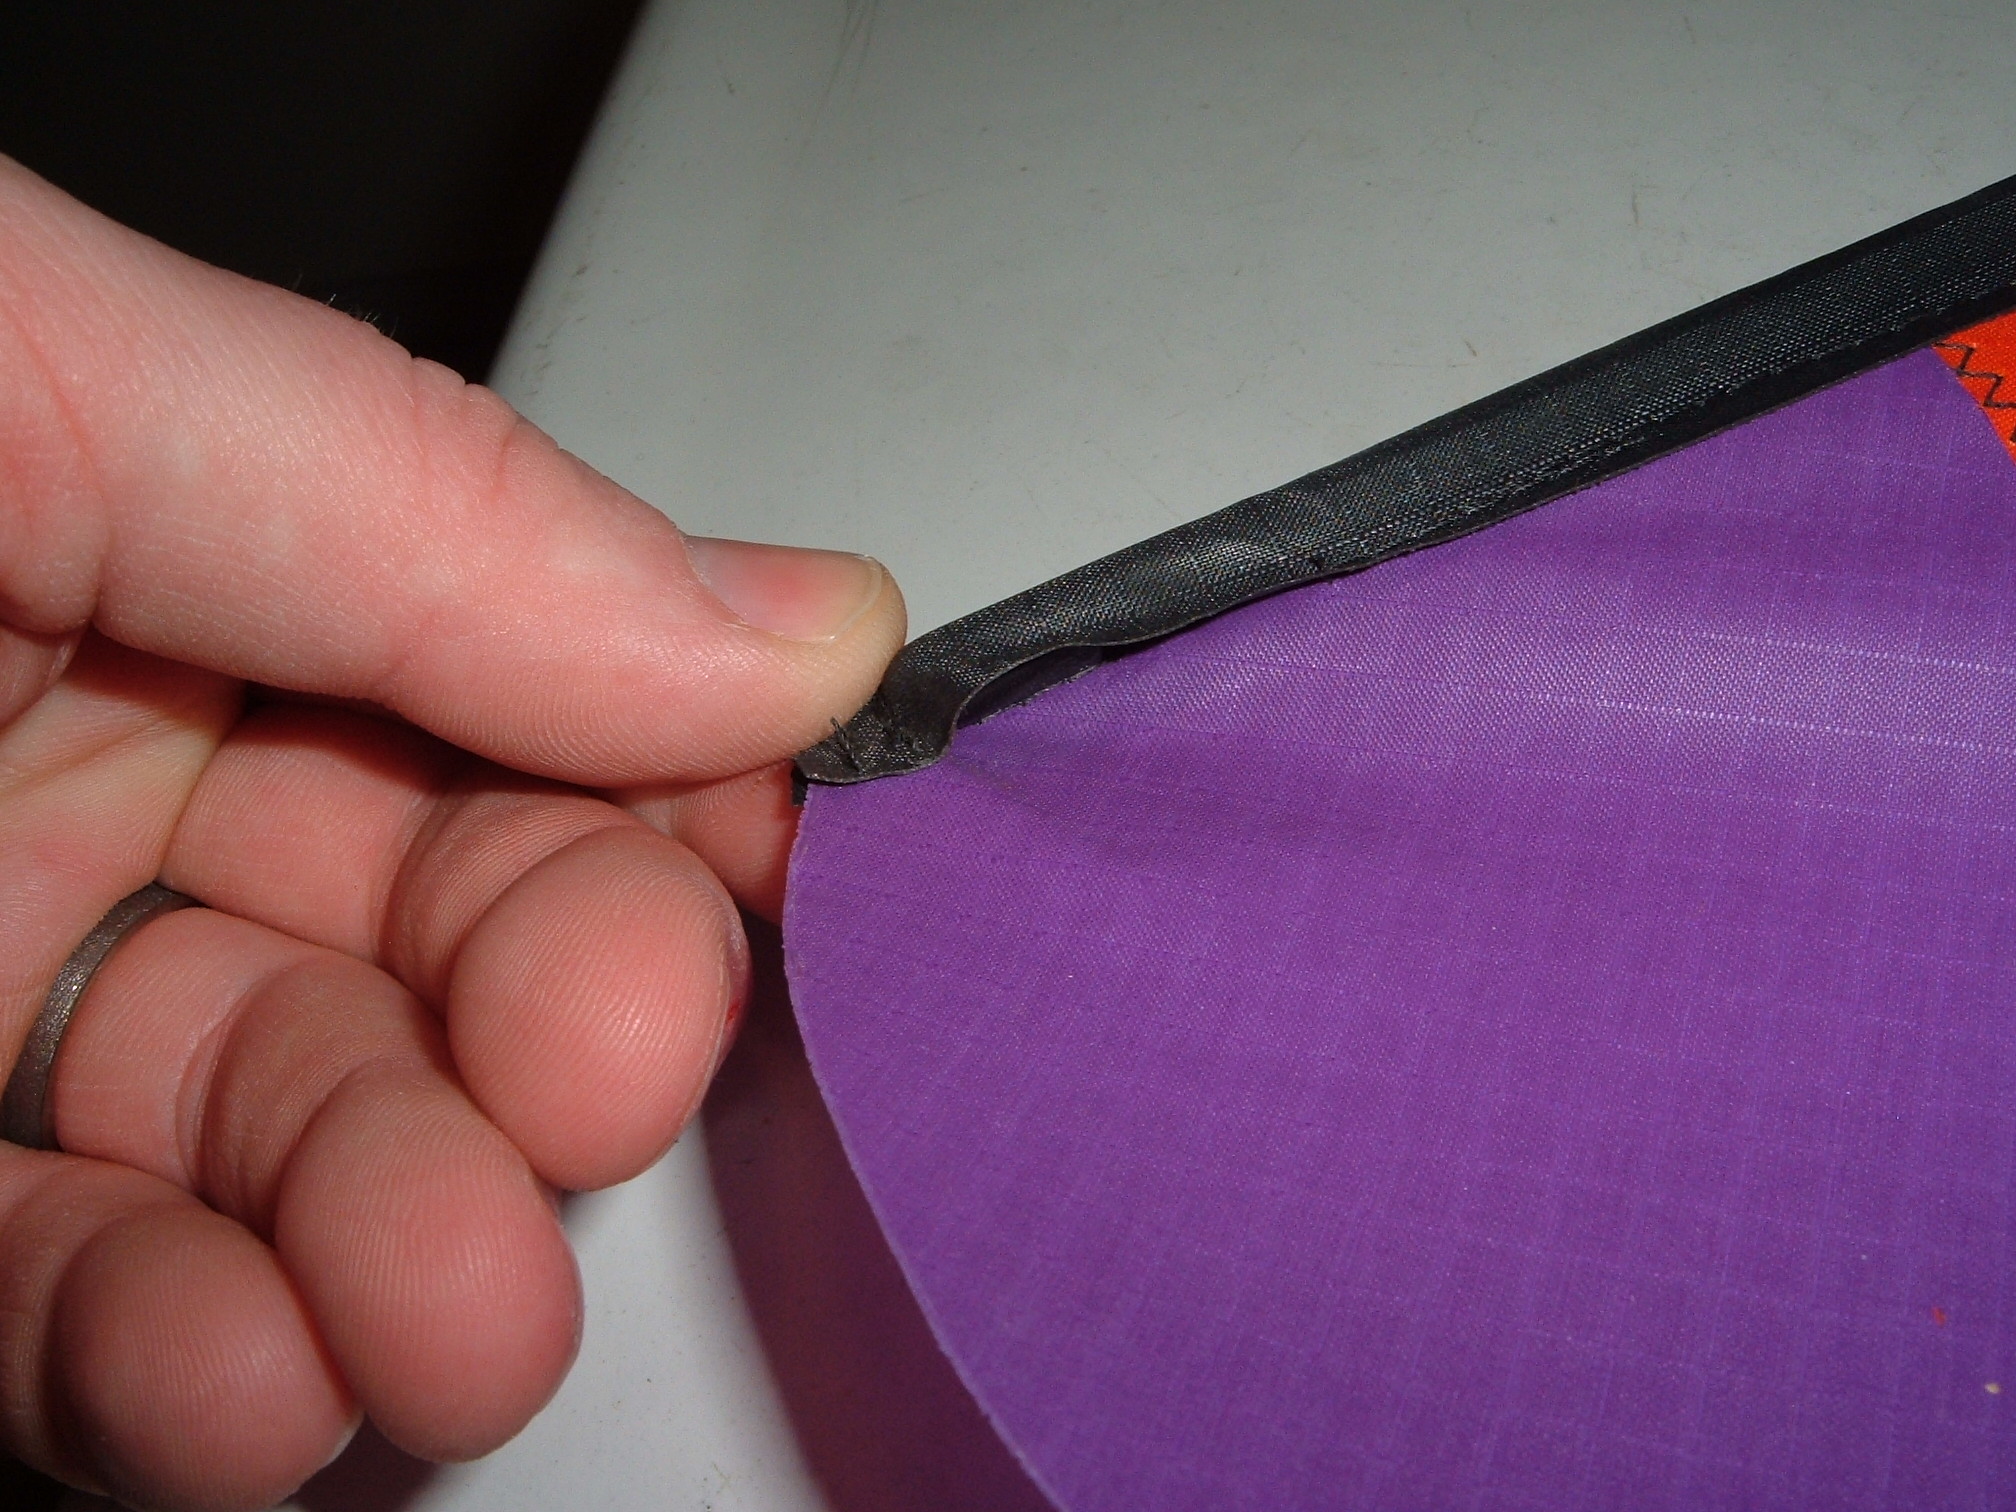
Find the sleeve opening at the top of the blade.
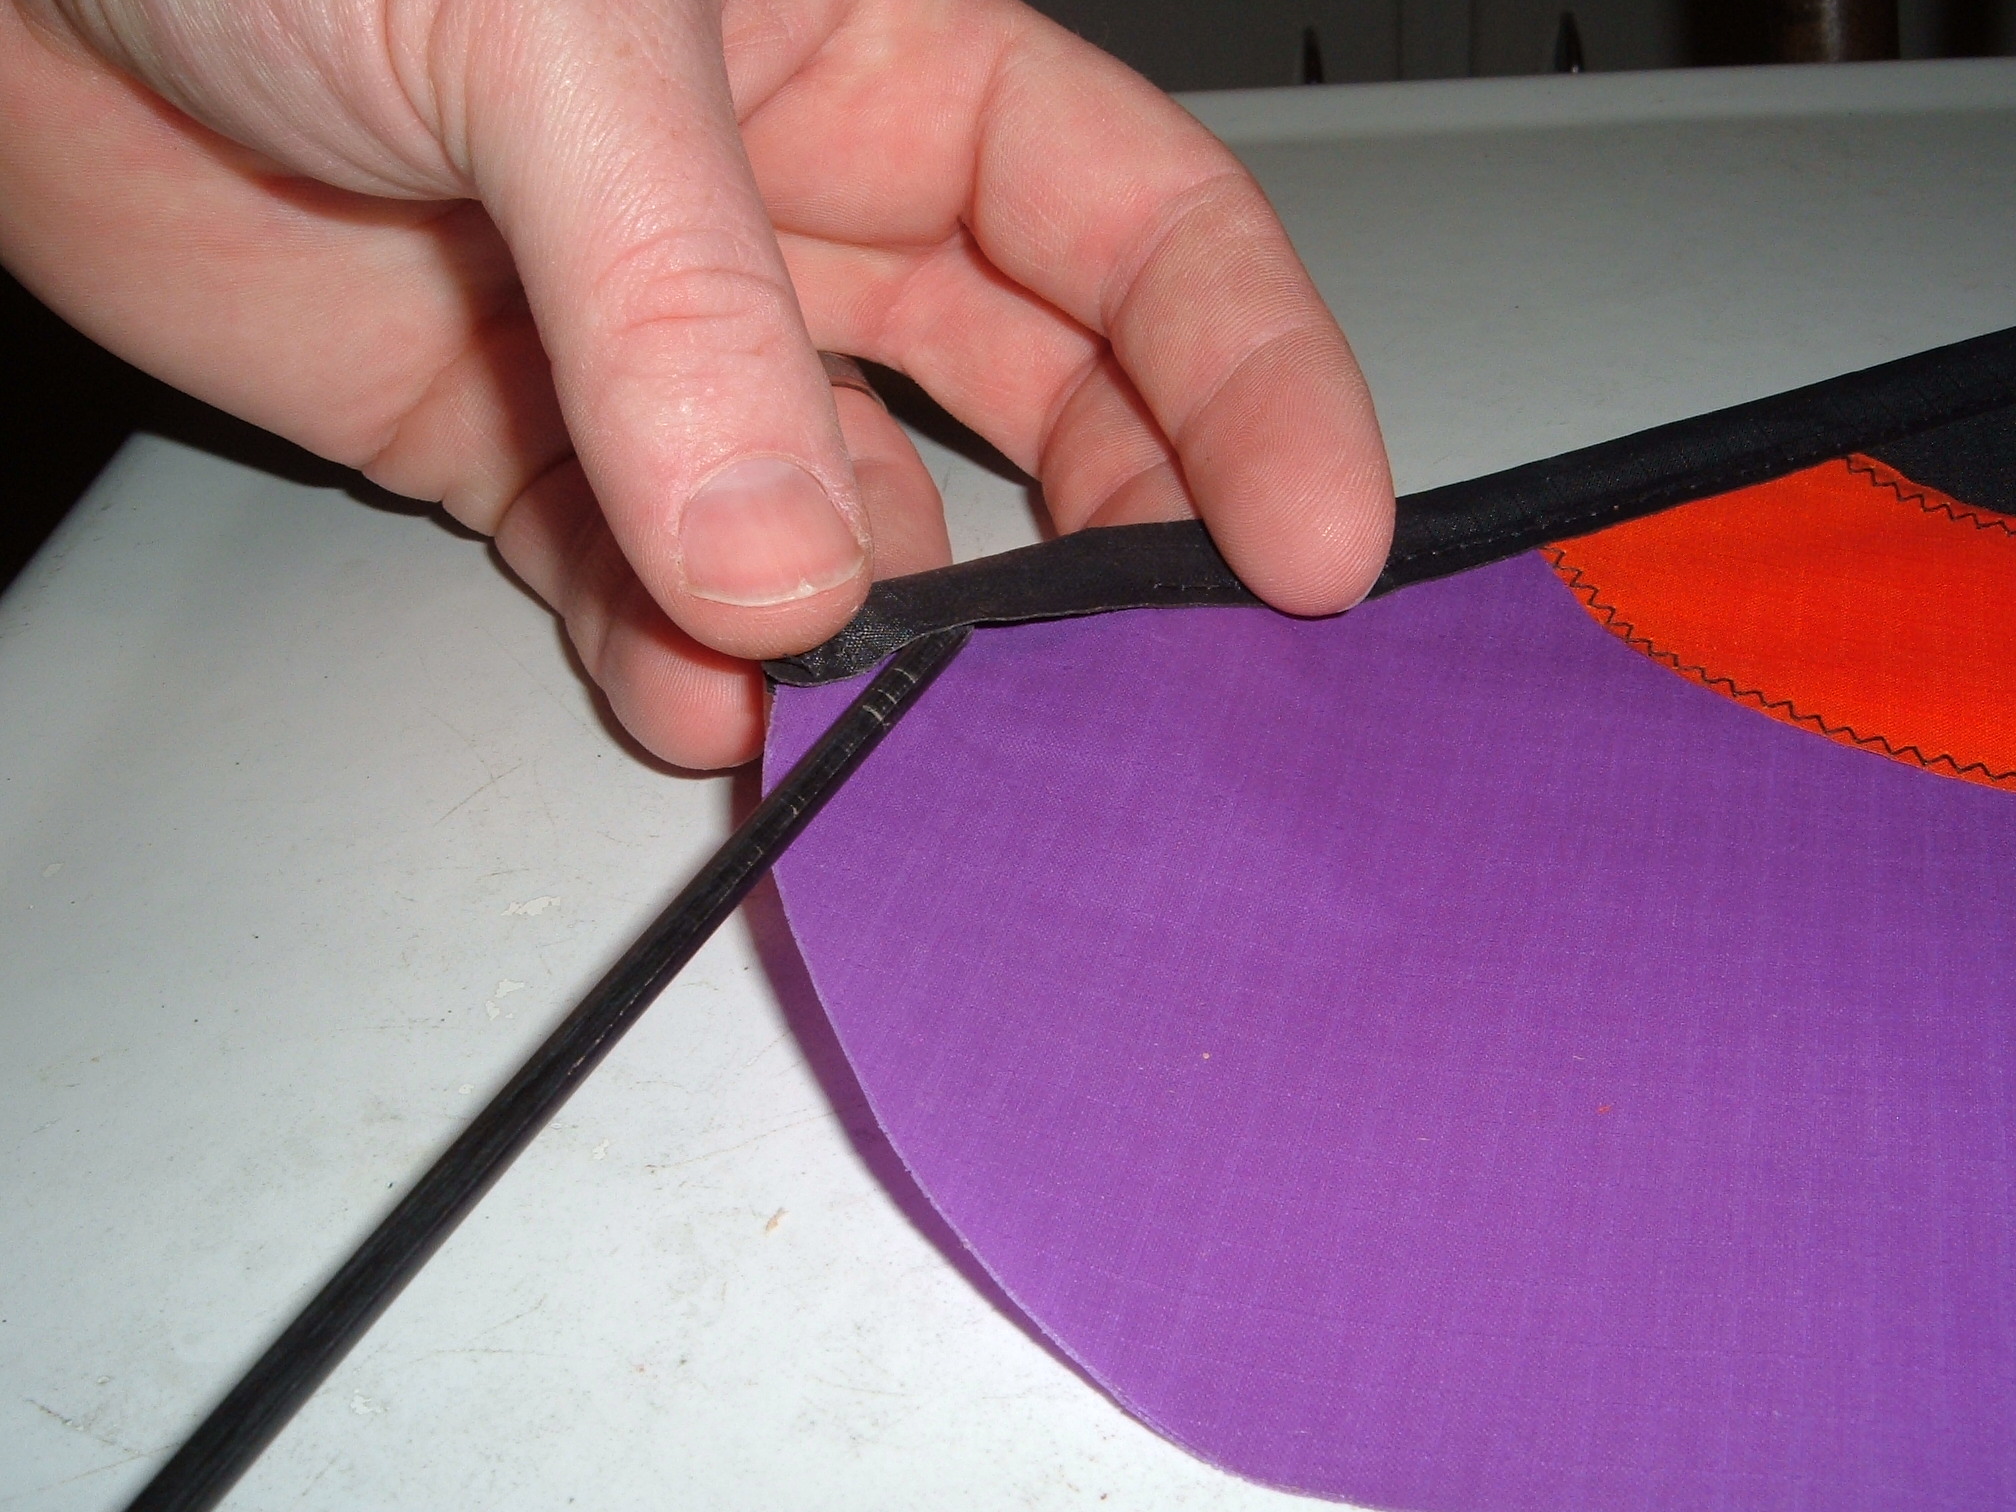
Carefully and slowly slide the bottom rod into the sleeve.
When you get the entire rod into the sleeve slide the ferrule over the
rod end to make one long continuous rod.
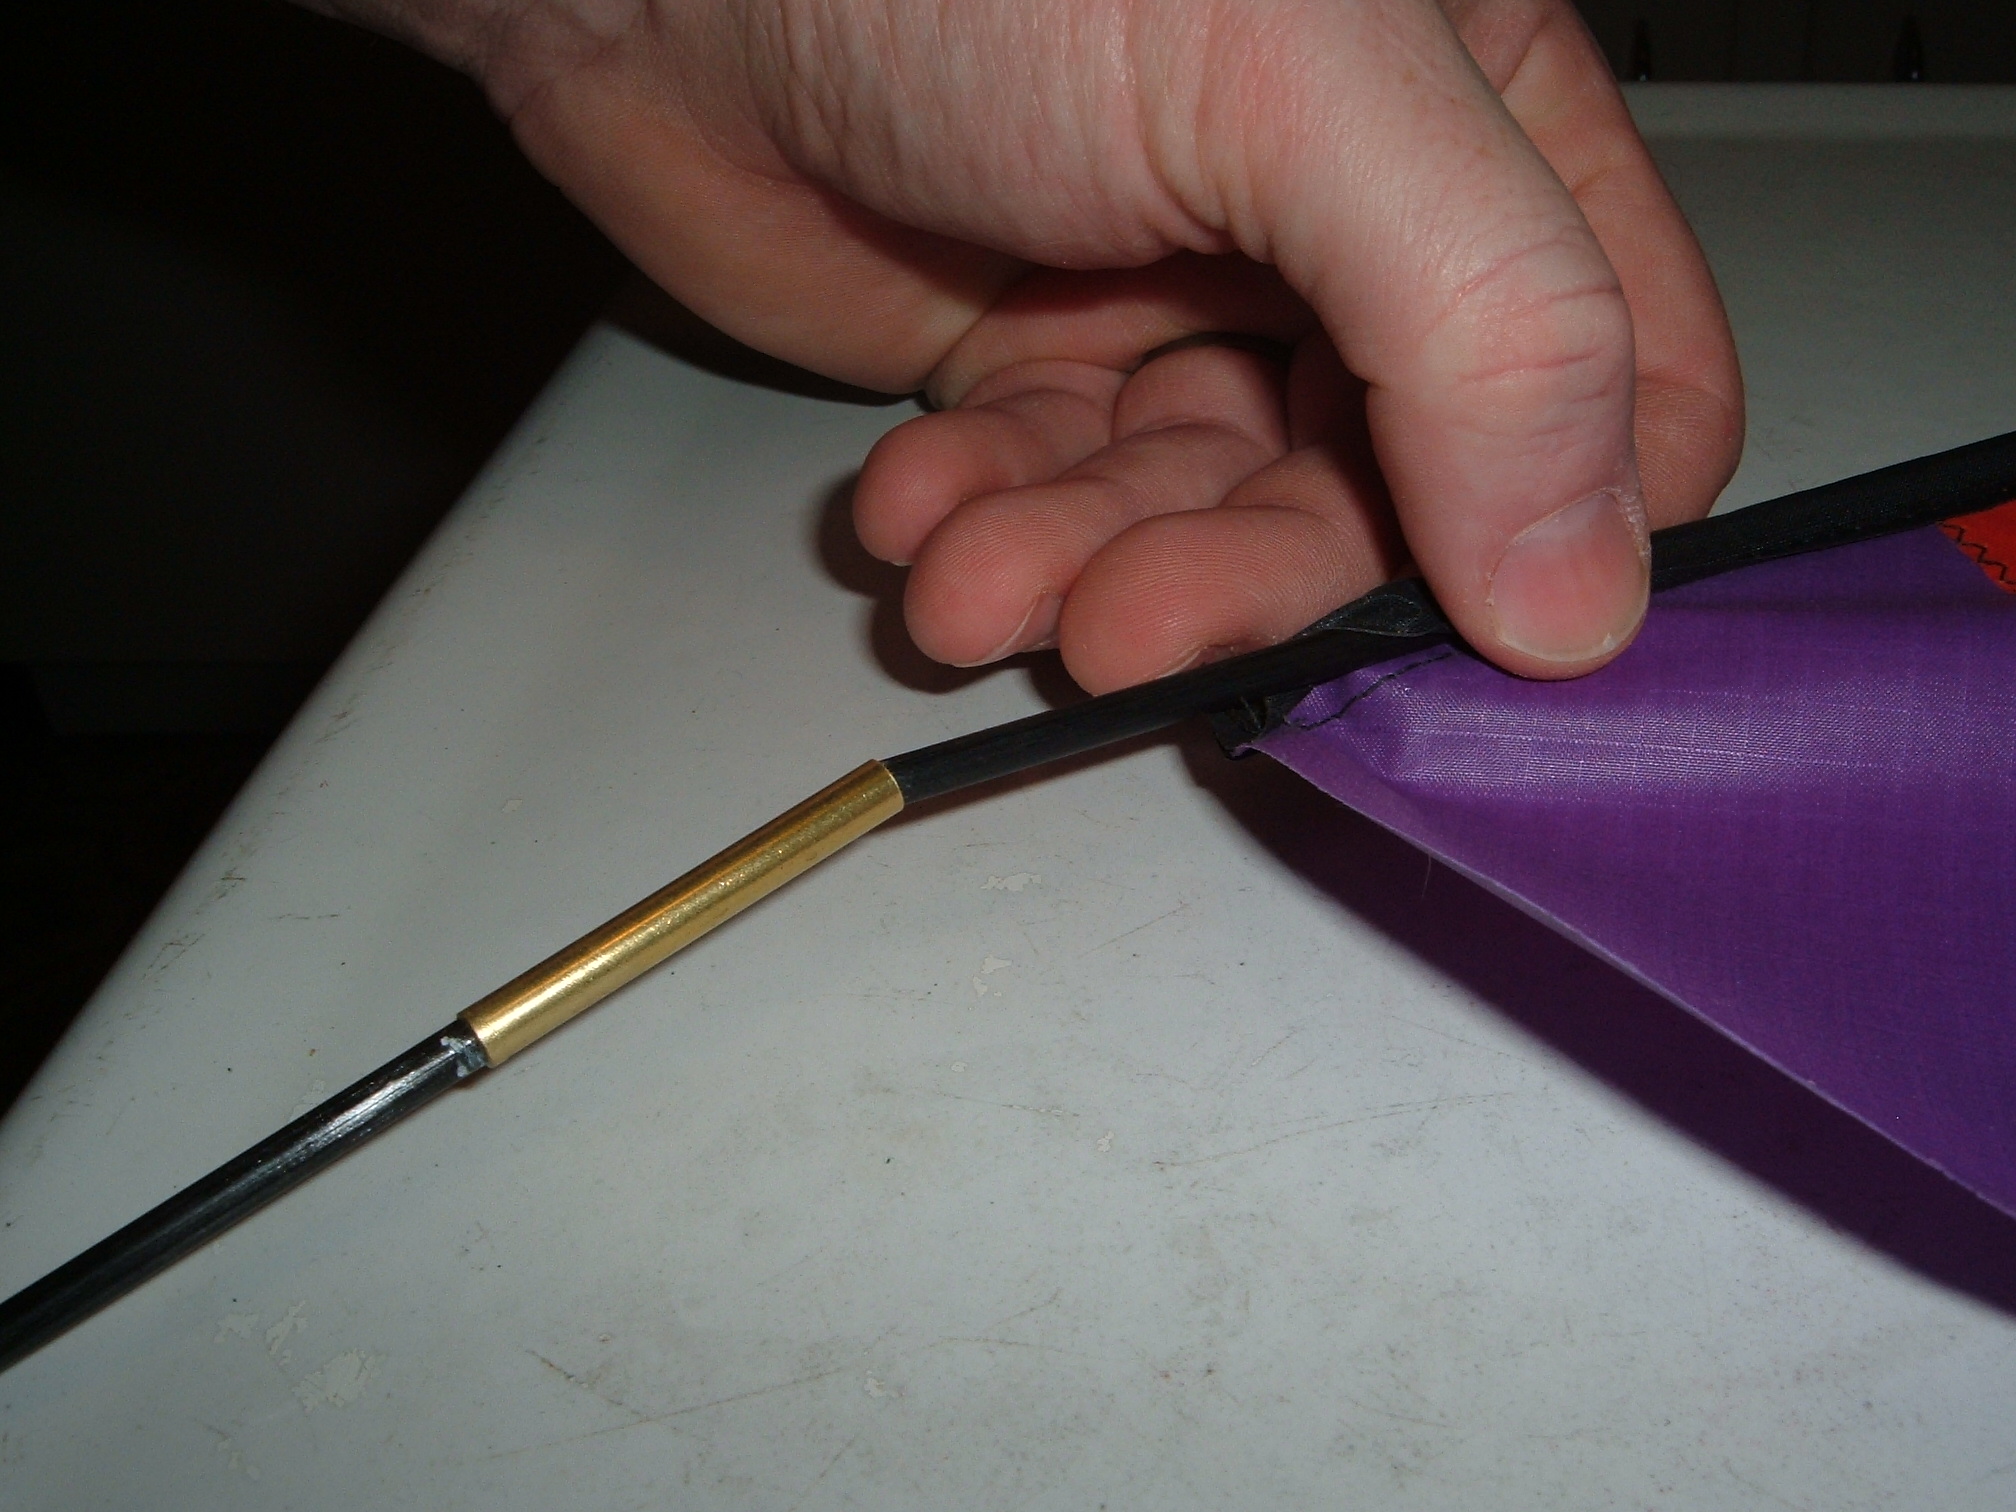
Slowly push both rods into the sleeve.
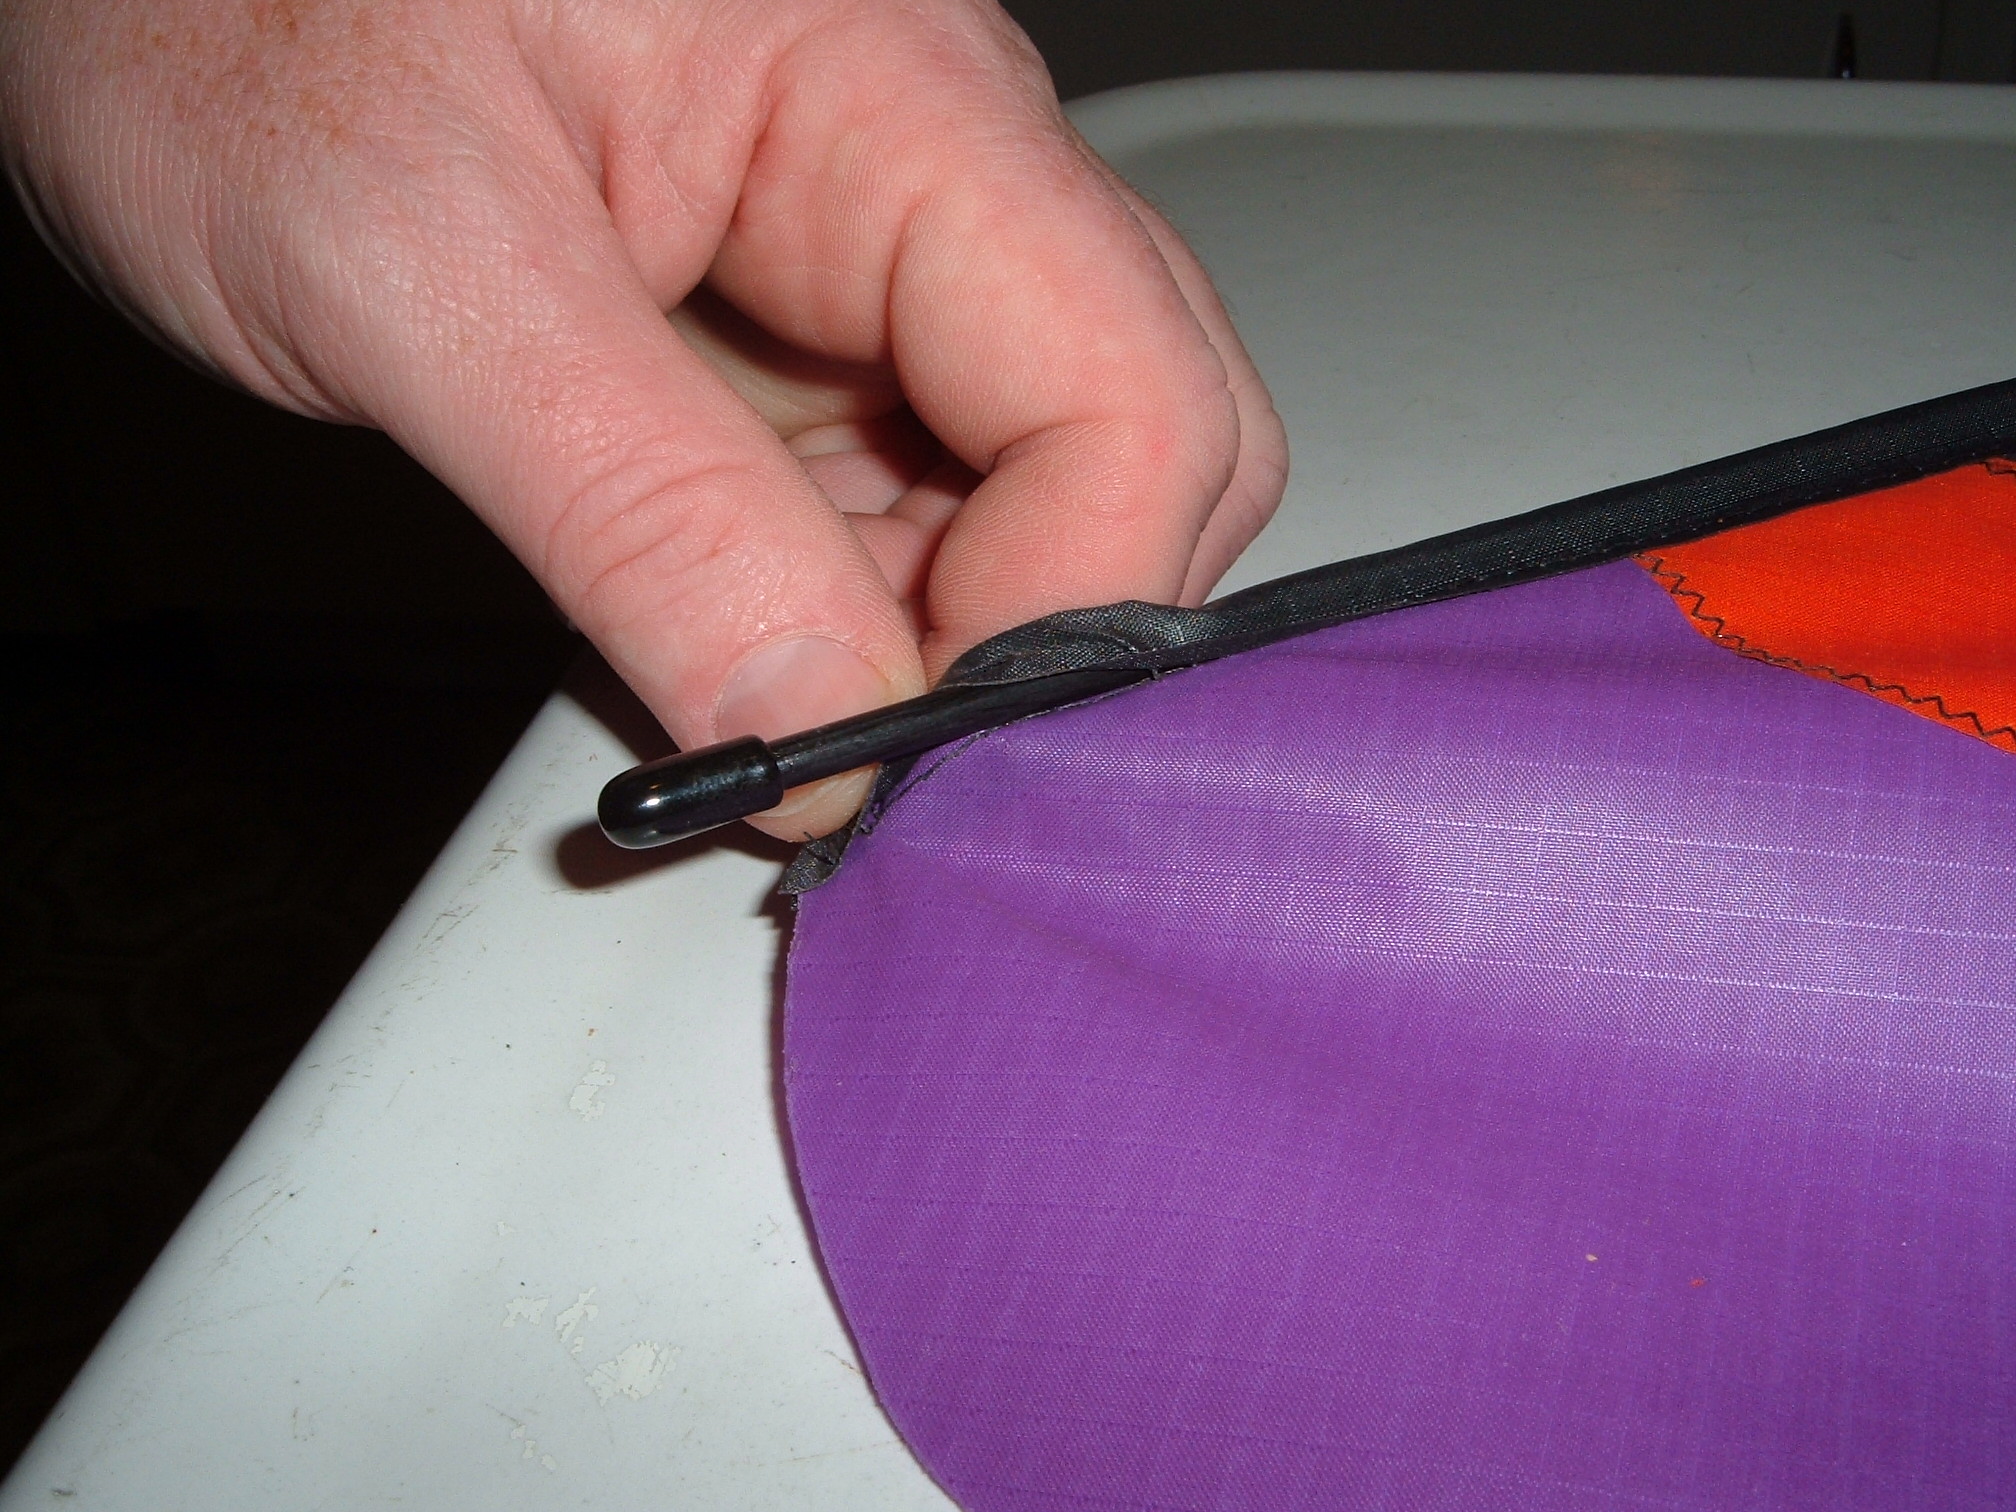
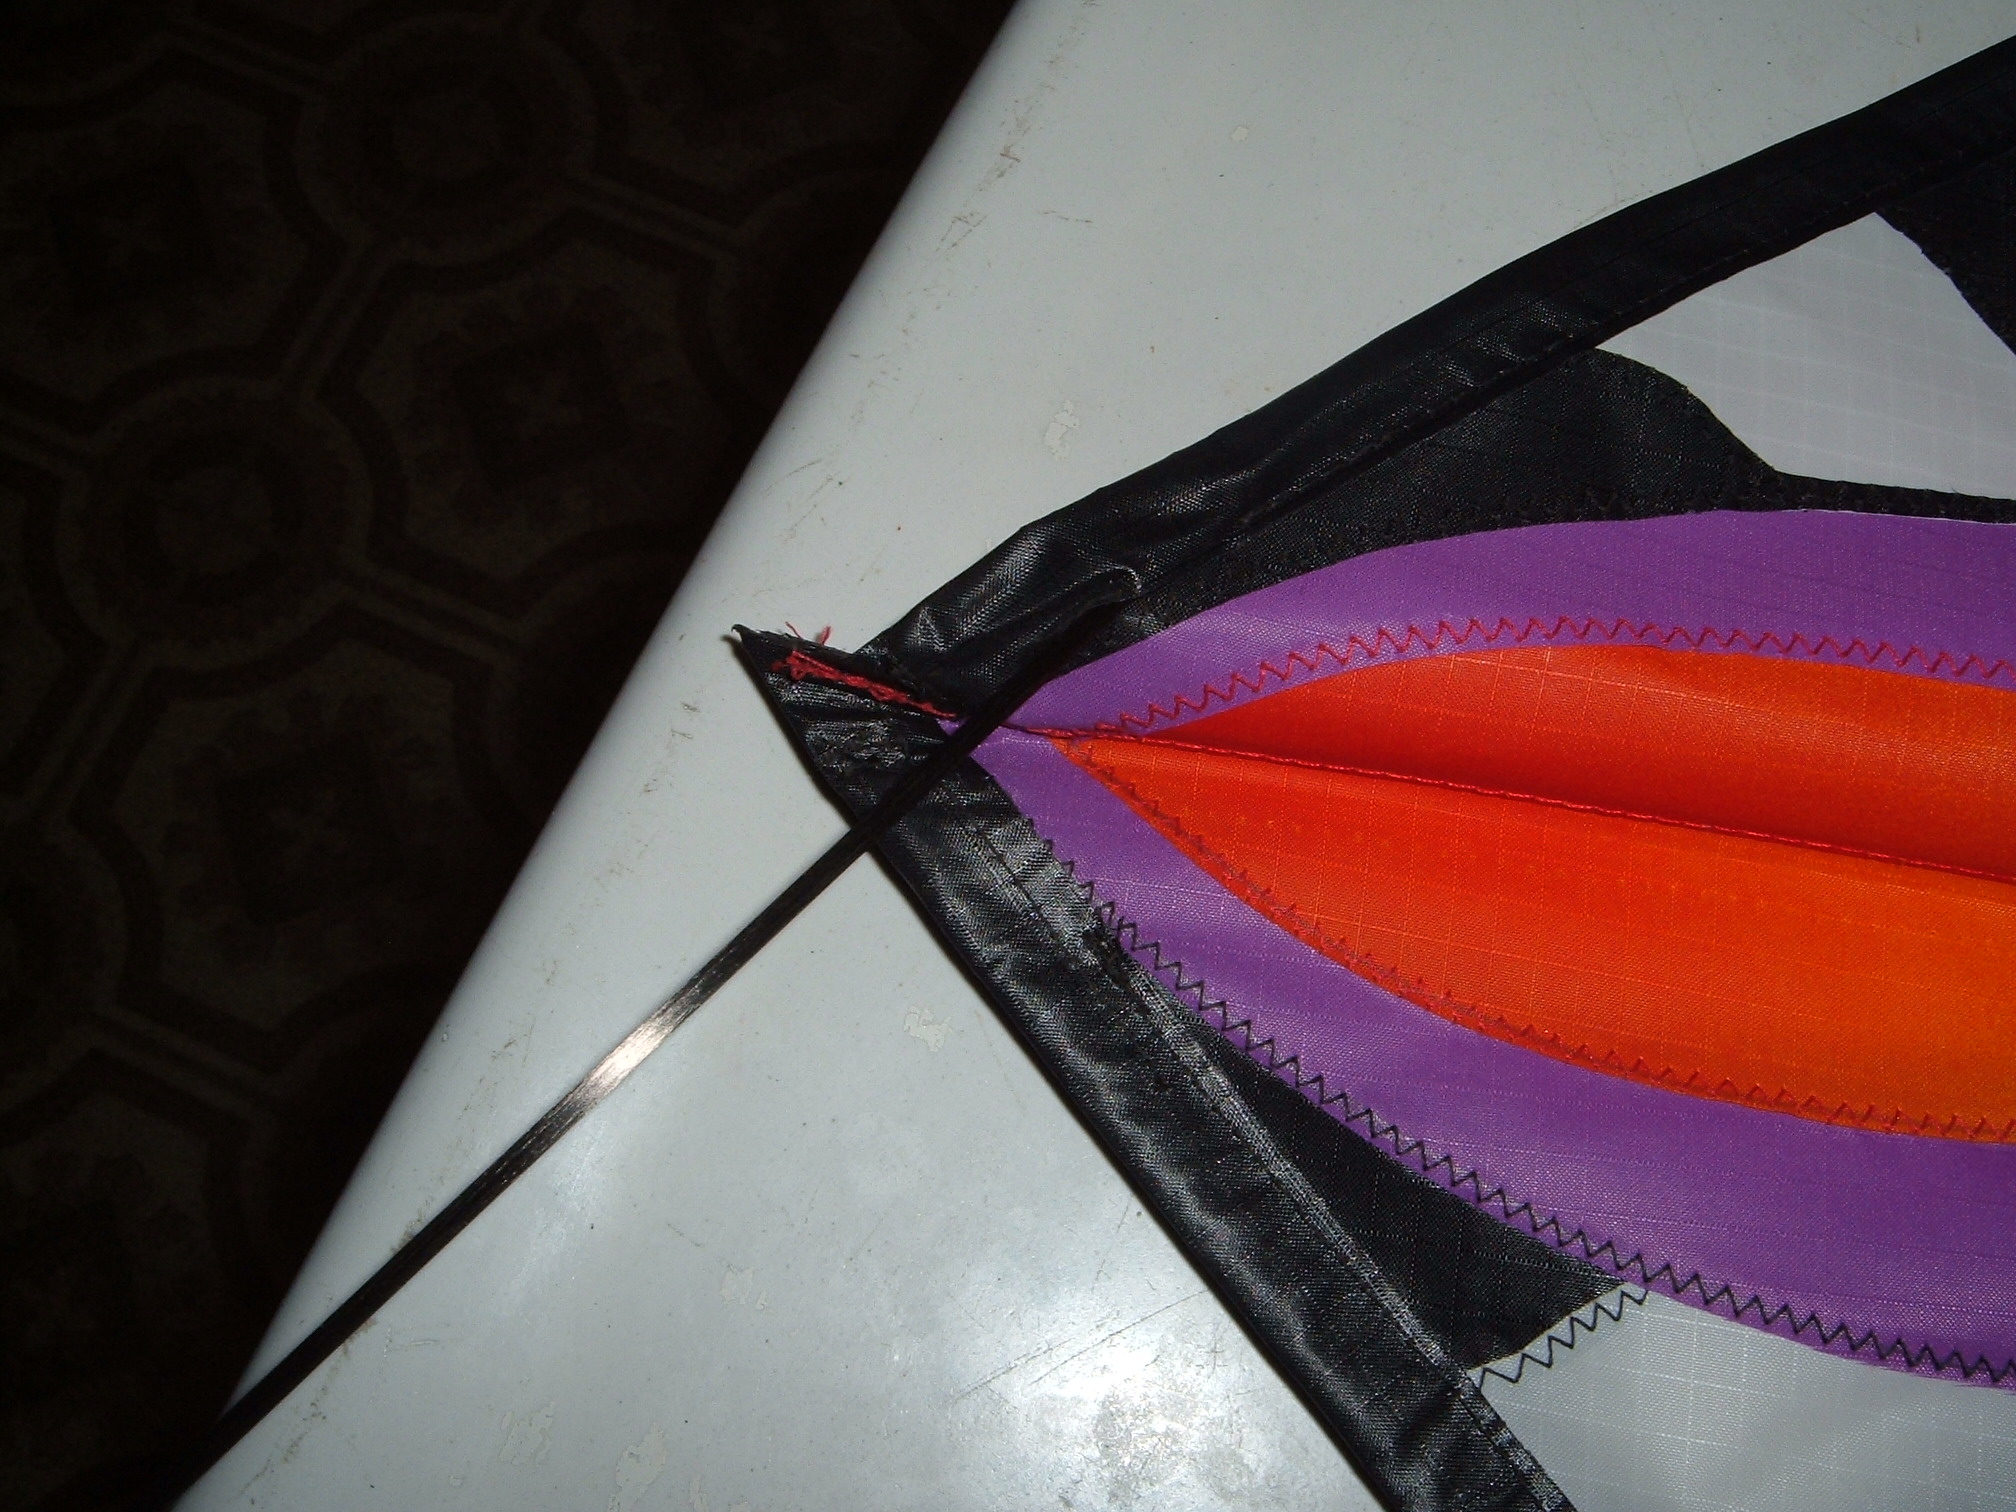
When you have the entire rod in place you will be able to tuck the
rubber end cap into the opening as well-it will be tight.
Stick your blade into the ground/plant pot/modeling clay lump/a hole
drilled in wood/rock etc....
To disassemble reverse the above process.
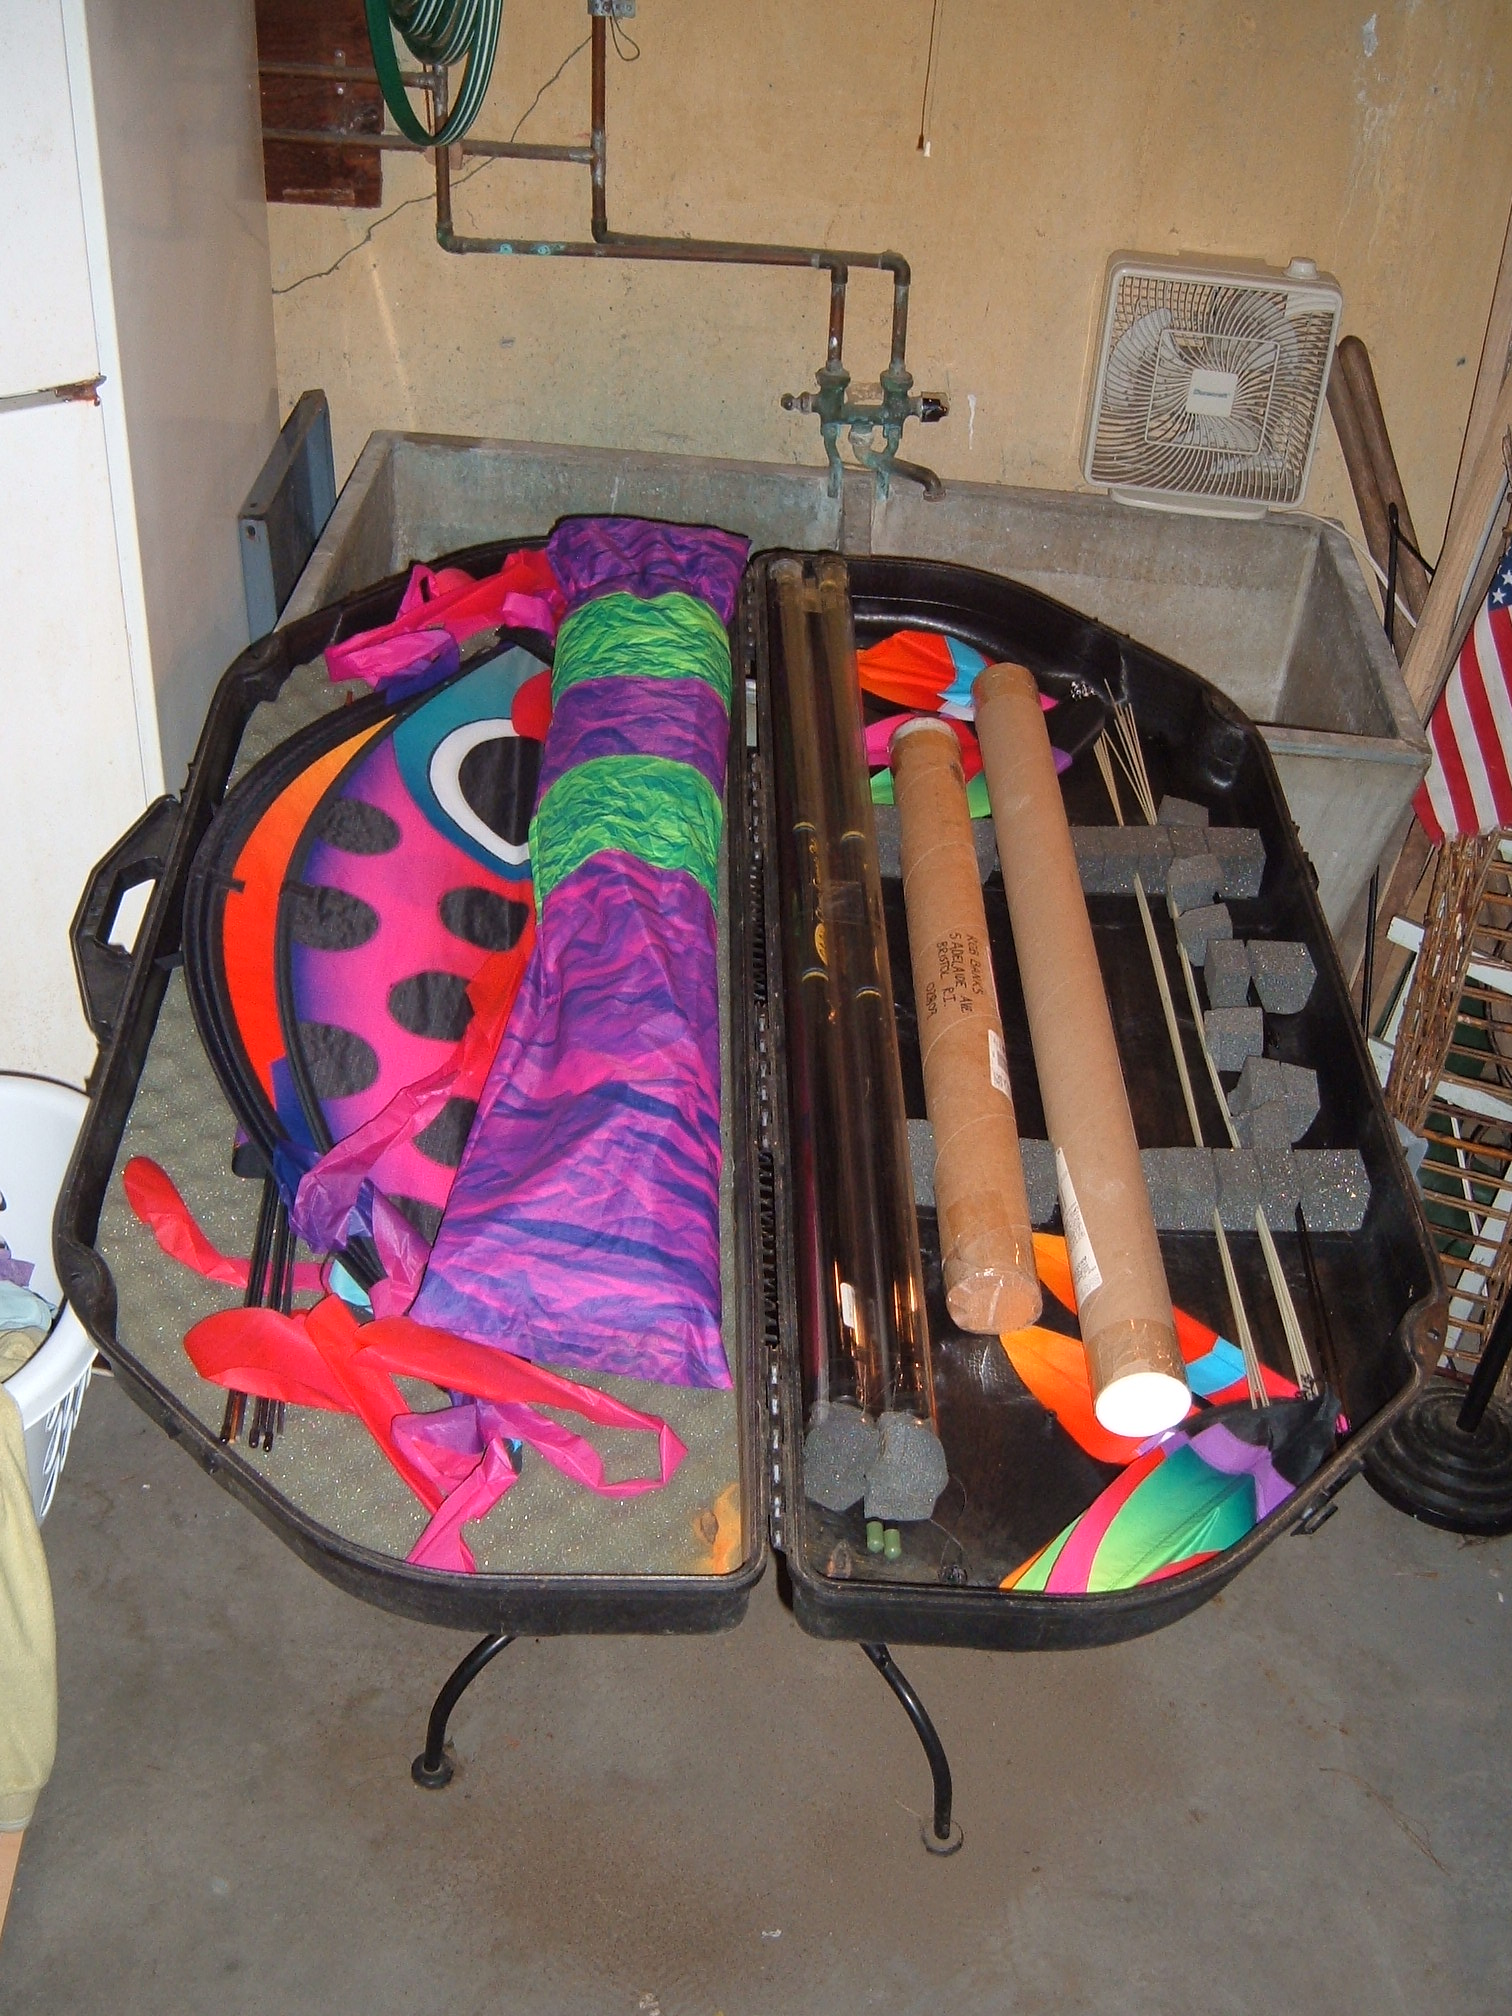
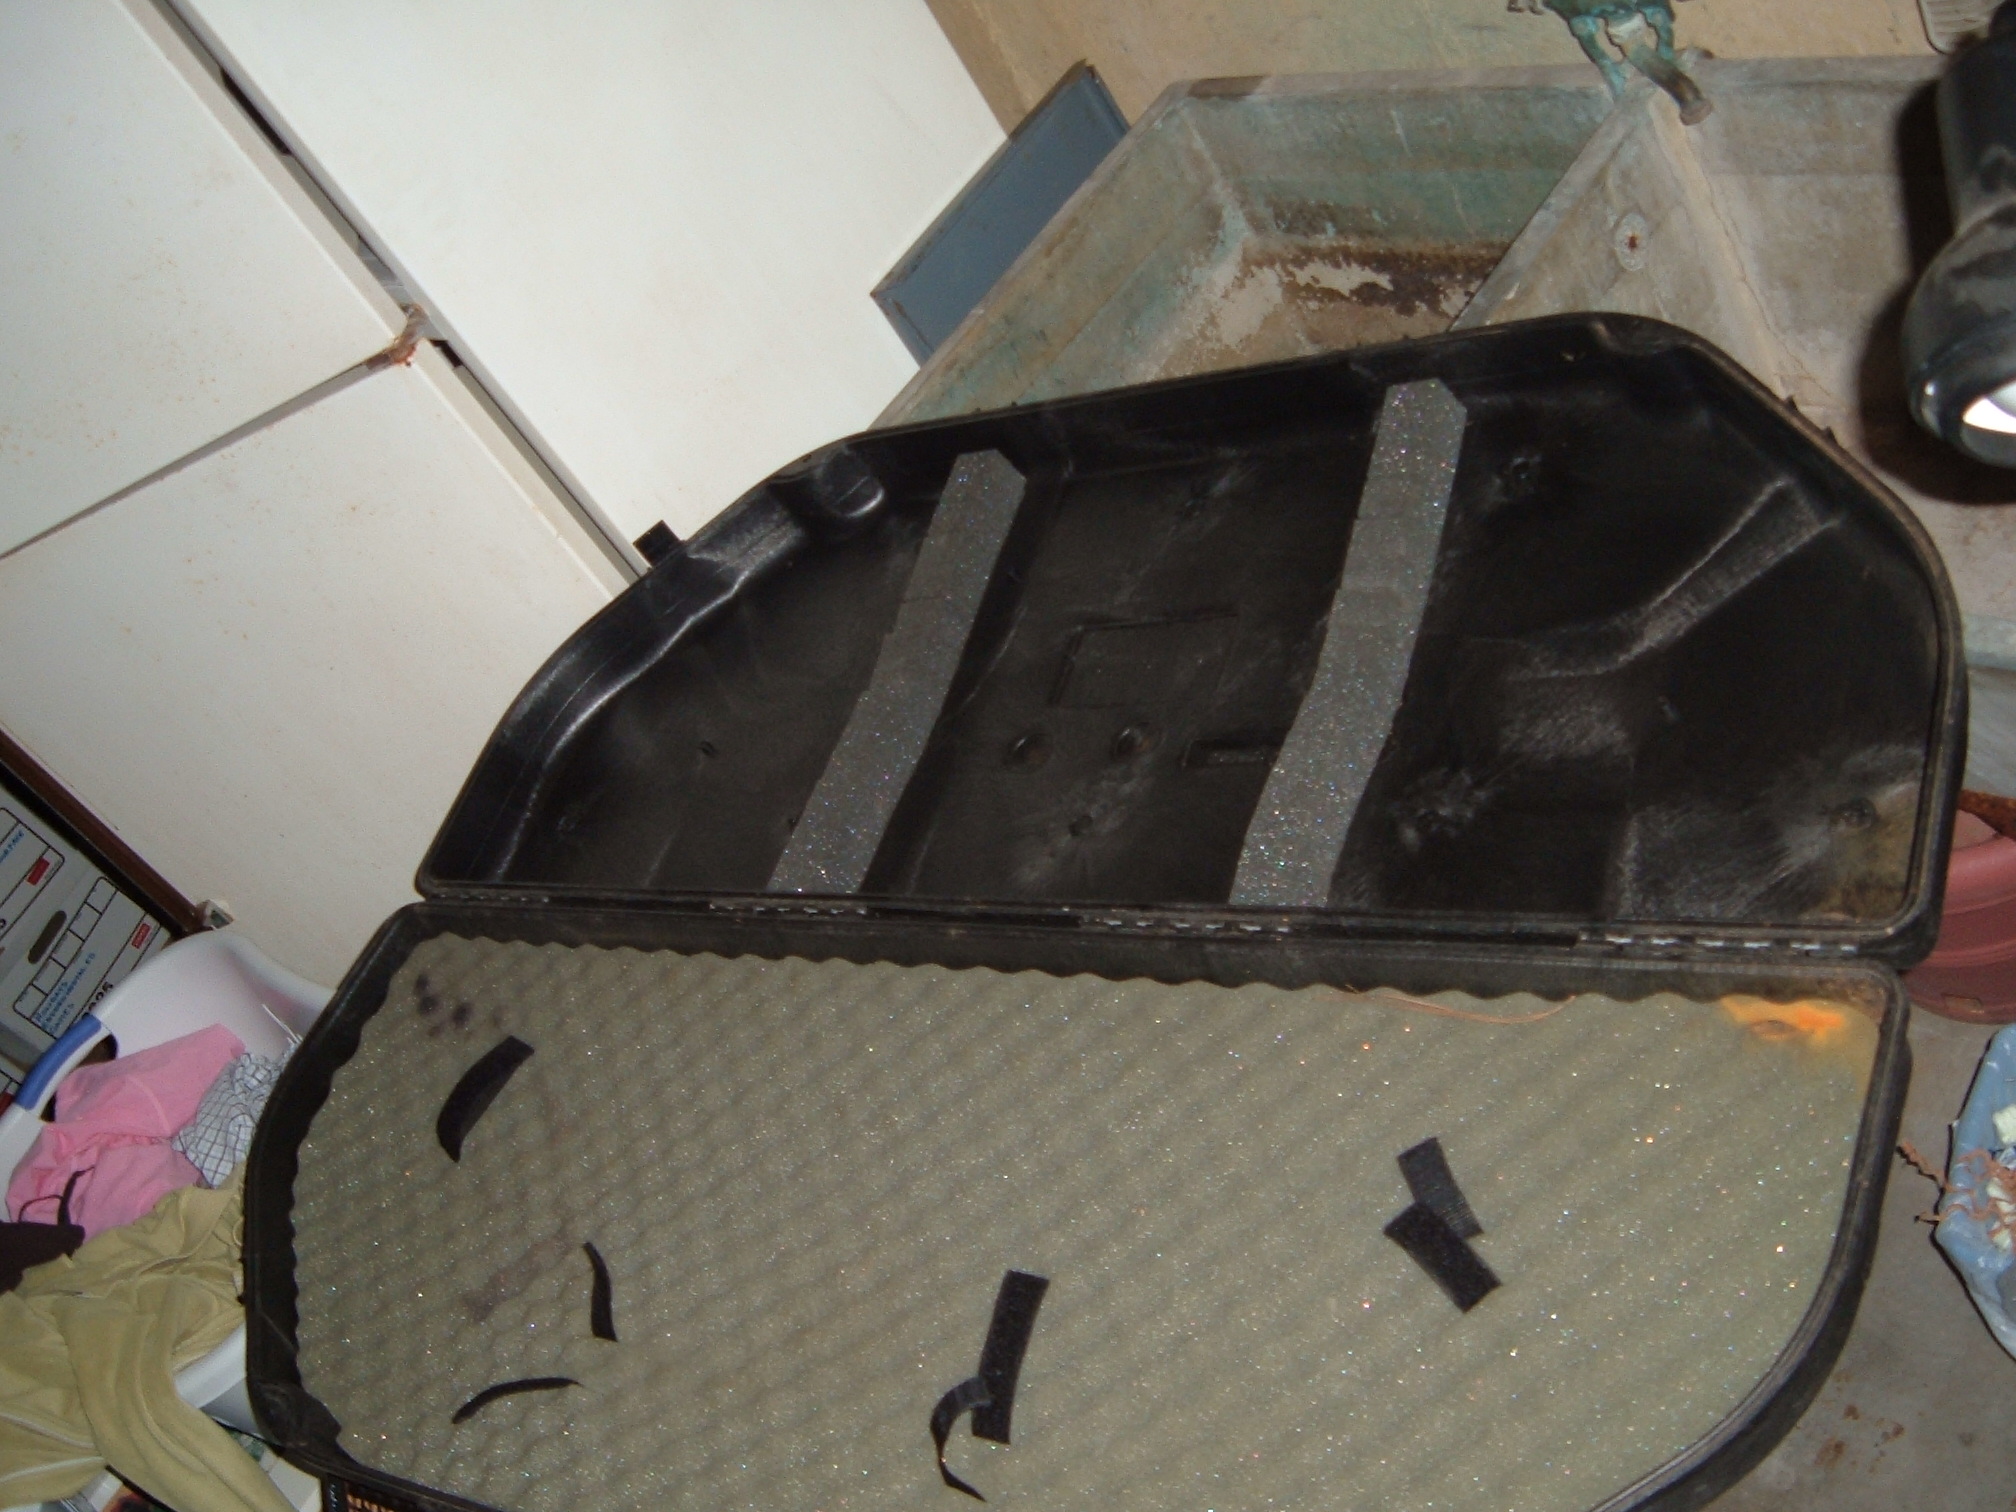
Example
of a hard case
A example of a hard carrying case. This is a hard plastic
archery bow case that i found on ebay for little money.
It stores 4 cypods, 3 13' banners and telescoping poles, ~20 Feathers
on a stick, a Hampton snake kite, and 5 blades all folded away.
The cypods never have to have their long rods removed-this increases
the lifespan of the kites-less wear and tear.
. .